Step One:
ADD A NEW BUCK TO YOUR ACCOUNT
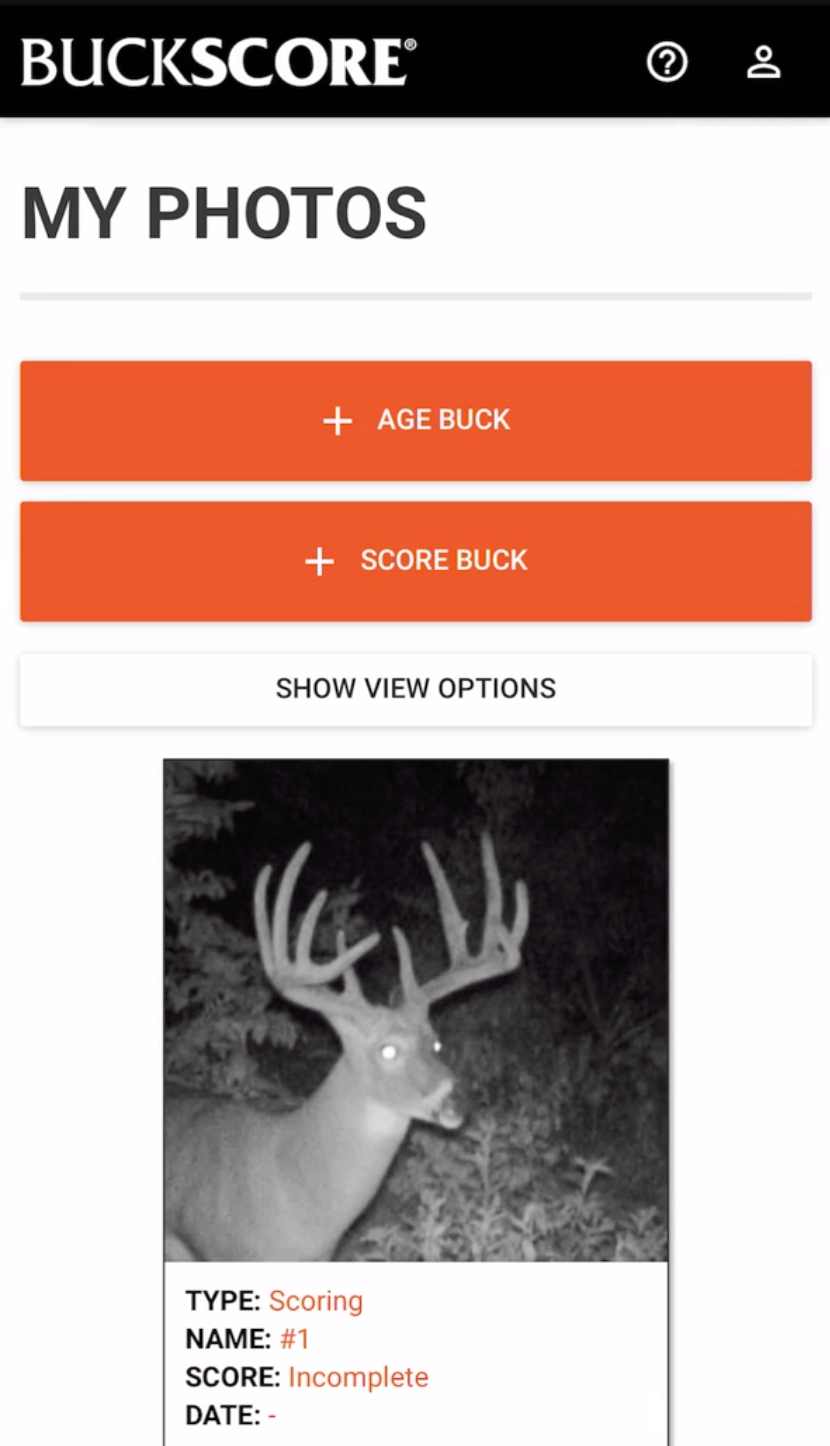
To add a new buck, click the “ADD BUCK” button in the upper left hand corner of the home screen.
In the box that appears, name your buck and click “ADD BUCK” to move into this buck’s album.
Once in the “Buck Album”, you can begin adding images of the buck you want to score. To do this, click the “ADD PHOTO” button in the upper left hand corner of the screen, assign a name to the image, and select a photo from your device.
Once selected, crop your image to the desired size and click “SAVE” to upload it to Buckscore. You are now ready to prep your buck photo for aging.
Step Two:
ADDING PHOTO DETAILS
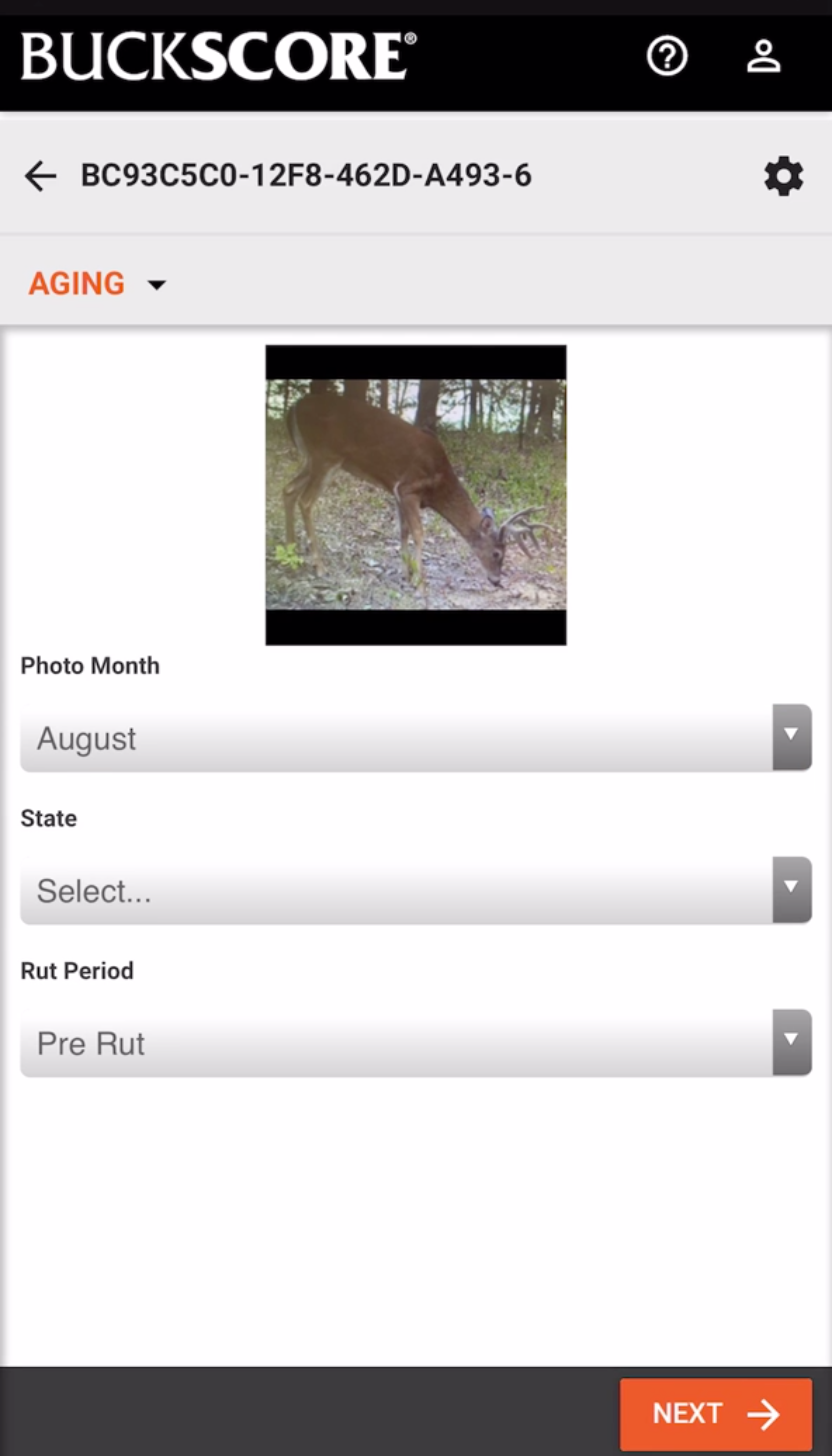
Next select the month the photo was taken, the state the photo was taken in, and the stage of the rut, all of these features are important when it comes to aging a deer correctly.
Step Three:
ADD BASAL CIRCUMFERENCE
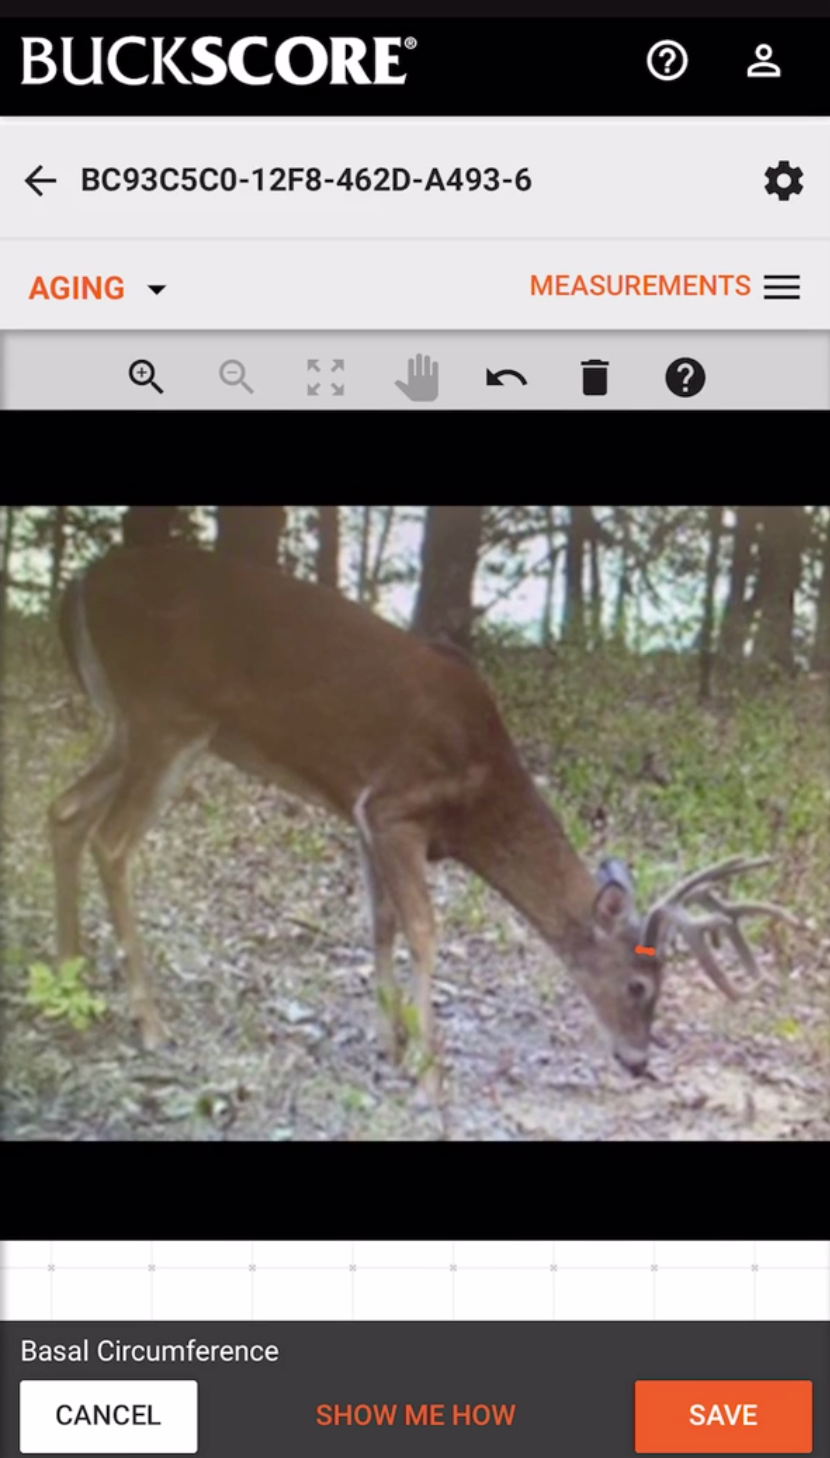
Follow the example measurement and use the tools such as pan, zoom in/zoom out, to accurately measure the Buck’s Basal Circumference.
Step Four:
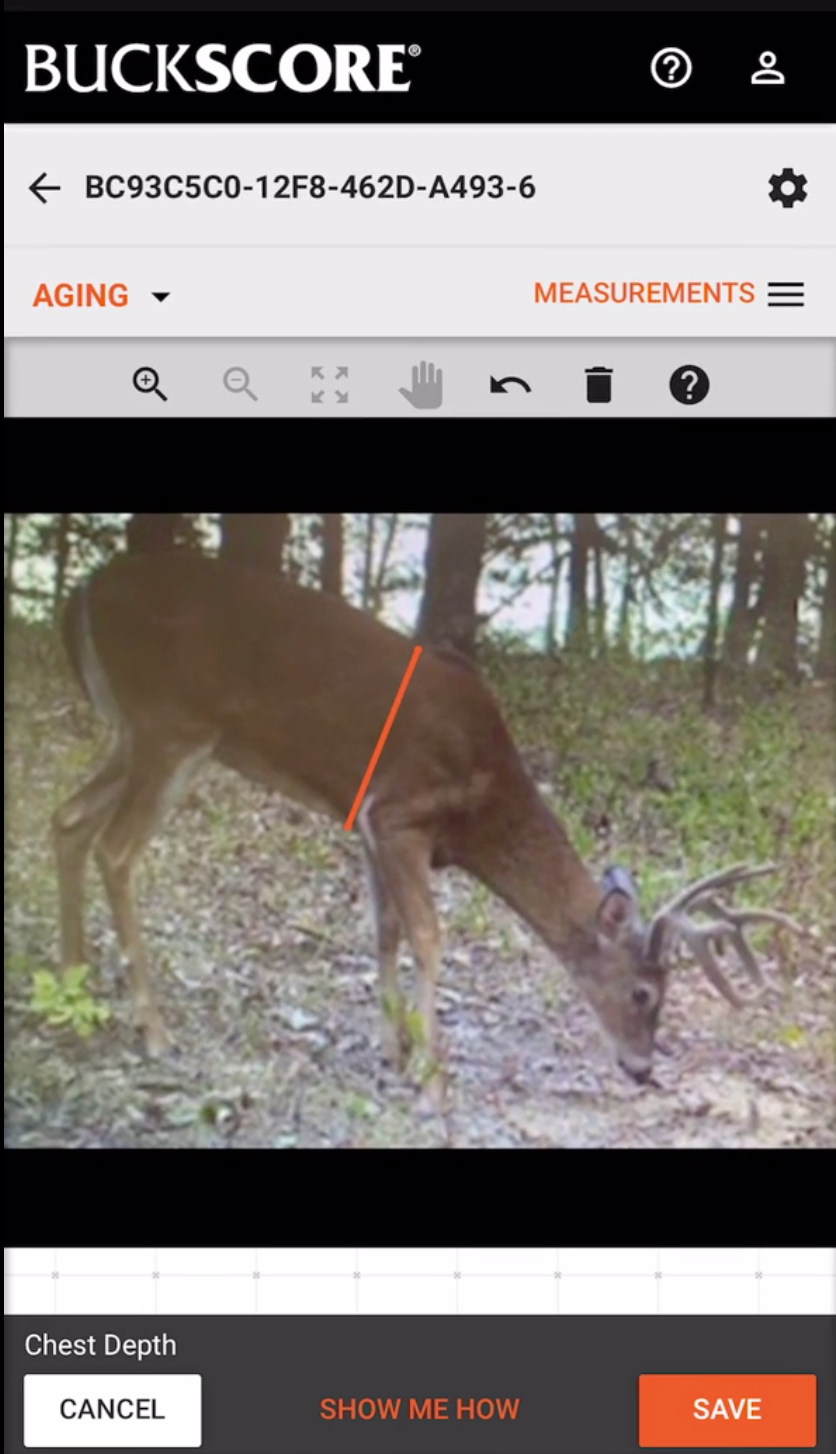
MEASURE THE CHEST DEPTH
Follow the example measurement and measure the chest depth by placing the starting point just behind the shoulder on the top of the buck’s back. The next point should be placed just behind the front leg on the bottom of the buck’s chest.
Step Five:
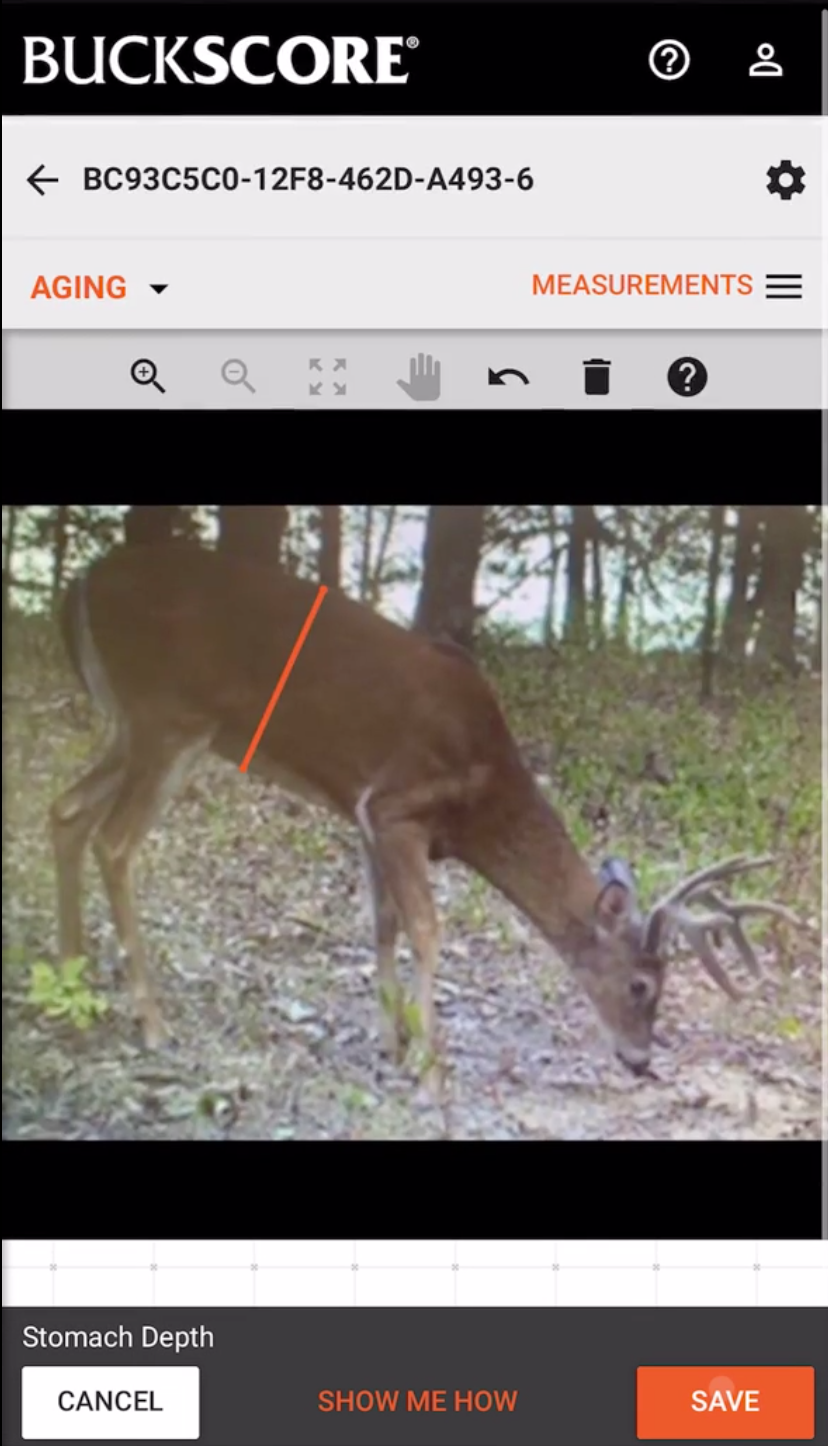
MEASURE THE STOMACH DEPTH
Follow the example measurement and measure the stomach depth by placing the starting point where the last 1/3 of the buck’s back starts (2/3 of the way back on the deer). The next point should be placed at the bottom of the stomach, a palm width from the beginning of the buck’s back leg.
Step Six:
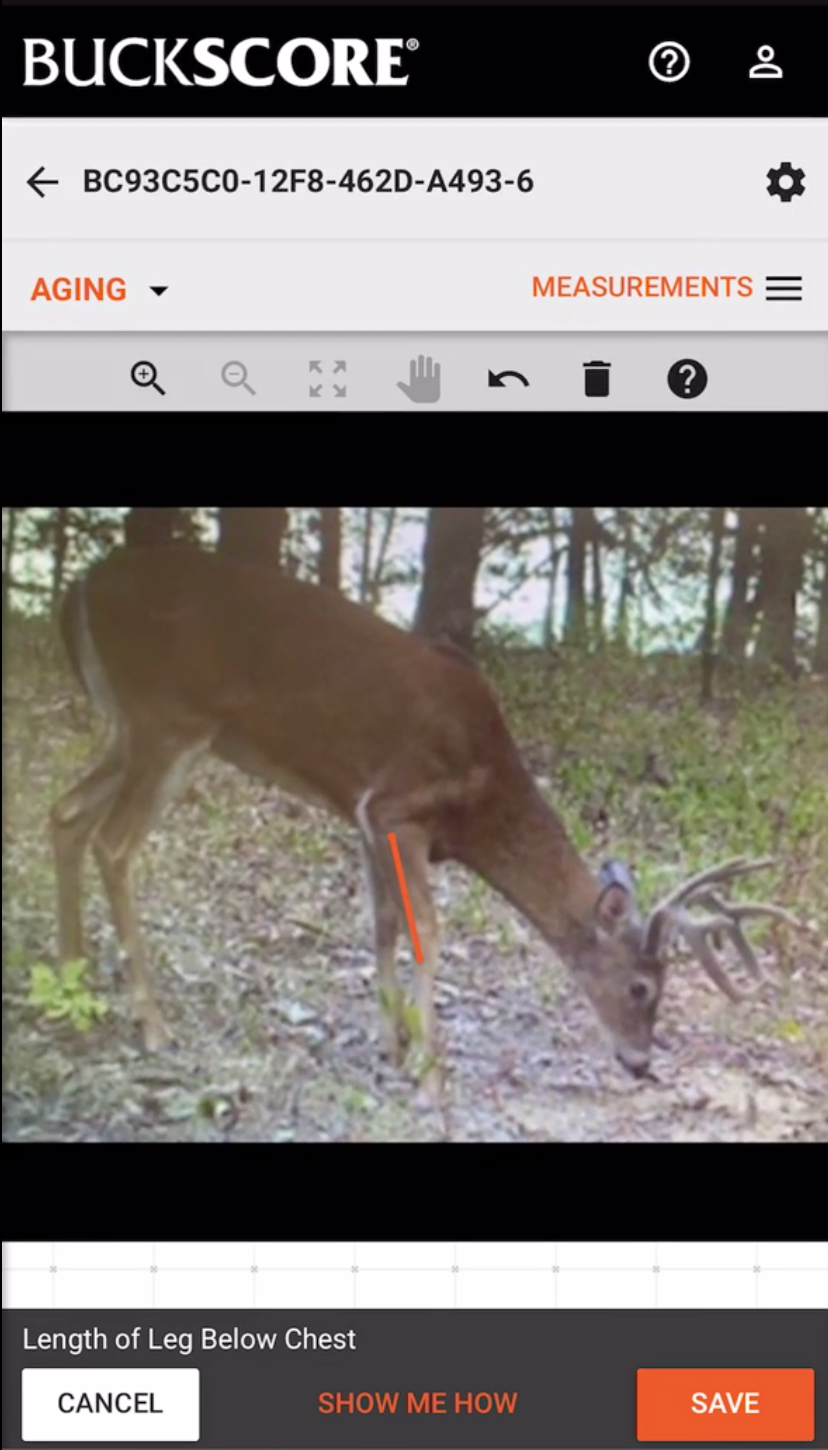
MEASURE THE LEG BELOW CHEST
Follow the example measurement and measure the leg by putting a point on the leg where the bottom of the chest meets it, and the other point on where the knee begins.
Step Seven:
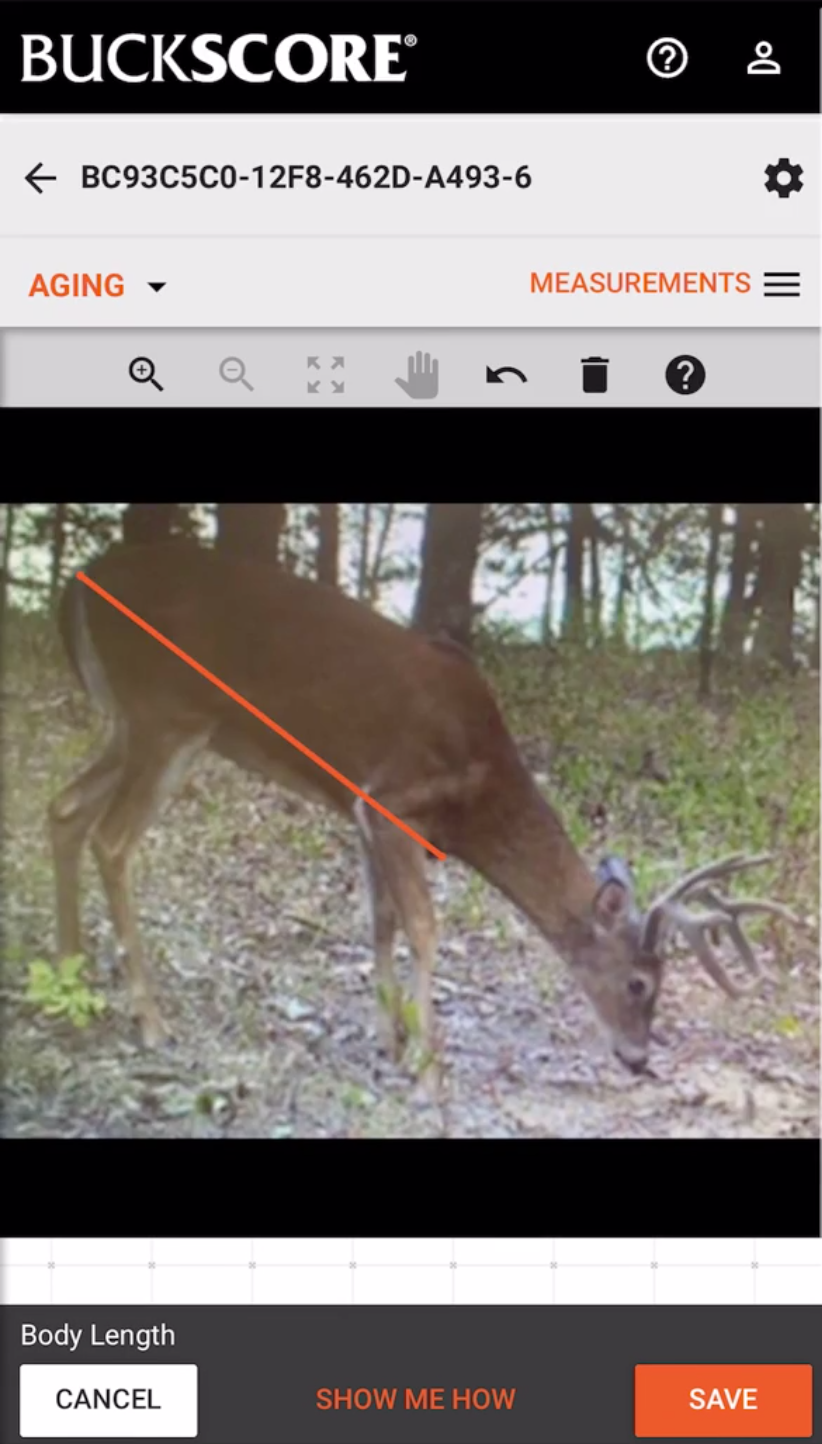
MEASURE THE BODY LENGTH
Follow the example measurement and measure the body length by putting a point where the neck meets the chest, and the other point where the tail begins.
Step Eight:
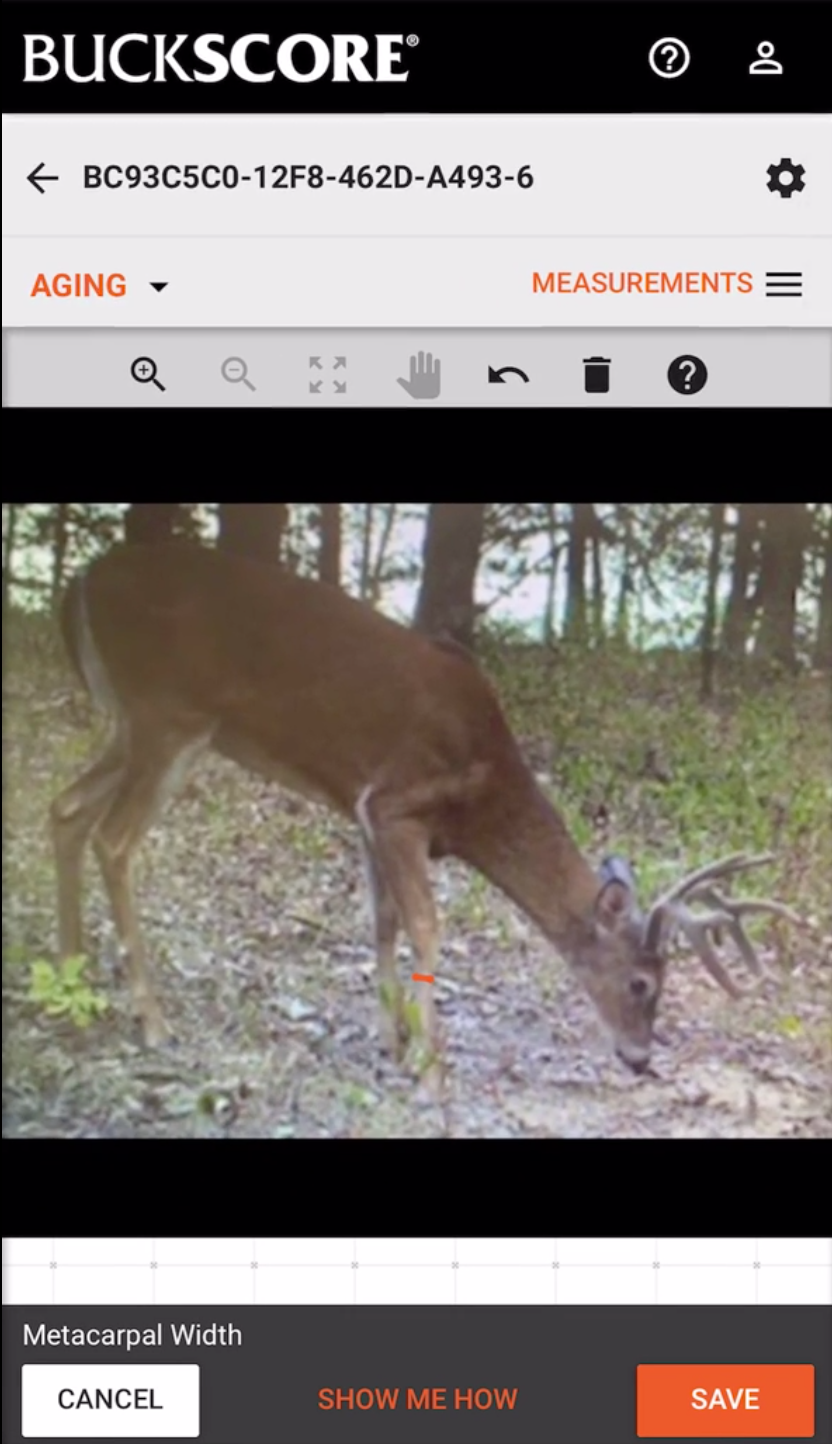
MEASURE THE METACARPAL WIDTH (LEG WIDTH)
Follow the example measurement and measure the leg width just under the knee.
Step Nine:
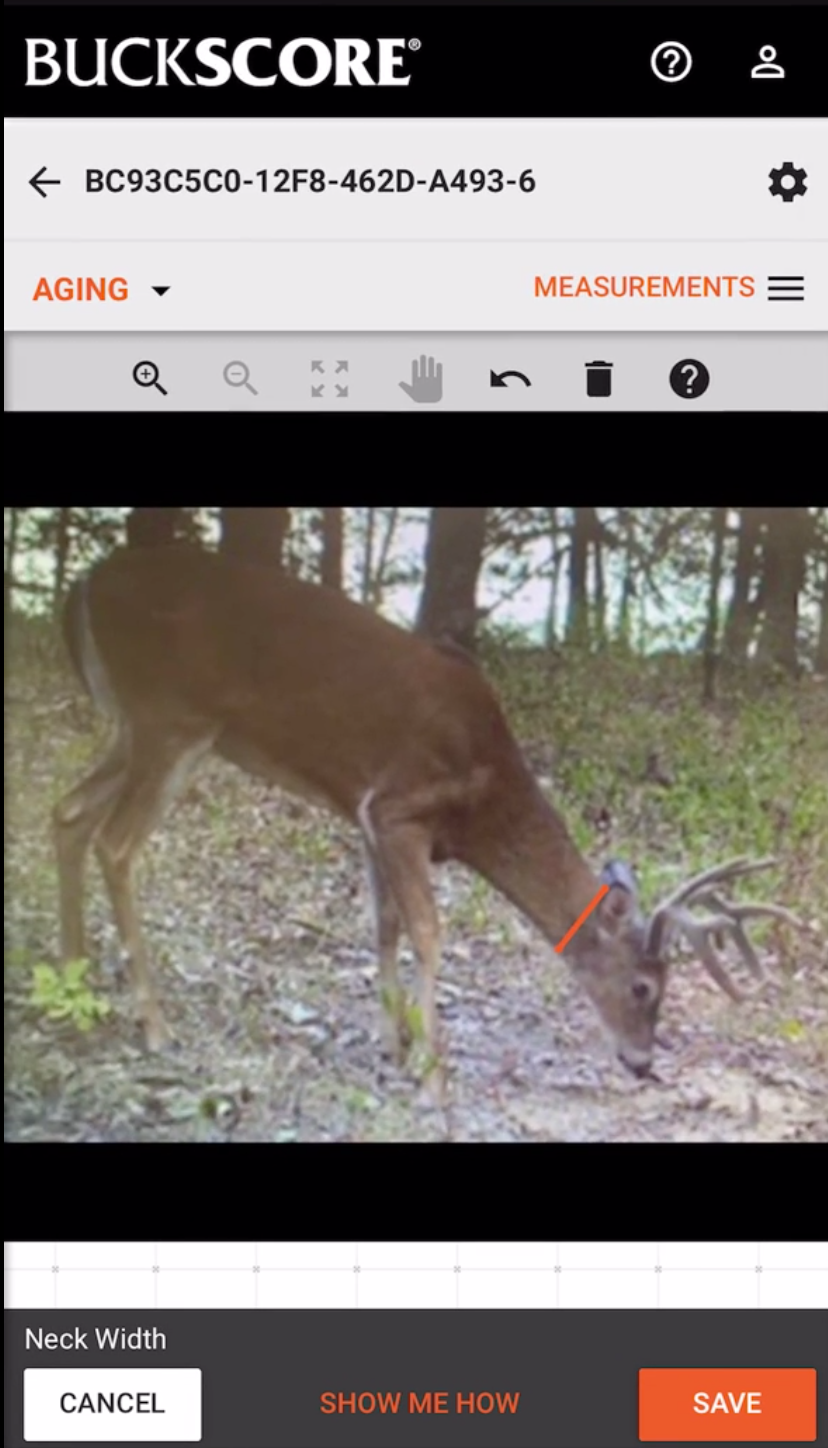
MEASURE THE NECK WIDTH
Follow the example measurement and measure the neck width by putting a point just behind the ears where the neck begins, and the other on the bottom of the neck.
Step Ten:
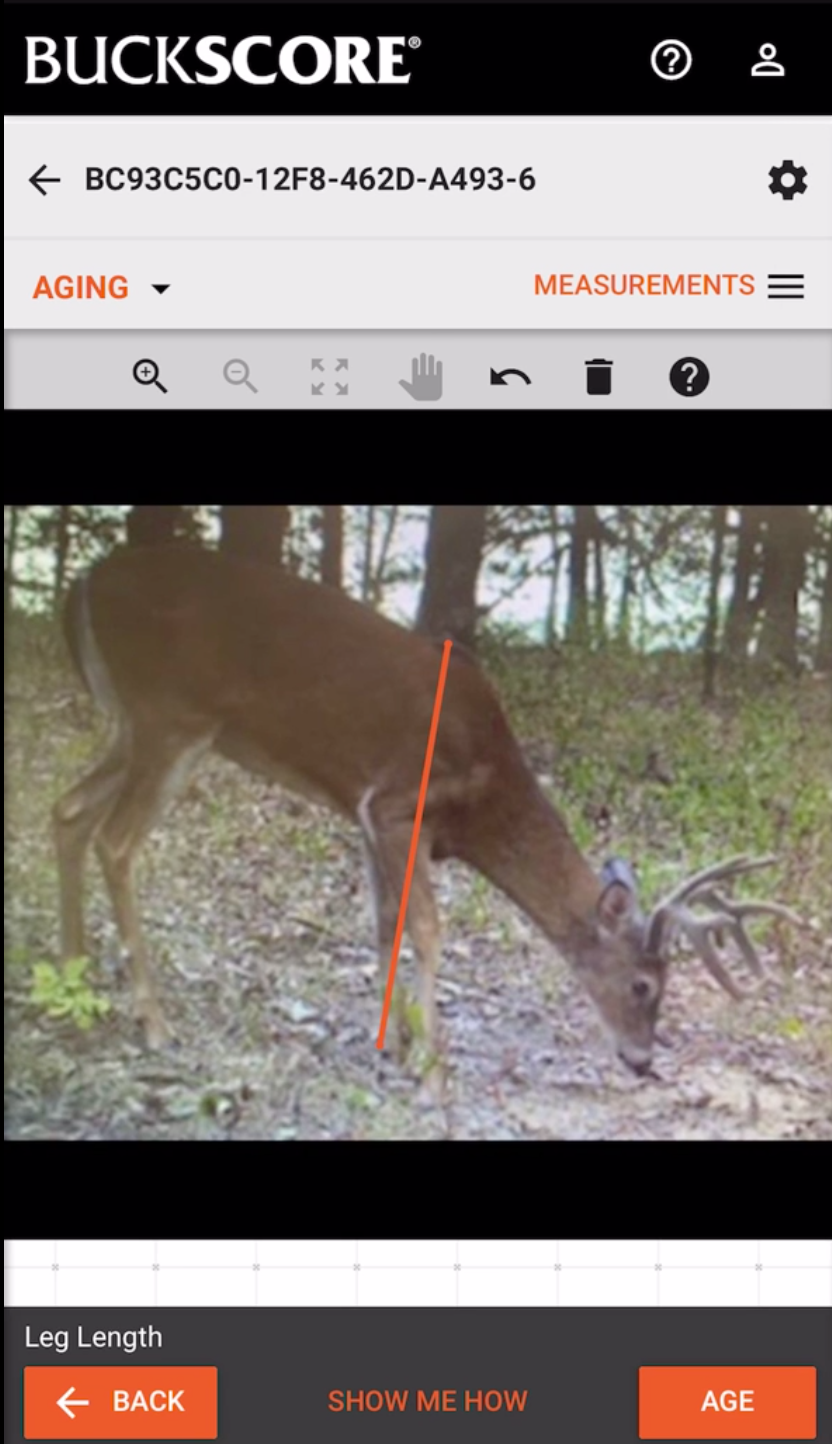
MEASURE THE LEG LENGTH
Follow the example measurement and measure the leg length by putting a point where the dewclaw begins, and the other pint on the top of the shoulder.
Step Eleven:
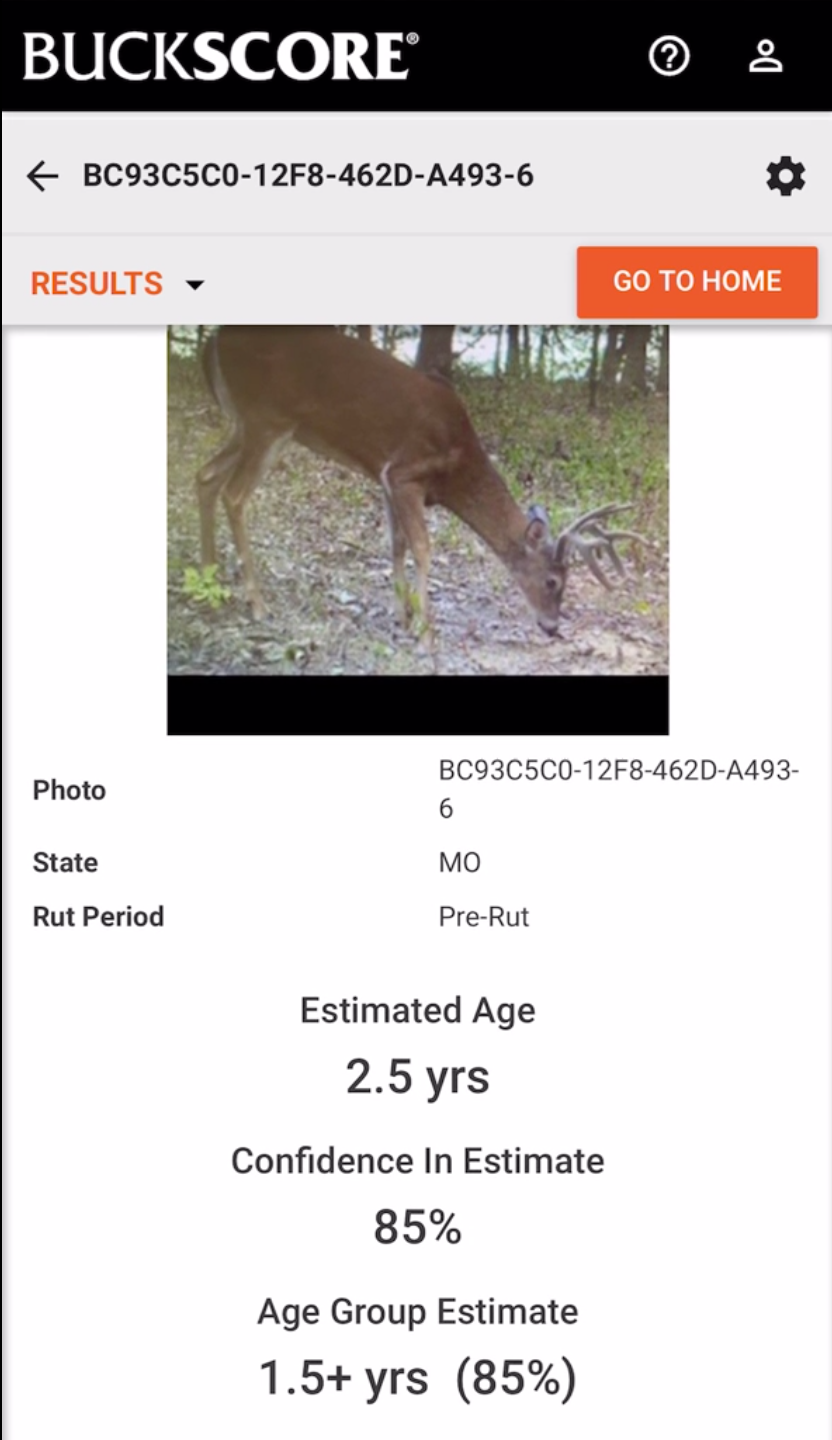
CLICK SAVE TO REVEAL AGE
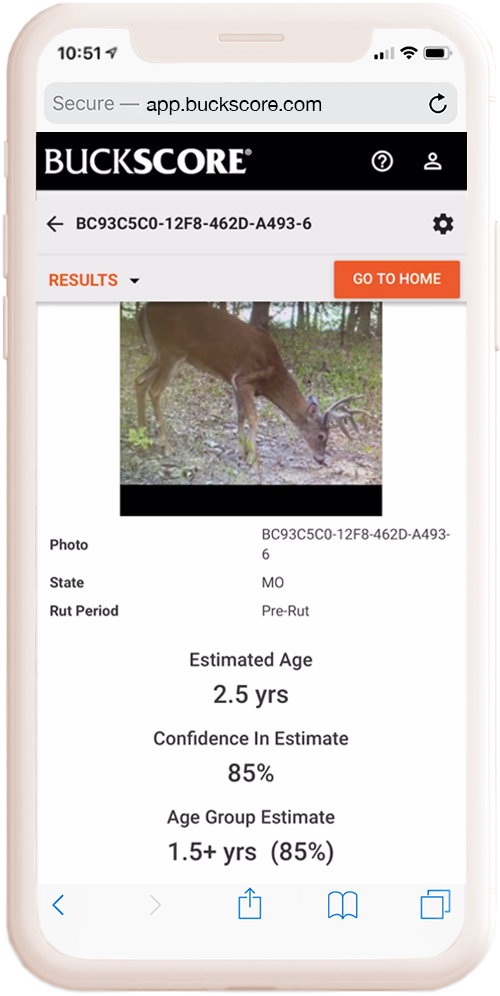
After clicking save, the buck’s age is revealed along with a confidence percentage.
*Results from Mississippi State Deer Lab for antler scoring technology
* The BuckScore®️ program’s accuracy is contingent upon the quality of your photo, the accuracy of the reference feature, accurate buck information (age of buck and location by state), and the manual insertion of measurement points input by the individual. These elements are also used to determine if the photo is “scoreable”. The BuckScore®️ program’s final gross and net score accuracy comes from your ability to measure the reference feature perfectly. On mobile, as convenient as it may seem, your finger/stylus can add extra error to scoring if not measured properly. The BuckScore®️ program is not an “automatic” program as it does requires manual drawing of start and stop points on each measurement to achieve an accurate result. If you are not satisfied with the ability of the BuckScore®️ program, please contact us for additional resources and help from a BuckScore®️ specialist.

