How to Properly Capture a Photo of Your Trophy Buck
Photography Tips for Taking the Perfect Trophy Buck Pictures!
Congratulations, you’ve just harvested a true trophy! Now comes the fun part, making that memory last! Taking a quality photo with your harvested buck can be one of the most important things you do after the hunt. In today’s world, the picture you take is how you will announce your success to the world. Besides social media, these pictures will also be placed on your computer and cell phone background, framed in your house, and will probably go up on some local bragging boards! These photography tips will ensure you take images that are close to flawless, creating a high-quality trophy buck pictures that will last you a lifetime!
How to Take Great Trophy Buck Pictures!
Hopefully, you are reading these tips on taking a great hero or harvest photo before you actually wrap your tag around a buck. If not then go ahead and get moving on the first few tips! First, before you head out into the field you will need a few things!
List of items to take when taking hero pictures:
- A “talented” person behind the camera
- A high-quality camera (if available)
- Multiple lenses
- Wet wipes
- White lights or a lot of headlamps (if night)
The Camera
Everyone has a phone, so that satisfies the basic need for a camera. Today’s phones actually take remarkable photos and taking pictures with a phone is relatively simple. However, if you are wishing to take a stunning picture that can be blown up on canvas or in a big frame, then you will want to snag a better camera. If you have a digital camera, or a DSLR for family pictures, go ahead and grab that with any lenses that you have for it. If you don’t have a nice DSLR or another camera, go ahead and scroll through your contact list to see if anyone you know has one. Chances are between family, friends, or any parents with kids in sports, you will find a great camera without much work.
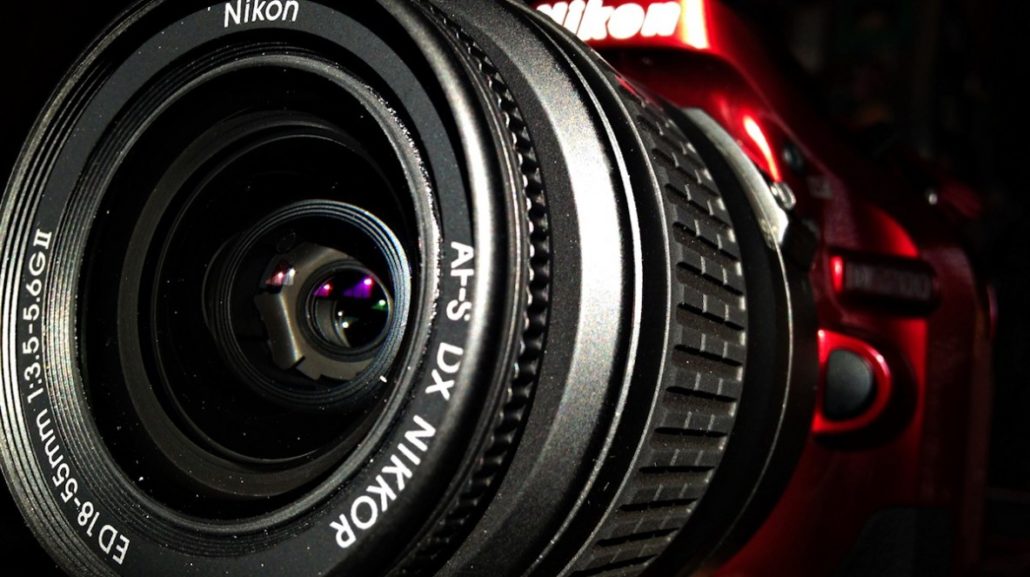
If you are considering buying a camera, a basic entry-level DSLR ($300-$1,000) is a good camera for hero shots like this. These cameras can also be used to film your own hunts if you are into that sort of thing!
The “Talent”
Besides the camera, the photographer is the next vital aspect of taking great buck pictures. You do not want to select someone that lacks creativity or that might get frustrated when you ask for multiple angles and shots. It also helps if they have experience taking photos at the amateur level at least.
When a trophy buck hits the ground, it always seems to be one of the worst times for anyone to come and help drag and/or take pictures. If you do not have anyone to take pictures, then its time to use the time delay feature! Most cameras including most DSLRs and cell phones have a default timer If you happen to get someone out there who doesn’t have any experience taking photos, go ahead and run them through a couple of the key tips below. A quick read could make a drastic difference in the quality of your trophy buck pictures.
Trophy Buck Photography Tips
Buck check, camera check, photographer check…you are now ready to read through the tips below and start taking pictures!
Rigor Mortis
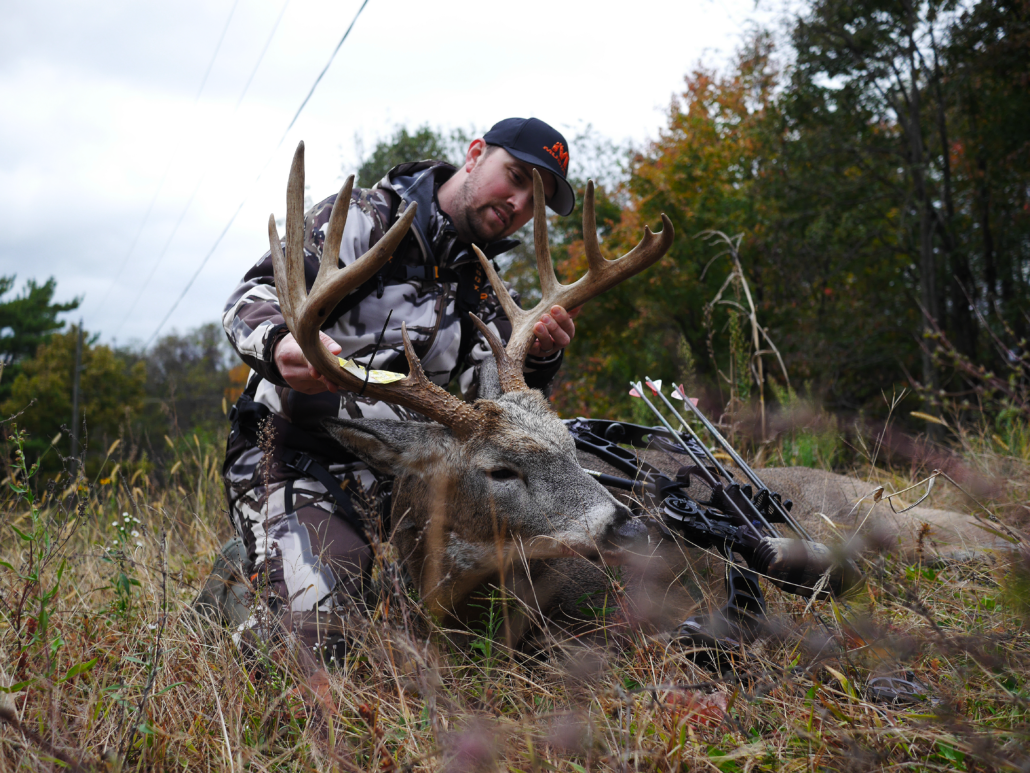
One of the first tips you will need to deal with right after the kill is rigor mortis. Depending on when you recovered your deer and the time of day, your best pictures will be taken while the buck is still fresh and not stiff. The ability to move the head at different angle drastically helps retain the “natural” look. If worse comes to worse, and you need to wait until the following morning to take pictures, make sure you set the buck up in a proper position for pictures. If you hang your buck he will have his neck fully extended and legs straight out the next morning. The pictures will not look natural.
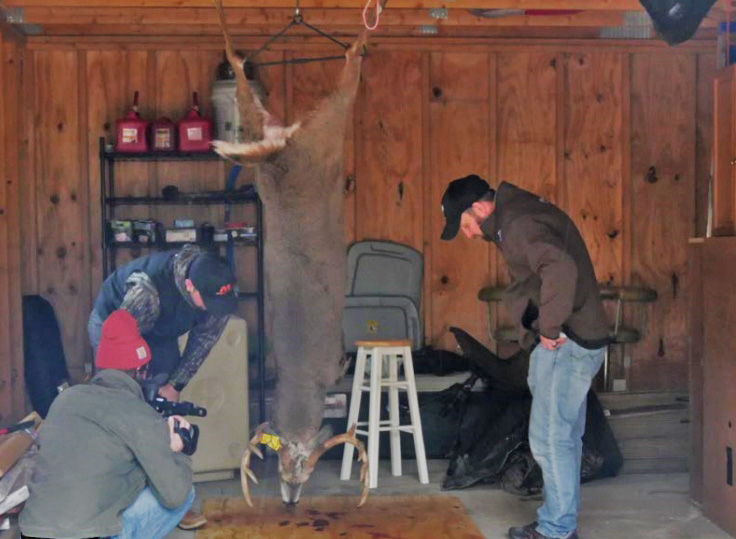
The ideal setup for the buck is the front legs tucked under the chest. This not only props the buck up like he is naturally laying down but also presents a full chest. Finally, make sure the head is propped up and is turned to one direction. Typically you will turn the buck’s head to the side you shot him on in case the exit from the bullet or arrow is a bit gory. On big bucks, this also shows the neck folds and the true weight/size of the bruiser. If you are setting the buck up and not hanging him, be sure you set him in a place that dogs or coyotes cannot reach him.
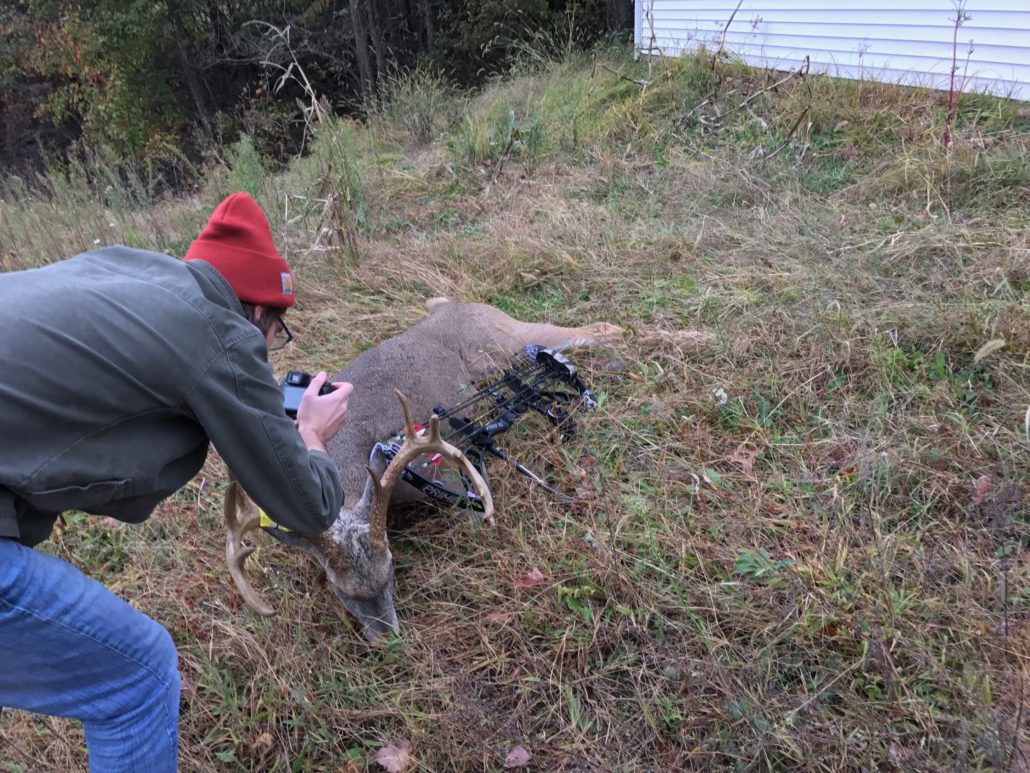
Timing is Everything
If at all possible avoid night pictures. Take a couple of photos that night, prop the buck up using the guidelines above, and wait until the early morning hours to start taking your real hero pictures. Typically the early morning or late afternoon offers the best lighting for taking pictures unless it is an overcast day. Direct sunlight is very harsh while taking pictures and also creates shadows across the buck, the background, and even the hunter’s face. Typically, late afternoon offers great picture taking. Not only do you get to experience the “golden hour” with dramatic sunsets, but also the low gray light that comes afterward.
The Desired Setting
The location in which you take your hero shot is entirely your decision. Typically the most common places are where the buck is found, where the buck was shot, or a key area that played a significant role in the hunt. These areas are often food plots, crop fields, pastures, oak flats, waterholes, or by a stream, river, or creek. On the other hand, you might have that historically great spot for pictures. This could be in front of a notable object on the property, an old barn, on the highest hill, or in the biggest field in the area.
Typically, you will want an area that offers plenty of distance behind where you and the buck are sitting. A distant background that is dark will offer a high contrast to the buck’s antlers. It also allows for plenty of blur in the picture behind you and the buck. Hills or even the slightest bit of topography can help provide great backgrounds, angles, or even sky lighting the buck’s antlers on a blue sky.
The Immediate Area and Items
One disaster that could result from these pictures could be a total embarrassment. Taking a picture that is too gory, has a funny item, too much brush, or is unsafe (gun pointed straight at your head) can and will be called out. This is where the wet wipes come in. Be sure to clean up any bloody noses, blood on the antlers, or any mess that you might have made while field dressing the buck.
After you choose a location, make sure you clear out the area of any grass, sticks, branches, or objects that could interrupt the picture. After clearing, take a moment to think about what items or object you might want in the photo. Don’t go crazy with the product shots! However, your bow or gun is always acceptable. Also, make sure you are wearing the gear you hunted in. This includes any hunter orange or legal items that should be in the photo. Make sure if it is firearms season that you and anyone you are with continuously wear orange throughout the photo shoot.
Why So Serious?
Smile for heaven’s sake! You just harvested a trophy, something that probably took hours, days, weeks, and months out of your life to complete. A couple of serious pictures are acceptable, but this is a happy time! Be sure to get anyone involved in the hunt in the picture including cameramen or women, property owners, or family members. The family is always nice to have in your buck pictures as you will probably make it your profile picture or background. This way you get your trophy buck, and the people you love most in the same photo!
Framing and Positioning
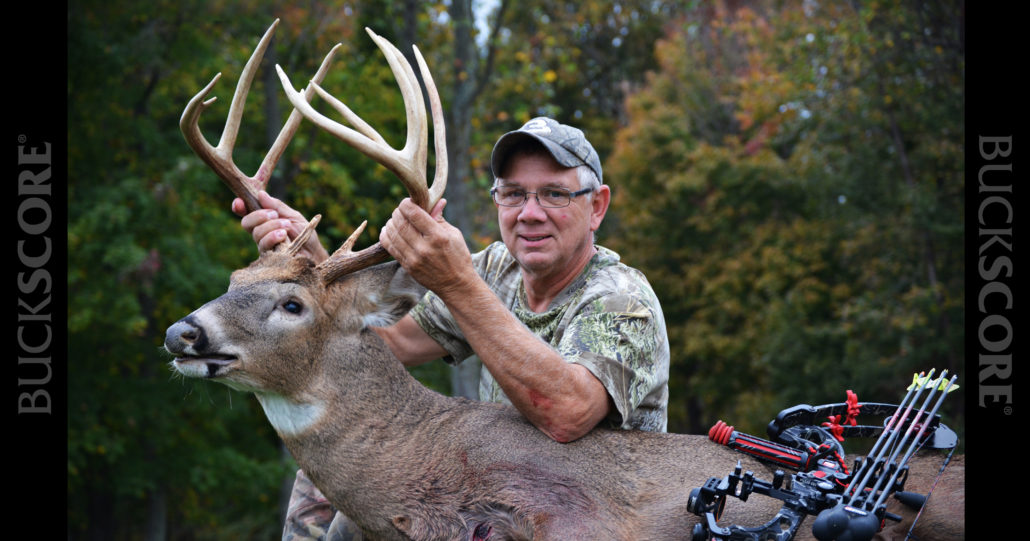
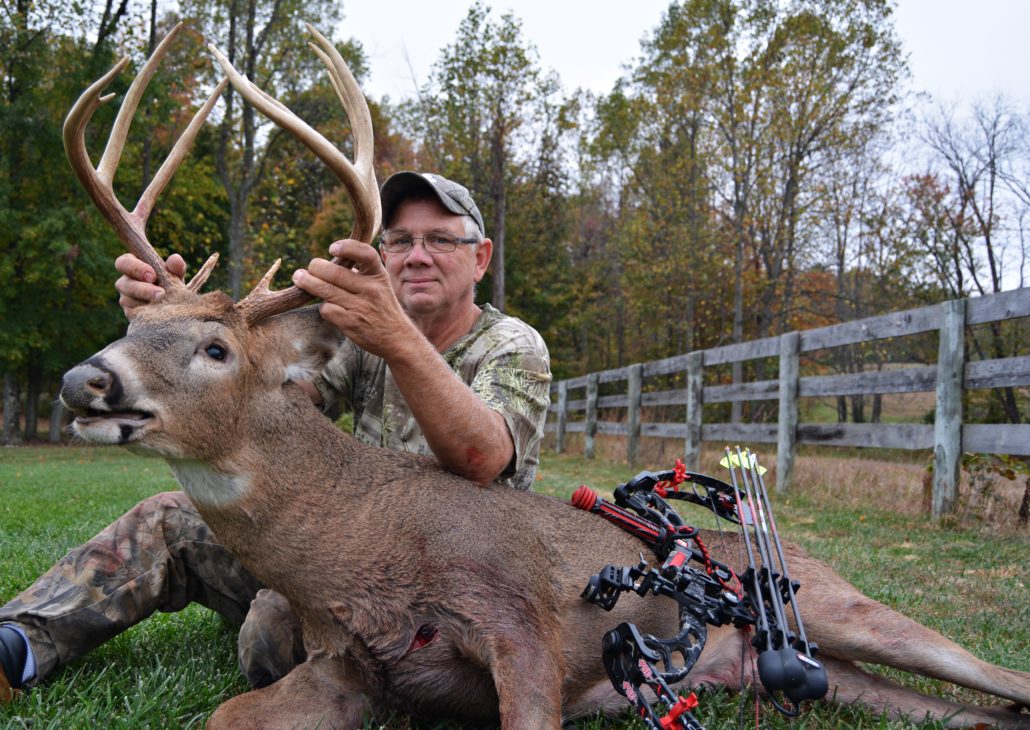
Making sure the pictures are correctly framed is vital. Making sure there is enough margin between the edge of the photo and the buck is critical to creating a frame worthy picture. Of course, there are angles and pictures where the frame will be off on purpose. However, in nearly all the photos you will want correct portions of in-focus subjects ( you and the buck ) and the background ( the fence, trees, field in the picture below).
In the frame, the most common positioning you will see is the buck positioned with the hunter directly behind the buck. It is important that the hunter is sitting so the true size of the buck is proportional to the hunter. Don’t go crazy overboard with sitting dramatically behind the buck. This over-exaggeration is something you will see way too often in the hunting and fishing industry!
Hands
It is important to keep as much of your hand off the deer as possible. Some brutes are hard to hold up! Using a stick or pack to keep the deer’s head elevated could be useful so you are able to only place a couple of fingers on the far antler of the buck. The most impressive feature of the buck is his antlers…don’t cover them up!
Focus, Focal Length, Aperture, and Exposure
Aperture – the variable opening by which light enters a camera.
Focal length – distance between the center of a lens and its focus.
Exposure – the amount of light reaching the camera sensor.
While these terms may seem a little advanced, they are really quite simple. Most of the time, the auto function of your camera or cell phone will be more than adequate to snap a great picture of your buck. However, playing with the settings could drastically alter your picture and take it from great to simply amazing! Often, messing with these settings works when taking pictures at several angles. For example, focusing on the deer’s head and antlers at an upward angle could result in a very cool picture of the buck standing alone with the hunter in the background.
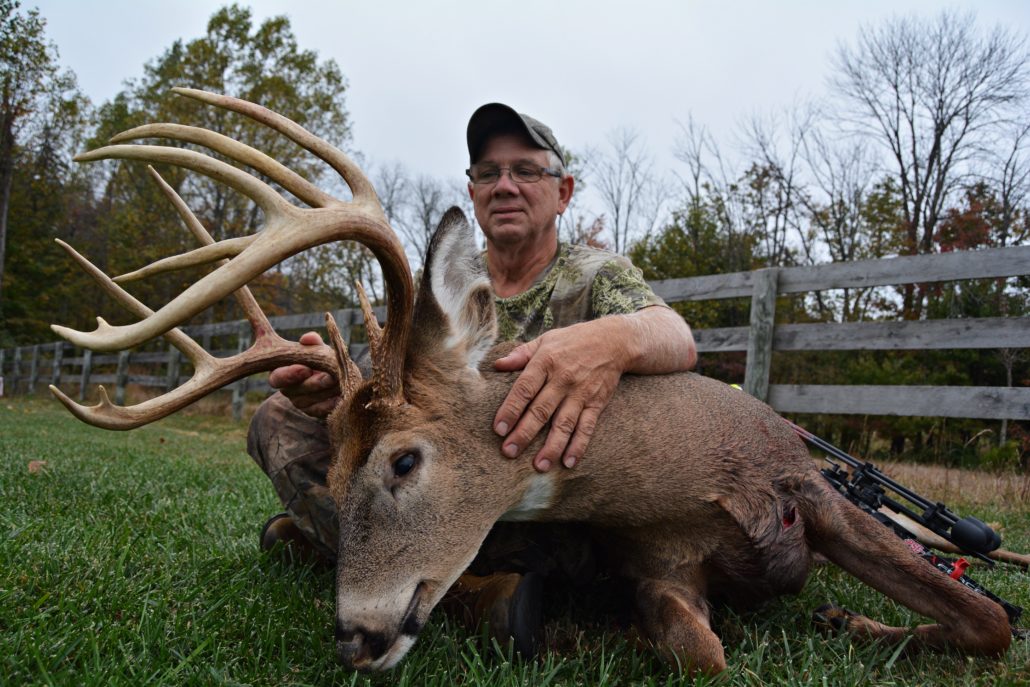
The biggest change in quality you will experience will be from utilizing different lenses and aperture settings. This will require a DSLR like a basic level Canon or Nikon. The basic level cameras normally come in packages with two different manufacturer’s lenses. Often the lenses are an 18-55mm and a 55-200mm both with an f-stop of around 5.6. Pictures with the 18mm will be close, personal, and wide angle shots.
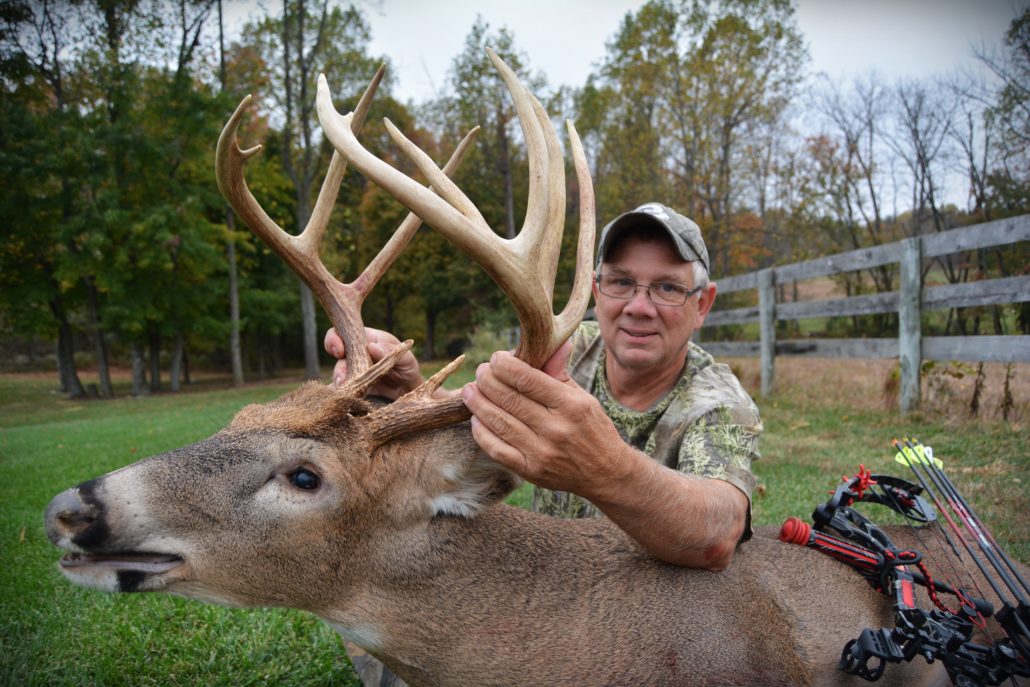
(Picture) – This picture was taken at 18mm focal length f/5.6.
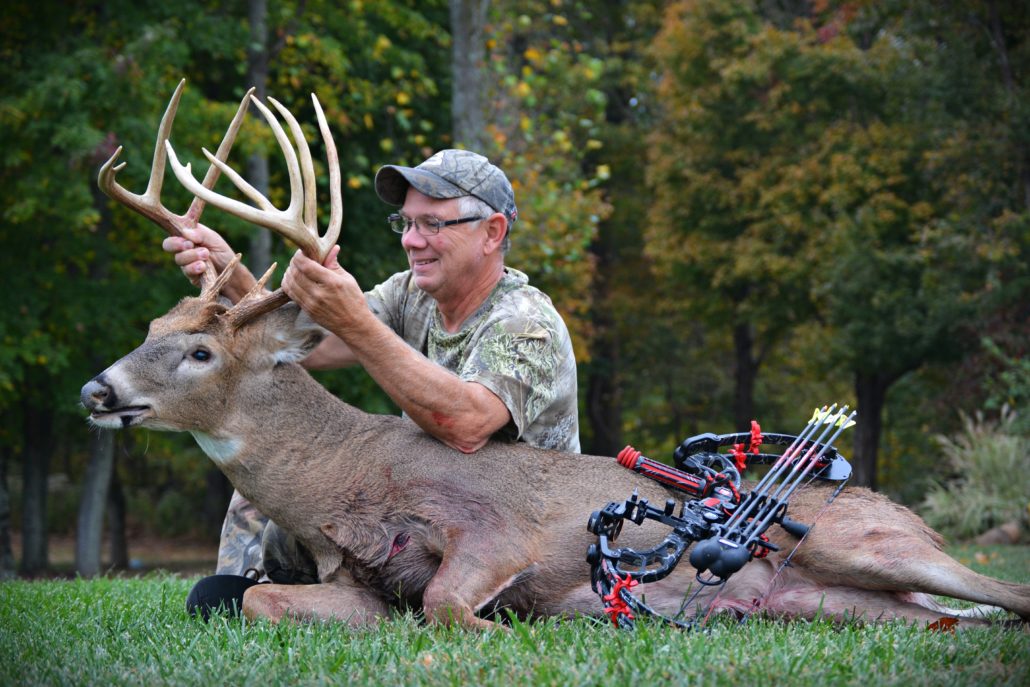
Pictures with the longer lens, 55-200mm, will result in a lot more constricted photo in regards to the background, but you are able to get a nice blurry background with an entry level lens.
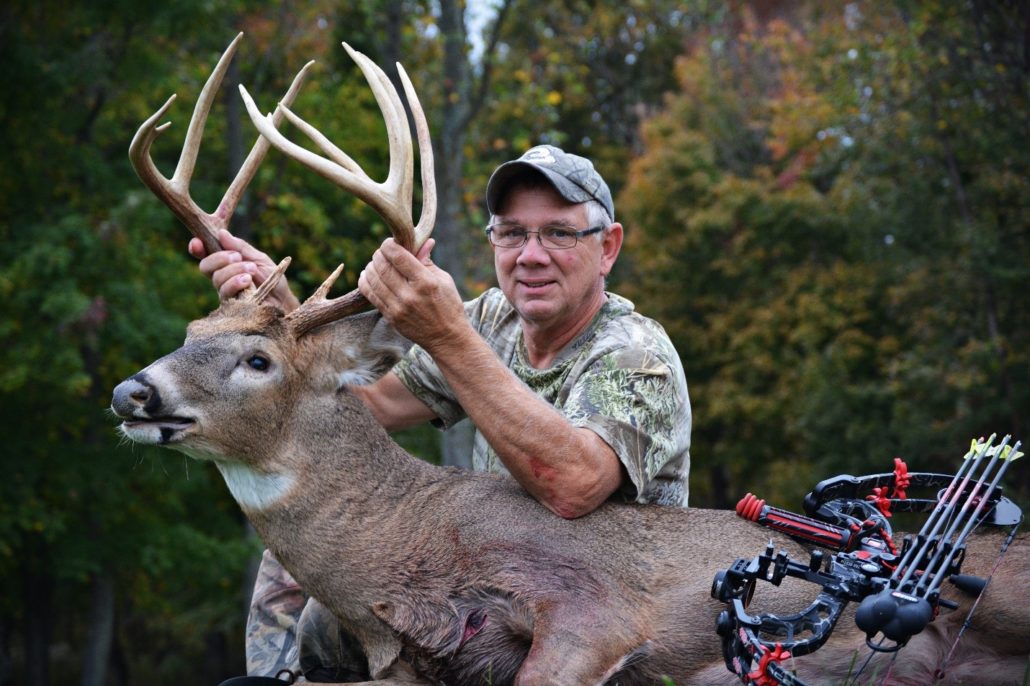
(Picture) – This picture was taken at a focal length of 150mm with f/5.6.
Get crazy with it! This is why having an experienced photographer can result in great pictures. If the talent does not exist, then at least a person with patience and time will be able to snap a couple hundred pictures with different lenses and settings and get a couple just right!
Conclusion
Remember, you will want these pictures for the rest of your life! Take the time to set your location, area, and buck up correctly. Be sure to take your trophy buck pictures by employing multiple angles, with different lenses, and settings. By the time the last picture is taken you should have a quality photo worth sharing and framing!
Intrested in scoring your trophy buck? You can score your buck today in just mintutes using the BuckScore® app. Click below to get started!
![]()


