Guidelines for the Perfect Trail Camera Setup
Trail Camera Setup for Scoring Deer with BuckScore®
By: Weston Schrank
Is there such a thing as a perfect trail camera setup? Every property, every hunter, and every trail camera setup is obviously different, but is there a general guideline that hunters should follow? The simple answer is yes! A perfect trail camera setup would be one that not only gives you exactly what you want in terms of information, but also produces flawless photos and videos. While the perfect trail camera setup might sound too good to be true, or subject to some very opinionated comments, a setup does exist that optimizes the intel received. How? This perfect trail camera setup guideline allows any hunter, anywhere to produce the best trail camera data for identifying and observing bucks.
What is the most valuable information you can receive from a trail camera photo or video?
Is it the time, how many deer, the moon phase, or the weather? While most of those are extremely important, the most valuable thing a trail camera can do is identify an individual buck. A blurry or extremely distant photo of a buck is worthless. Without knowing which buck has been captured, it’s pointless to start correlating the other information (like date, time, weather, etc.). These trail camera tips and setup guidelines will not only allow you to capture more bucks on your trail cameras, but also capture better photos and videos in order to identify and even score individual bucks!
How to Setup a Trail Camera “Correctly”
Now most hunters know how to set up a trail camera. Trail cameras have been around so long that even the most traditional hunters know the ins-and-outs of a game camera. However, with just a tad bit more knowledge, that experience can be turned into expertise. Pay attention to the trail camera tips below, and follow each step of this guideline to setup your trail camera perfectly!
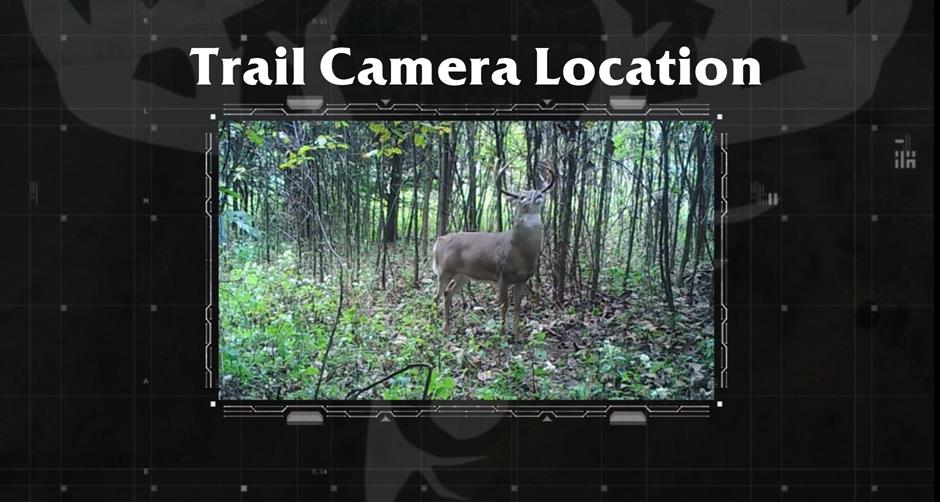
Trail Camera Locations
Don’t worry, I won’t start this trail camera tip off with the old real estate adage “location, location, location”. However, location is very important but it’s not exactly everything. Trail camera location is just the start. I believe that it usually points you in the right direction. Generally, you know the best spots to hang your camera. You may not know the exact tree, but I would presume you know the specific acre or so of ground you would put a camera. Often location is not the hard part, it’s actually the setup and hanging the trail camera that stumps most hunters. Even if you get in within the right acre, the setup direction, height, and distance can be way off from what it actually needs to be at.
For those wishing to dive into a bit more actual “tips” than explanation, my top trail camera locations would revolve around (depending on the time of year):
- Runs
- Funnels
- Food Sources
- Oak flats
- Mock scrapes
- Bait stations/Mineral sites for deer
- Waterholes
Trail Camera Site Selection
We can narrow down the guideline of trail camera location further into trail camera site selection. Again the problem with the general term “location” is that within the one-acre area you have identified I might find three different sites I would put a camera. For example, the first site I could hang a camera on would be a run coming from a bedding area, the next would be the edge of a plot, and the third might be a giant community scrape just outside of the plot and the run. Generally, site selection for your camera needs to be decided by the highest probability of capturing bucks. In this example, the time of year would obviously decide where the camera would actually go. If it would happen to be October, I would lean strongly towards the mock scrape as there is a good chance any buck within that acre would scent check that scrape.
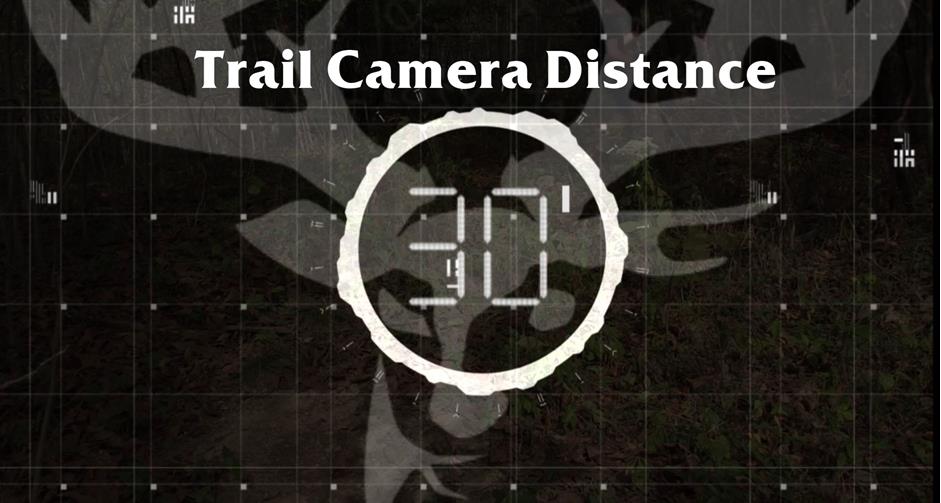
Trail Camera Distance from Target
When optimizing a trail camera for the best pictures and videos, you will want to pay special attention to the distance you are placing the camera from where you anticipate the deer being. Why is this important? Even the best trail camera photos, 14 MP or higher, have a point where the buck can become blurry. This fact, with the addition of some limited flash ranges, means that you could have several photos or videos that simply capture movement, yet fail to reveal enough detail to identify an individual buck. Following a rule of thumb, 10 yards or less is the ideal ballpark for a perfect trail camera video or picture. Most, if not all, trail cameras have a flash range containing more than 30 ft. They also have enough clarity to identify any buck within 10 yards.
Now you might be wondering, how on earth do I do that with something like an oak flat or food plot? An attraction like bait or a mock scrape can pull bucks into the correct range for a better picture. This is where clearly identifying the goals of the camera placement are important. A trail camera over a food plot on time-lapse will simply be for inventory or “plot watching”, not necessarily identifying individual bucks. If capturing individual buck movement patterns, behavior, and characteristics for identification is your goal then keep following along with these steps.
For the purposes of this article and general trail camera tips, if you are having difficulty determining distance, go ahead and place a mock scrape. Obviously, this only pertains to hunting season, but mock scrapes have become my favorite tactic for trail cameras over the past couple of years. The two bucks in the video are two of the best reasons I can offer!
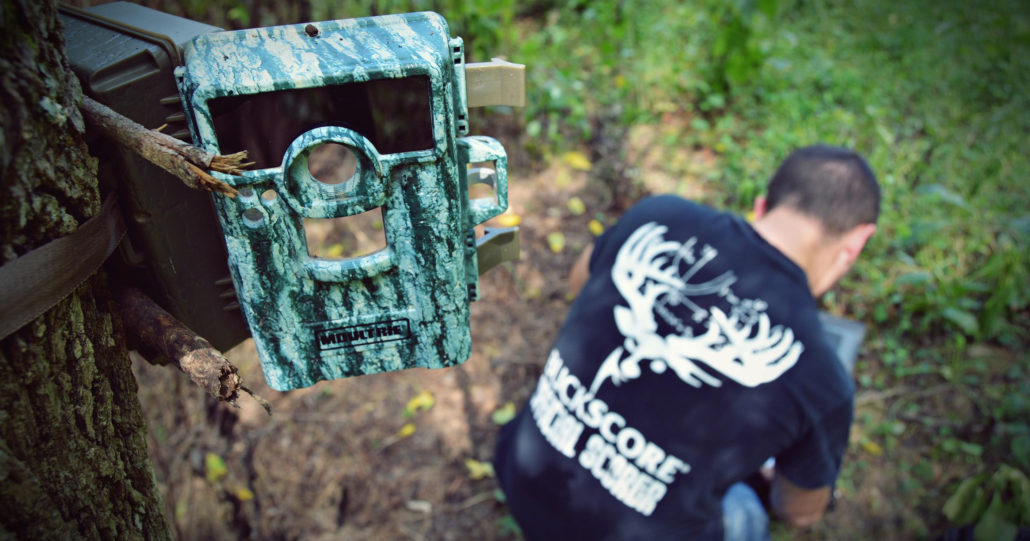
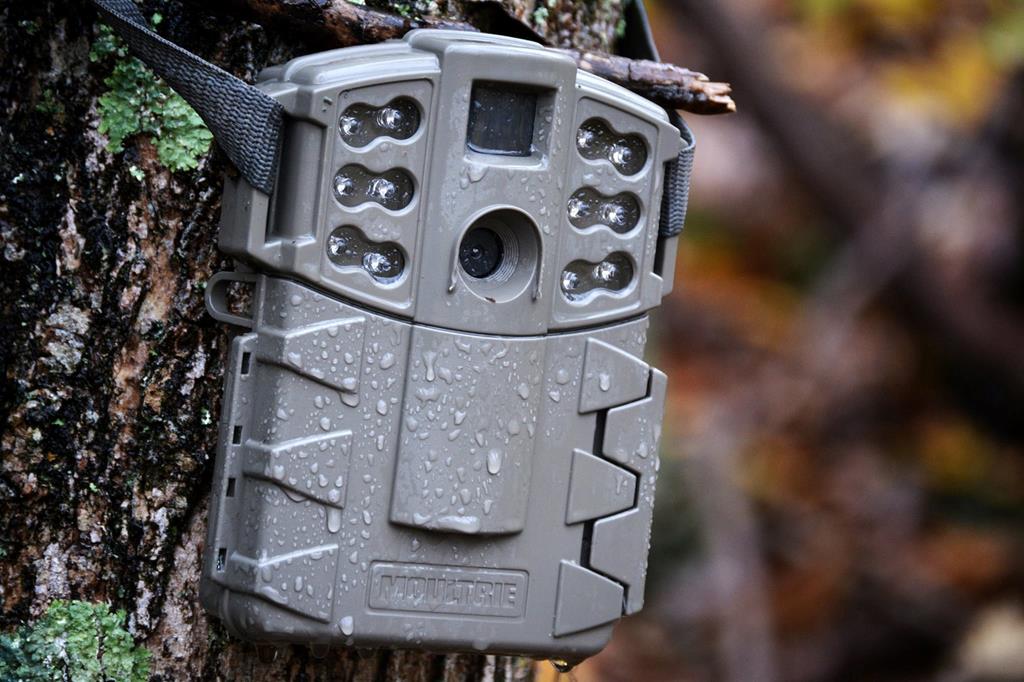
Hanging Your Trail Camera
For the best picture or video, you will want to set your trail camera up at the appropriate height. If there is a tree or fence post within the suggested 10 yards or closer to your target area then you are ready to hang your camera. If not, simply driving a T-post or trail camera stake into the ground will allow you to get your camera within the distance you anticipate the bucks to walk.
Putting a trail camera at the right height will eliminate many problems hunters come across at this point in the process. One of the main problems encountered is framing your photo or video. Obviously aiming the camera is the next step, but making sure the camera is somewhere around chest height, or 4-5 ft. is a good start. Also be sure you are not hanging the camera pointing east or west, where the sun could blind the camera.
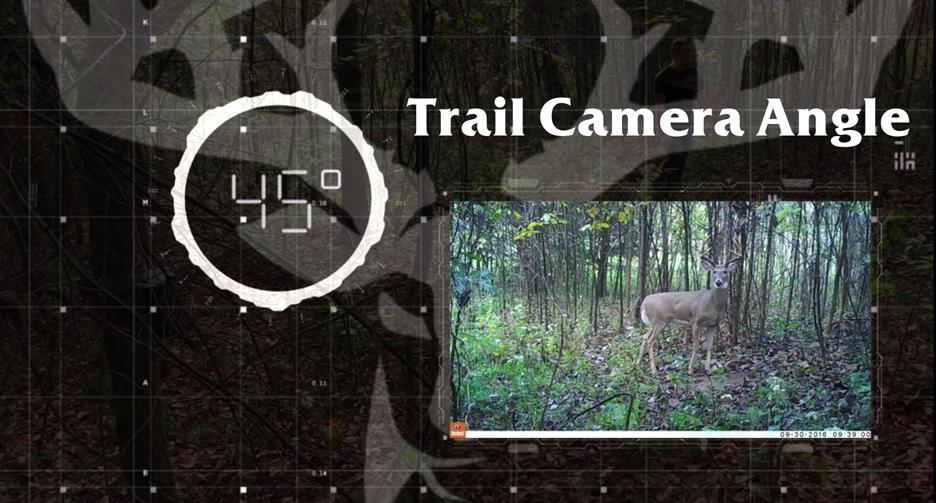
*Note: if you are placing a trail camera on a run, be sure to aim the camera at a 45-degree angle from the run. This ensures you do not have deer looking directly into the camera and won’t cause you to miss the deer as you might by placing the camera perpendicular to the run.
Next, you will need to make sure your camera angle is correct. This is where the old stick trick comes in. Don’t be ashamed, it is the oldest trick in the book! Just be sure the stick is firmly in place and won’t move with even the worst weather. Step off the distance one more time to make sure you are around the 10-yard mark. Finally, make sure the trail camera is aimed right at your chest while you are standing in the exact place you anticipate deer to stand or walk through.
Trail Camera Settings
When it comes to the perfect trail camera setup, the trail camera’s settings can be the most difficult challenge you deal with. Deciding on the camera mode, burst number, video length, interval, or sensitivity can be overwhelming. Again, each location, site, scenario, and goal can greatly affect the trail camera settings. However, there are certain settings that allow a more optimal chance of capturing an individual buck and from there, identifying and/or scoring the buck.
The best trail camera settings will give you the best overall picture and detail in order to review characteristics, behavior, or key identification features of the buck. While some might think this would be a high-quality photo, I would argue that video is far more advantageous for not only a hunting perspective, but an inventory and scoring perspective as well.
Trail Camera Video…Not Pictures
Think about the potential of what video can reveal. In the example video, you can learn a lot about the behavior of the buck. In the video you can see that “Dub”, the buck with the split G2s, is far more curious and careful than “Leroy”, the chocolate horned buck in the video. You can also tell that “Dub” might have been shot before as he is injured and limping. This intel would go unnoticed with simple pictures. Another advantage, especially when it comes to identifying and scoring bucks, is multiple angles! “Dub” and “Leroy” both offer several angles as they work the scrape and turn their head. This makes it easy to achieve a good angle in order to score the bucks, and identify the key body and antler features like “Dub’s” split G2s.
Note* -Multiple angles also allow you to freeze-frame the video in order to score the buck using BuckScore® at the most accurate angles and reference points.
This trail camera setup should allow you to not only obtain more information on the bucks you are hunting but obtain better, higher quality information that can be used to hunt them. These images can also be used to score your deer! By uploading and running the freeze-frame photo through the BuckScore® program, you will be able to accurately estimate an individual buck’s score!
Why BuckScore®?
Holding two U.S. issued patents, BuckScore® is the only science-proven program that allows you to score pictures of bucks in minutes. The app accurately estimates antler size including spread, beam length, tine length, and circumference all to calculate a Net and Gross score within 3% of the actual score. With BuckScore®, you have one app that organizes, documents, and scores all your big bucks.
BuckScore® Features:
- Works on any desktop, laptop, tablet, and most smartphones
- Score trail cam or harvest photos
- Know every measurement from spread to tine length
- Score calculated in minutes
- Manage buck photos across multiple years
- Edit buck photos in program
![]()

")


")

")


