Tag Archive for: trail camera setup

Trail Camera Survey | Take Inventory of Your Deer Herd This Winter

How to Run a Trail Camera Survey

By: Weston Schrank, BuckScore® Specialist and Biologist

The first of a long list of responsibilities for a deer and land manager is to find out what is going on the property. It’s been a long hunting season… some deer have been killed by hunters, others killed by predators. The cornerstone of your new property management plan, and next year’s harvest plan, is taking a census of which deer and how many there are on the property. The best way to do this is by running a post season trail camera survey.

Post Season Trail Camera Survey

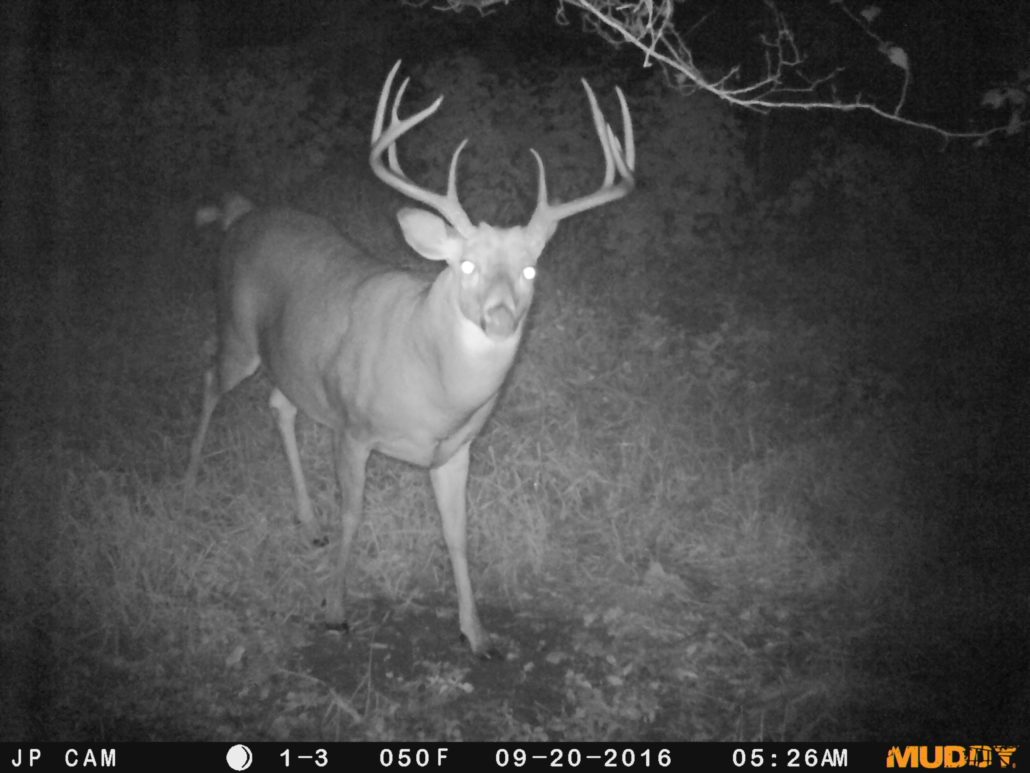
Most surveys are preseason surveys in summer, to determine which bucks are on the hit list… but a post season survey can be far more important to a deer manager. Population number, health assessments, post season age structure, and post season sex ratio are all very important to take note of after deer season.

Winter, specifically late February and March, is the hardest time for deer. A trail camera survey allows you to see the status, size, and overall health of the deer herd before this stressful time. Deer population numbers can fluctuate in terms of how many deer you actually see on the property. Your property may get an influx of deer stacking into your bedding areas, south slopes, and disturbed woodlots if you have a decent amount of cover and ideal habitat. This can cause a lot more stress to the property than what your management plan and property is set up for. Trail camera survey results combined with post season scouting can reveal management projects that might be needed before late February and March. This information also allows you to make smarter decisions on doe harvest, food plots, and even predator management!

What You’ll Need

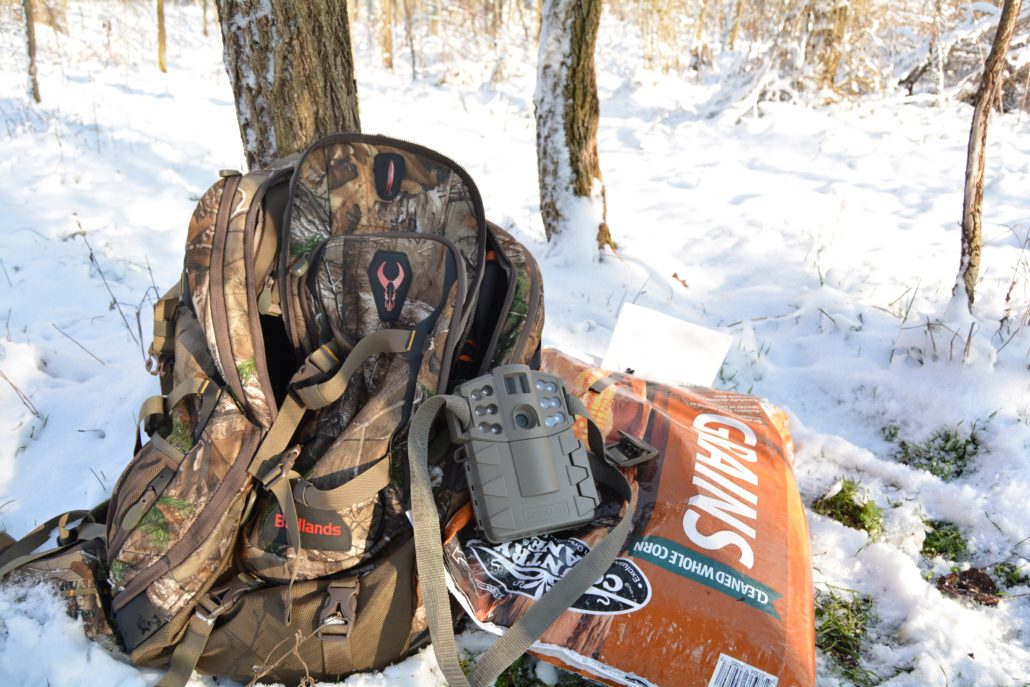
  • 300 – 500 lbs. of corn or more per 100 acres of property (depending on deer densities)
  • One trail camera per 100 acres of property
  • New batteries for your trail camera
  • 8 GB or larger SD card (check compatibility with camera)
  • Time, enough time to refill trail camera stations every 2-4 days (depending on deer densities)

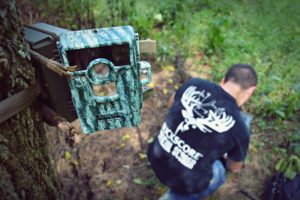
Trail Camera Survey Instructions

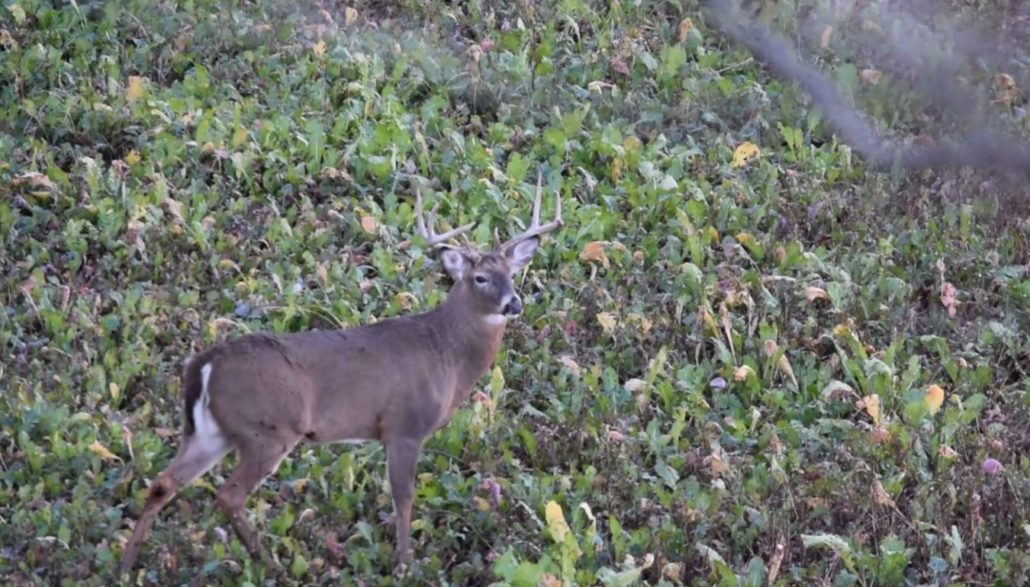
When setting up a survey you need to stick to the correct format that was conducted in the original research in order to get accurate results. The correct setup calls for a trail camera for every 100 acres. However, each property calls for different numbers depending on how it hunts, topography, and its habitat diversity. For example, while one camera may seem to cover an entire 70-acre property, you can learn from observations that each side of the property is used by different deer, and more importantly bucks, the number a survey uses as an index to estimate doe numbers. Setting up a trail camera on each side of this 70-acre property will give the ability to observe and identify each individual deer using the property. As another example, a 150-acre property in will have the same number of cameras. The habitat on this farm isn’t as diverse, meaning the deer move more freely from one camera location to the other.

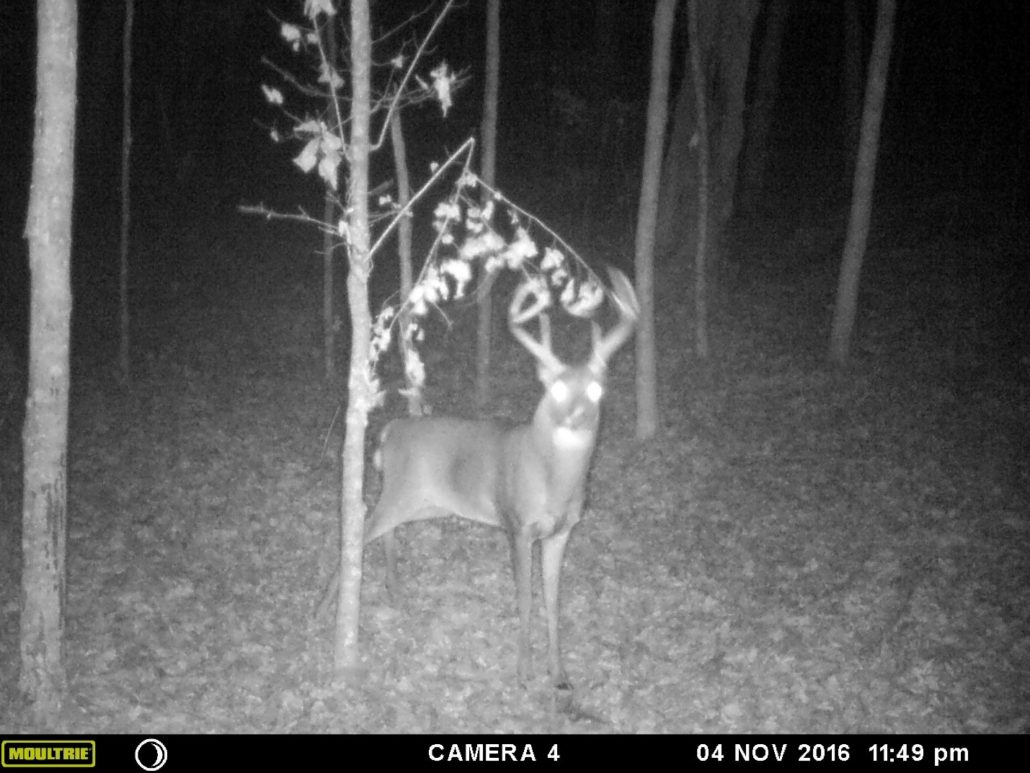
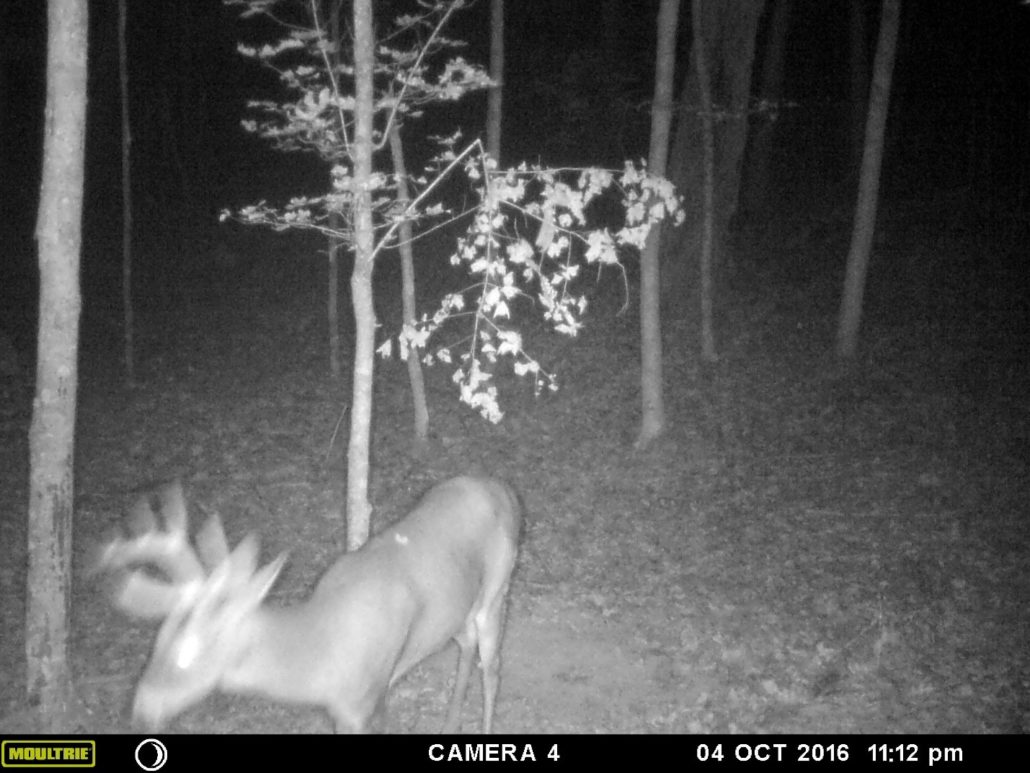
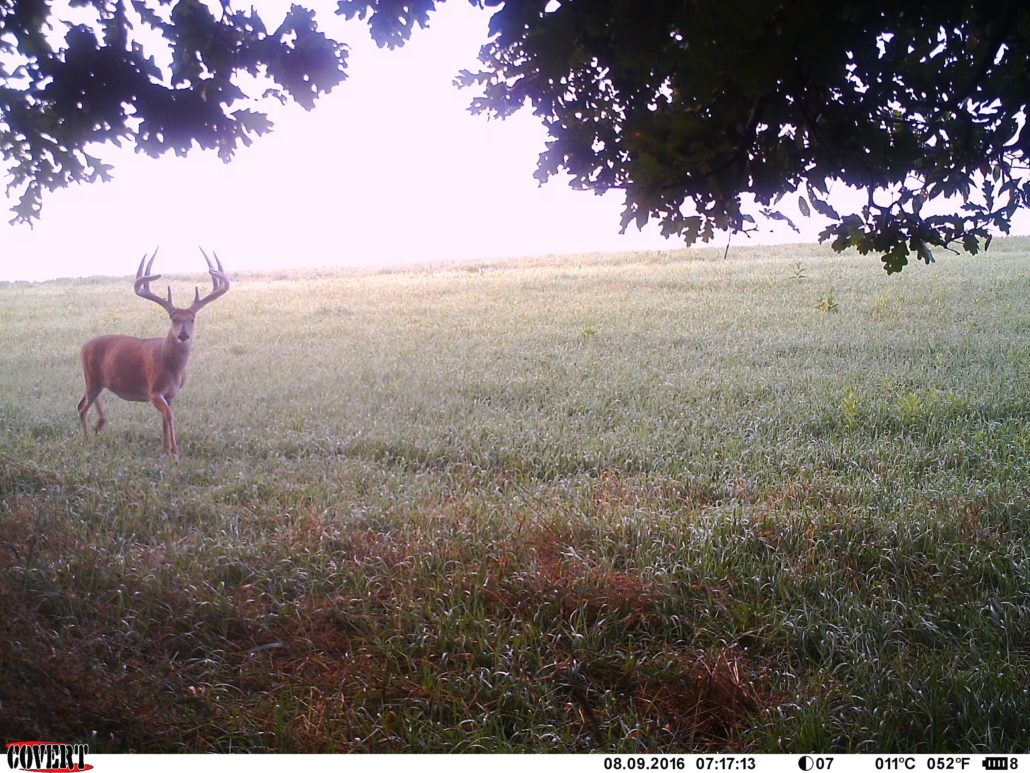
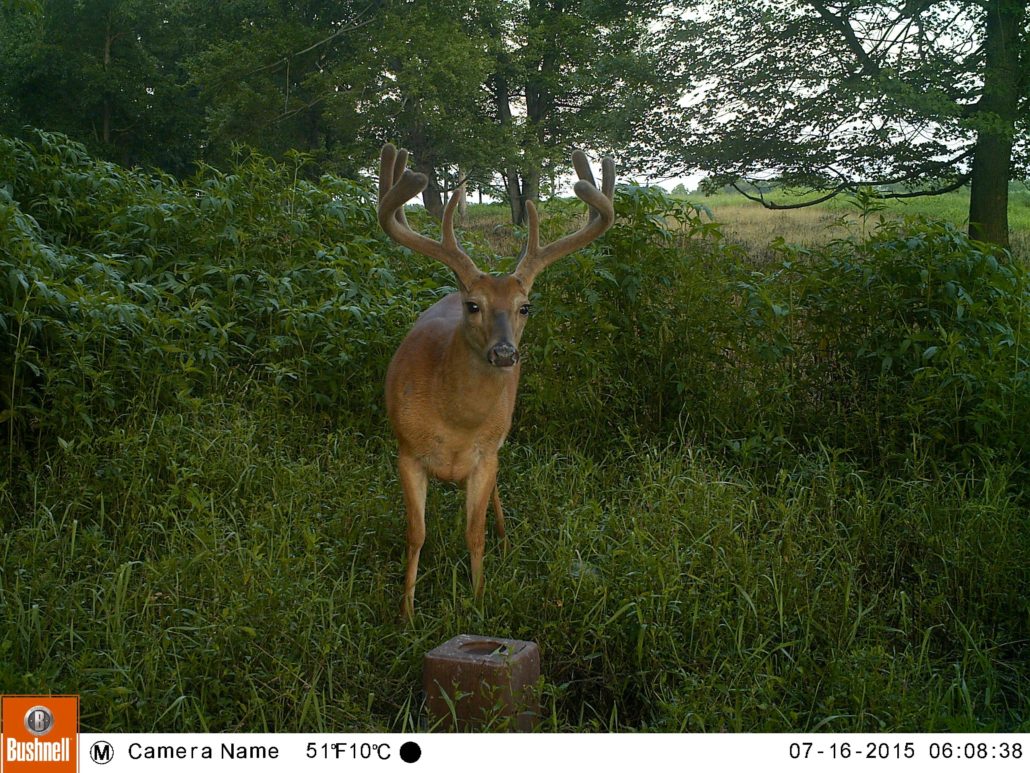
After deciding how many cameras you need, the location of the trail cameras is your next decision. Your ideal trail camera location would be an area that you can maximize deer encounters with. You will want an area that is relatively clean of brush, saplings, and tall grass, essentially anything that can set off the camera besides a deer. Set up the trail camera about chest high and facing north or south to keep the morning or afternoon sun from blinding your image. Place 50-100 lbs. of corn out about 10 yards from the camera.

After the area is cleaned up and corn is down, turn your attention to the proper trail camera settings. The most important aspect that is often messed up by hunters and landowners is the setting and duration of the survey. The correct settings are 1 photo burst with a 5-minute delay. Make sure you have fresh batteries and an empty formatted memory card and run the survey for 3 weeks or 21- 24 days. During this time, keep coming back to ensure there is always corn on the site.

Trail Camera Survey Results

Once the 3 weeks are up you will pull the cameras. By this time you might have already been finding sheds, or deer will be casting their antlers within a few short weeks. There is no reason to keep the corn and trail cameras running this late into the season.

You are now ready to start the most important part of the survey, calculating the deer population and making decisions based on the survey. While the calculations are relatively simple, making decisions based on the data can be a little more confusing.

Look out for another video coming out in the upcoming weeks on how to start calculating these trail camera survey results. We will walk you through how to identify bucks, estimate does and fawn numbers, score bucks on the hoof, and what results management decisions can be derived from. I will also be pairing these videos with off-season responsibilities and activities you can be doing now that can increase deer movement across your property for next year’s hunting season.

In the meantime, here are several blogs that you can check out to increase your knowledge of deer, deer management, and deer hunting!

Want to score bucks from trail camera photos? The BuckScore® program allows you to score a photo of a deer on your desktop or mobile in just minutes!

Images That Don’t Work When Scoring Deer with BuckScore®

Images That Don’t Work When Scoring Deer

Getting the perfect trail camera photo is hard enough. Add to it the pressure of trying to acquire a picture that would work to score with the BuckScore® program can feel next to impossible. This article’s aim is to clarify what pictures can be scored and what pictures cannot.

BuckScore® software scores deer based on the information you manually put in. The scoring starts with a reference feature. This measures the scale, angle, and other photo characteristics based on your manual measurement of the ear width, eye, or eye-to-eye measurement. After the reference feature, you will draw the other measurements on the antlers. This is why clear, crisp angles at correct angles must be used when using the BuckScore app.

Images That Cannot Be Scored Using BuckScore®

There are several images that won’t work when using the BuckScore® program, however they revolve around 4 main attributes.

  • Low quality 
  • Movement 
  • Angles  
  • Anatomically incorrect reference features (mounted deer) 

Low Quality

Why? – Lowquality images are simply too blurry or not detailed enough to accurately score with BuckScore®. Some cell phone pictures or any lowquality camera pictures, often from trail cameras, can lead to an inaccurate score. Inexpensive trail cameras with low megapixel images quickly become blurry when the deer gets further than 30 ft away from the camera. This is especially true if the image is captured at night. The “fuzzy” factor creates a lot of variation to exactly where a tinecircumference, or main beam measurement starts and ends. It can also throw the reference measurement off.

Photo: This image is low quality, but it also is at night. This renders the eye reference measurements useless as the glare exaggerates the eye location and width. This buck also has his ears laid back which does not allow the ear reference measurement to be taken.  

Solution – The obvious solution here is to get a better camera. Most medium price range cameras offer 8-12 MP images. However, that is not going to fly with most hunters on a budget! The best option, in this case, is to bring the deer in closer. You can do this by setting up the trail camera differently on the run or food plot or simply create a point of attraction. Bait, licks, or mock scrapes are all great ways to stop a deer for a close detailed picture.

Movement

Why? – This one is pretty self-explanatory…movement causes blurry images. Blurry Images cause inaccuracy in the BuckScore® program. Even a slightly blurry picture due to movement can throw off circumference measurements and reference point measurements by an inch or moreA camera with a higher trigger speed and the ability to freeze images with a quick shutter speed is needed to capture moving deer. Higher price range cameras do a fantastic job of freezing images.


Photo: The buck in this image is not only moving, but his head is also at an angle that could significantly alter the accuracy of the score.

Solution – Try a camera with a faster motion freeze/trigger speed. If your camera is on a run, try stopping them with a point of interest, bait, scrape, or deer scent. Essentially something to stop them in their tracks!

Angles

Why? – BuckScore® can accurately score images of deer at the 0°, 22° , 45°, 66°, and 90° angles. Essentially if the buck’s head is level and facing towards the camera the picture can be scored. Angles refer to not only deer facing away from the camera, but also the head being tilted forward, backward, or another variation that could cause variation in measurements. This means that bucks in the back of truck beds, lying flat on the ground, or pictures of bucks eating from bait piles cannot be scored.

Photo: In this picture, the buck is turned away from the camera. This can drastically overestimate the size of the rack and as a result, the BuckScore® results.

Solution  Making sure the trail camera is level is one easy way to make sure the deer’s head and the image is level. Of course, you can’t always get a buck to hold his head level, especially during the rut and images over bait. Having a higher burst photo mode or a video mode can allow you to make sure you drastically improve your odds of getting a shot of the buck’s head level and at the correct angles.  

Mounted Deer

Why?  Mounted deer give you the ability to take the perfect picture for scoring deer with BuckScore®. However, the mounting process might throw off the reference measurements. While the score of the antlers remain the same, the reference features (ear, eye, and eye-to-eye) could all be anatomically incorrect. This will throw off the BuckScore® results.


Solution Take a picture of the harvest according to the BuckScore® harvest photo guidelines. This will allow you to score a picture of a harvested deer.

5 Examples of Pictures That can be Scored

Of course, most photos can be scored by BuckScore®. These include pictures of harvested bucks or hero pictures. Take a look at some of the example pictures below. If you still have questions about scoring deer with BuckScore® contact us here.  

Photo: With good camera quality, even deer far away from the camera can be scored.


Photo: BuckScore® can adjust for velvet pictures. Just simply check the box that asks if the buck is in velvet.


Photo: If you film your hunts or have a great camera in the stand with you, you can take photos or screenshots of bucks encountered in the field. Video is the best option, so you can go back and screenshot when the buck turns his head to an appropriate angle for scoring.


Photo: A higher grade camera allows you to get a great night time photo. With high trigger speed, shutter, and great quality you are able to capture the buck without movement and an overestimated eye glare.


Photo: Taking a picture of a harvested deer can allow you to score the buck within minutes, without breaking out the tape!

Curious about how to take a picture of a harvested deer to score on BuckScore®? Check it out below!