How to Properly Capture a Photo of Your Trophy Buck

Photography Tips for Taking the Perfect Trophy Buck Pictures!

Congratulations, you’ve just harvested a true trophy! Now comes the fun part, making that memory last! Taking a quality photo with your harvested buck can be one of the most important things you do after the hunt. In today’s world, the picture you take is how you will announce your success to the world. Besides social media, these pictures will also be placed on your computer and cell phone background, framed in your house, and will probably go up on some local bragging boards! These photography tips will ensure you take images that are close to flawless, creating a high-quality trophy buck pictures that will last you a lifetime!

How to Take Great Trophy Buck Pictures!

Hopefully, you are reading these tips on taking a great hero or harvest photo before you actually wrap your tag around a buck. If not then go ahead and get moving on the first few tips! First, before you head out into the field you will need a few things!

List of items to take when taking hero pictures:

  • A “talented” person behind the camera
  • A high-quality camera (if available)
  • Multiple lenses
  • Wet wipes
  • White lights or a lot of headlamps (if night)

The Camera

Everyone has a phone, so that satisfies the basic need for a camera. Today’s phones actually take remarkable photos and taking pictures with a phone is relatively simple. However, if you are wishing to take a stunning picture that can be blown up on canvas or in a big frame, then you will want to snag a better camera. If you have a digital camera, or a DSLR for family pictures, go ahead and grab that with any lenses that you have for it. If you don’t have a nice DSLR or another camera, go ahead and scroll through your contact list to see if anyone you know has one. Chances are between family, friends, or any parents with kids in sports, you will find a great camera without much work.
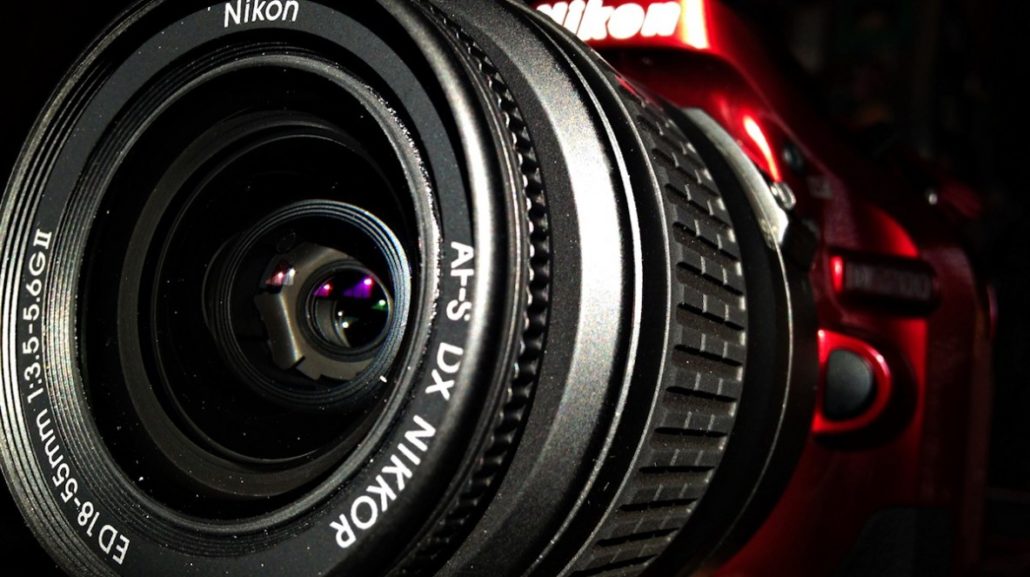
If you are considering buying a camera, a basic entry-level DSLR ($300-$1,000) is a good camera for hero shots like this. These cameras can also be used to film your own hunts if you are into that sort of thing!

The “Talent”

Besides the camera, the photographer is the next vital aspect of taking great buck pictures. You do not want to select someone that lacks creativity or that might get frustrated when you ask for multiple angles and shots. It also helps if they have experience taking photos at the amateur level at least.

When a trophy buck hits the ground, it always seems to be one of the worst times for anyone to come and help drag and/or take pictures. If you do not have anyone to take pictures, then its time to use the time delay feature! Most cameras including most DSLRs and cell phones have a default timer  If you happen to get someone out there who doesn’t have any experience taking photos, go ahead and run them through a couple of the key tips below. A quick read could make a drastic difference in the quality of your trophy buck pictures.
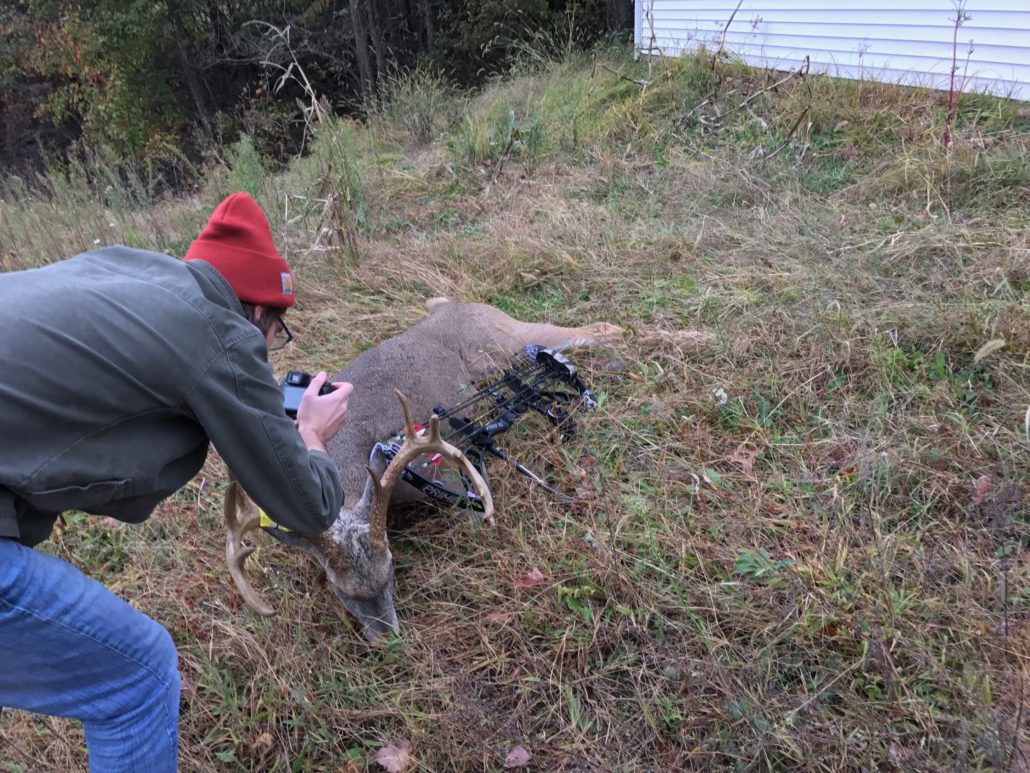
Trophy Buck Photography Tips

Buck check, camera check, photographer check…you are now ready to read through the tips below and start taking pictures!

Rigor Mortis

One of the first tips you will need to deal with right after the kill is rigor mortis. Depending on when you recovered your deer and the time of day, your best pictures will be taken while the buck is still fresh and not stiff. The ability to move the head at different angle drastically helps retain the “natural” look. If worse comes to worse, and you need to wait until the following morning to take pictures, make sure you set the buck up in a proper position for pictures. If you hang your buck he will have his neck fully extended and legs straight out the next morning. The pictures will not look natural.
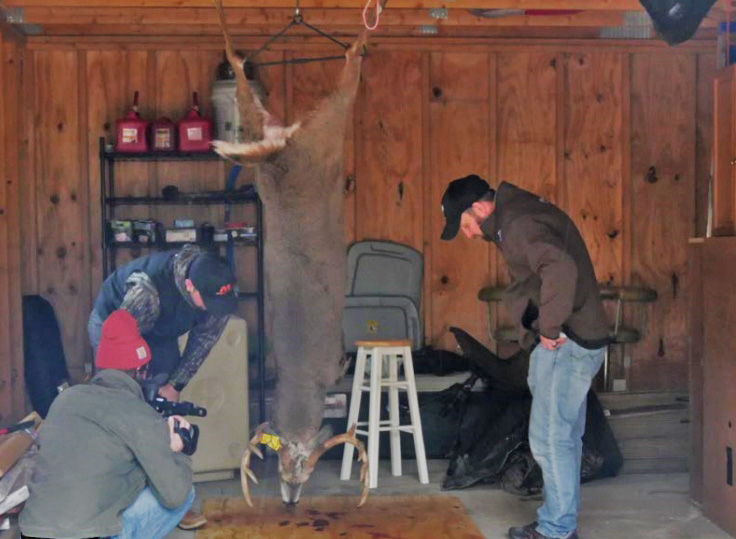
The ideal setup for the buck is the front legs tucked under the chest. This not only props the buck up like he is naturally laying down but also presents a full chest. Finally, make sure the head is propped up and is turned to one direction. Typically you will turn the buck’s head to the side you shot him on in case the exit from the bullet or arrow is a bit gory. On big bucks, this also shows the neck folds and the true weight/size of the bruiser. If you are setting the buck up and not hanging him, be sure you set him in a place that dogs or coyotes cannot reach him.

Timing is Everything

If at all possible avoid night pictures. Take a couple of photos that night, prop the buck up using the guidelines above, and wait until the early morning hours to start taking your real hero pictures. Typically the early morning or late afternoon offers the best lighting for taking pictures unless it is an overcast day. Direct sunlight is very harsh while taking pictures and also creates shadows across the buck, the background, and even the hunter’s face. Typically, late afternoon offers great picture taking. Not only do you get to experience the “golden hour” with dramatic sunsets, but also the low gray light that comes afterward.

The Desired Setting

The location in which you take your hero shot is entirely your decision. Typically the most common places are where the buck is found, where the buck was shot, or a key area that played a significant role in the hunt. These areas are often food plots, crop fields, pastures, oak flats, waterholes, or by a stream, river, or creek. On the other hand, you might have that historically great spot for pictures. This could be in front of a notable object on the property, an old barn, on the highest hill, or in the biggest field in the area.

Typically, you will want an area that offers plenty of distance behind where you and the buck are sitting. A distant background that is dark will offer a high contrast to the buck’s antlers. It also allows for plenty of blur in the picture behind you and the buck. Hills or even the slightest bit of topography can help provide great backgrounds, angles, or even sky lighting the buck’s antlers on a blue sky.

The Immediate Area and Items

One disaster that could result from these pictures could be a total embarrassment. Taking a picture that is too gory, has a funny item, too much brush, or is unsafe (gun pointed straight at your head) can and will be called out.  This is where the wet wipes come in. Be sure to clean up any bloody noses, blood on the antlers, or any mess that you might have made while field dressing the buck.

After you choose a location, make sure you clear out the area of any grass, sticks, branches, or objects that could interrupt the picture. After clearing, take a moment to think about what items or object you might want in the photo. Don’t go crazy with the product shots! However, your bow or gun is always acceptable. Also, make sure you are wearing the gear you hunted in. This includes any hunter orange or legal items that should be in the photo. Make sure if it is firearms season that you and anyone you are with continuously wear orange throughout the photo shoot.
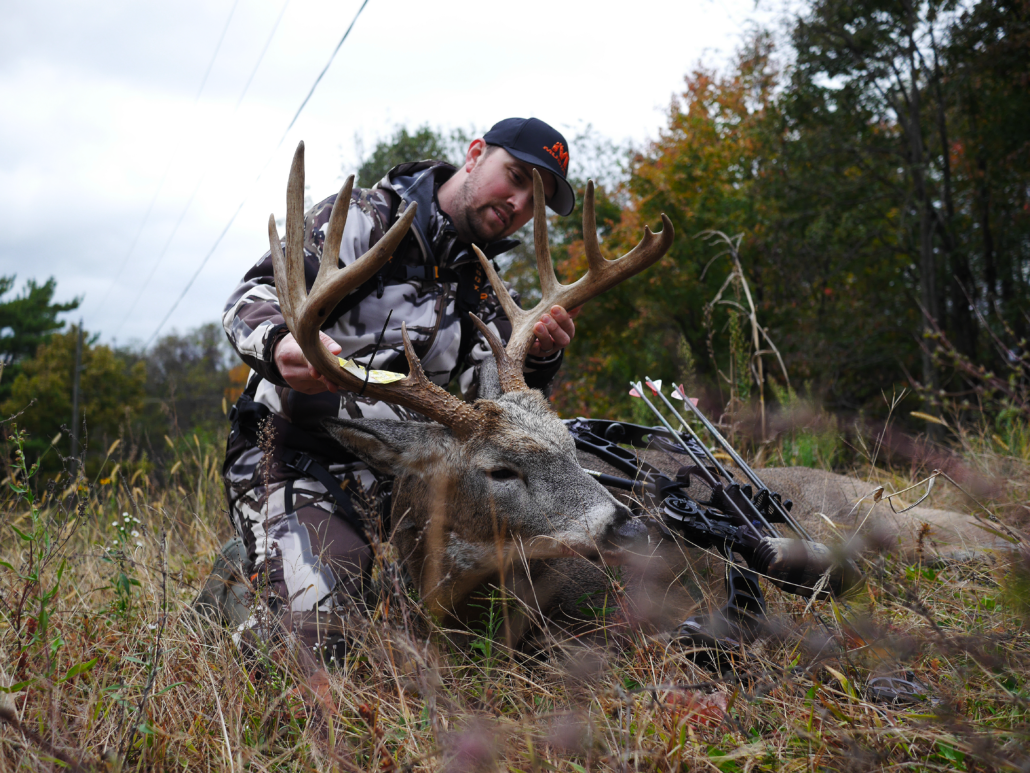
Why So Serious?

Smile for heaven’s sake! You just harvested a trophy, something that probably took hours, days, weeks, and months out of your life to complete.  A couple of serious pictures are acceptable, but this is a happy time! Be sure to get anyone involved in the hunt in the picture including cameramen or women, property owners, or family members. The family is always nice to have in your buck pictures as you will probably make it your profile picture or background. This way you get your trophy buck, and the people you love most in the same photo!
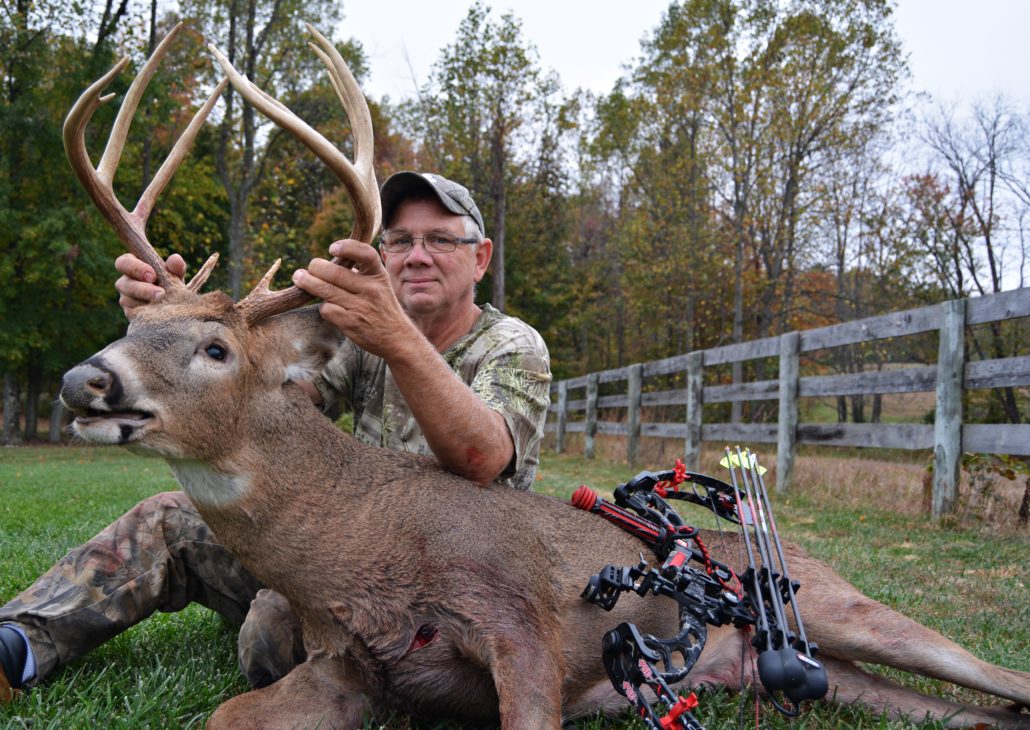
Framing and Positioning

Making sure the pictures are correctly framed is vital. Making sure there is enough margin between the edge of the photo and the buck is critical to creating a frame worthy picture. Of course, there are angles and pictures where the frame will be off on purpose. However, in nearly all the photos you will want correct portions of in-focus subjects ( you and the buck ) and the background ( the fence, trees, field in the picture below).
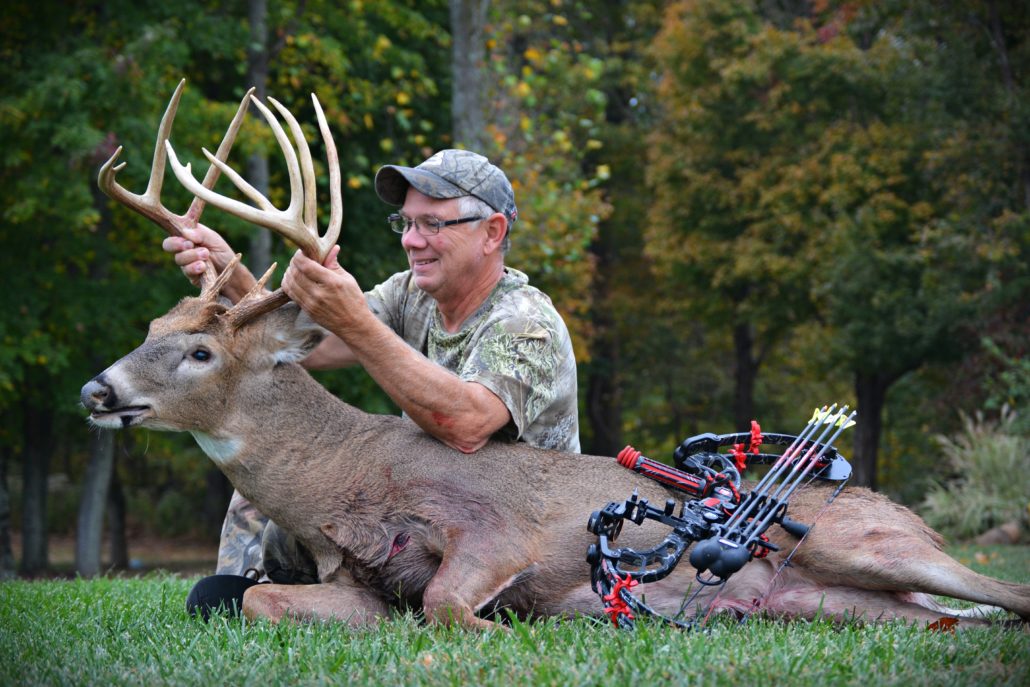
In the frame, the most common positioning you will see is the buck positioned with the hunter directly behind the buck. It is important that the hunter is sitting so the true size of the buck is proportional to the hunter. Don’t go crazy overboard with sitting dramatically behind the buck. This over-exaggeration is something you will see way too often in the hunting and fishing industry!

Hands

It is important to keep as much of your hand off the deer as possible. Some brutes are hard to hold up! Using a stick or pack to keep the deer’s head elevated could be useful so you are able to only place a couple of fingers on the far antler of the buck. The most impressive feature of the buck is his antlers…don’t cover them up!
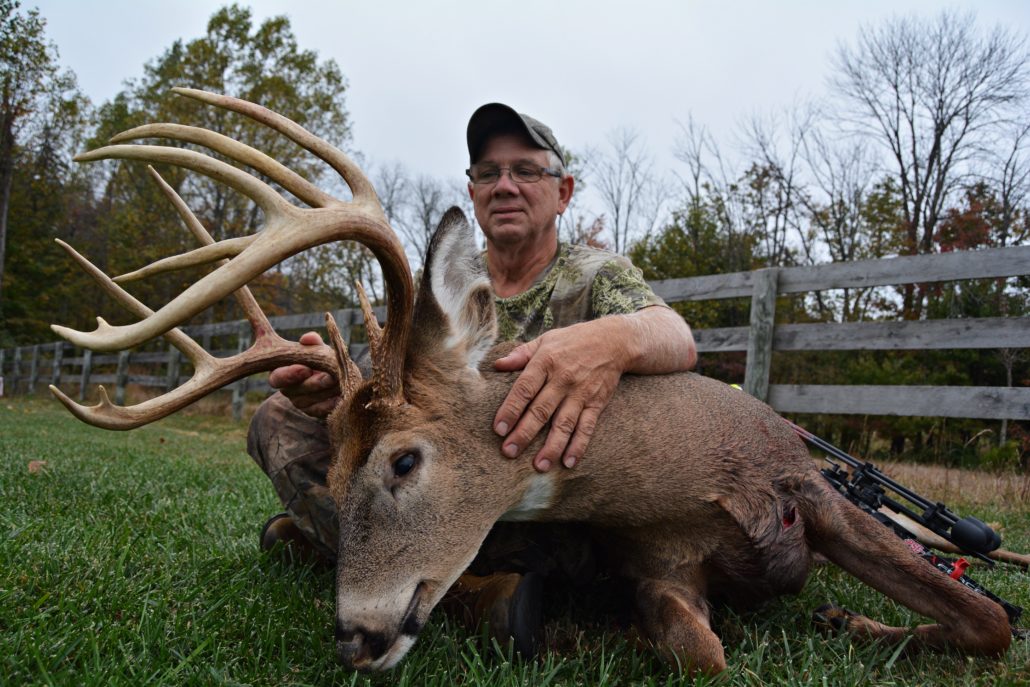
Focus, Focal Length, Aperture, and Exposure

Aperture – the variable opening by which light enters a camera.

Focal length – distance between the center of a lens and its focus.

Exposure – the amount of light reaching the camera sensor.

While these terms may seem a little advanced, they are really quite simple. Most of the time, the auto function of your camera or cell phone will be more than adequate to snap a great picture of your buck. However, playing with the settings could drastically alter your picture and take it from great to simply amazing! Often, messing with these settings works when taking pictures at several angles. For example, focusing on the deer’s head and antlers at an upward angle could result in a very cool picture of the buck standing alone with the hunter in the background.

The biggest change in quality you will experience will be from utilizing different lenses and aperture settings. This will require a DSLR like a basic level Canon or Nikon. The basic level cameras normally come in packages with two different manufacturer’s lenses. Often the lenses are an 18-55mm and a 55-200mm both with an f-stop of around 5.6. Pictures with the 18mm will be close, personal, and wide angle shots.
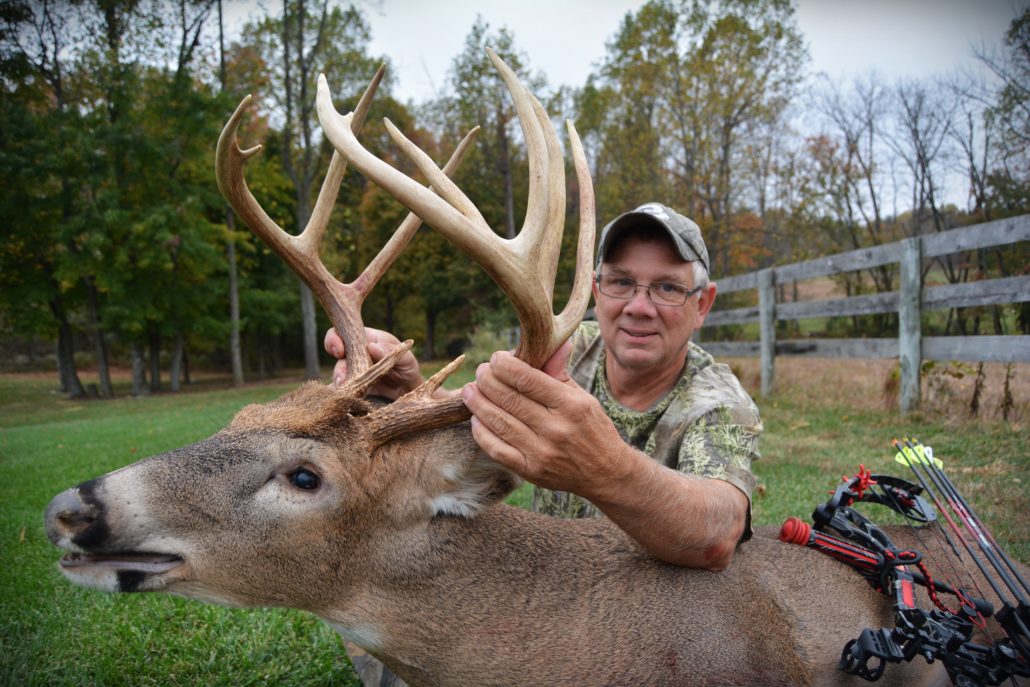
(Picture) – This picture was taken at 18mm focal length f/5.6.

Pictures with the longer lens, 55-200mm, will result in a lot more constricted photo in regards to the background, but you are able to get a nice blurry background with an entry level lens.
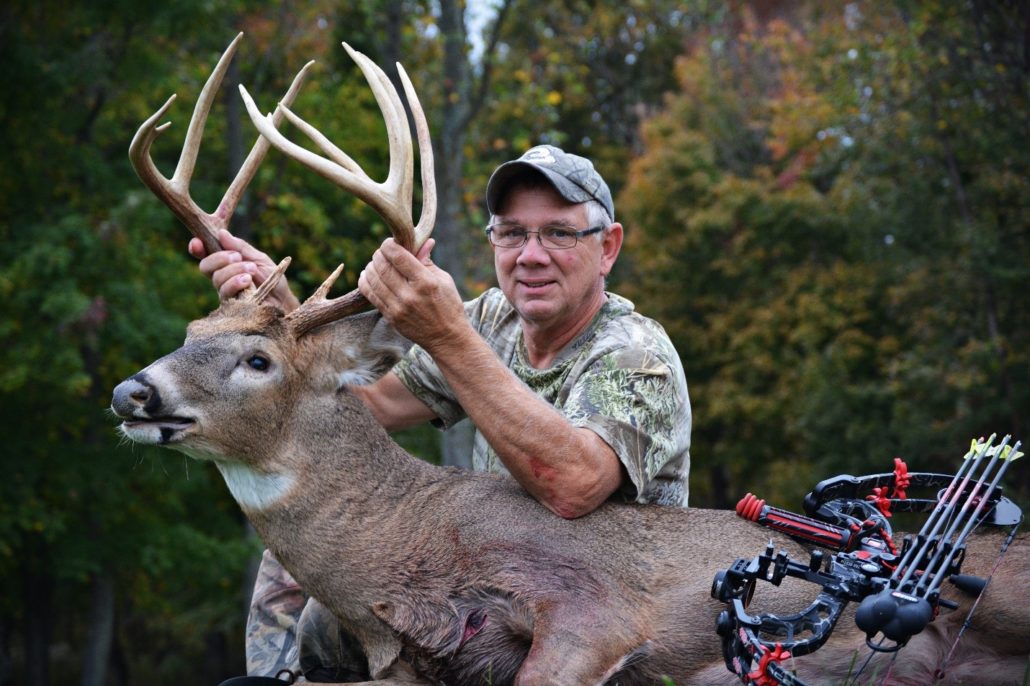
(Picture) – This picture was taken at a focal length of 150mm with f/5.6.

Get crazy with it! This is why having an experienced photographer can result in great pictures. If the talent does not exist, then at least a person with patience and time will be able to snap a couple hundred pictures with different lenses and settings and get a couple just right!

Conclusion

Remember, you will want these pictures for the rest of your life! Take the time to set your location, area, and buck up correctly. Be sure to take your trophy buck pictures by employing multiple angles, with different lenses, and settings. By the time the last picture is taken you should have a quality photo worth sharing and framing!

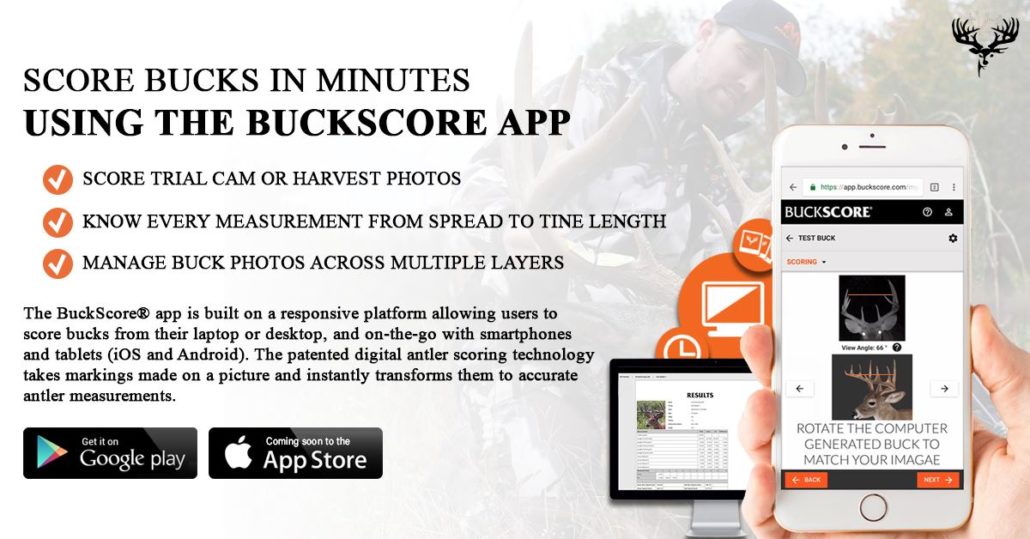
Intrested in scoring your trophy buck? You can score your buck today in just mintutes using the BuckScore® app. Click below to get started!

Buy Buckscore Antler Scoring Software NOW


Guidelines for the Perfect Trail Camera Setup

Trail Camera Setup for Scoring Deer with BuckScore®

By: Weston Schrank 

Is there such a thing as a perfect trail camera setup? Every property, every hunter, and every trail camera setup is obviously different, but is there a general guideline that hunters should follow? The simple answer is yes! A perfect trail camera setup would be one that not only gives you exactly what you want in terms of information, but also produces flawless photos and videos. While the perfect trail camera setup might sound too good to be true, or subject to some very opinionated comments, a setup does exist that optimizes the intel received. How? This perfect trail camera setup guideline allows any hunter, anywhere to produce the best trail camera data for identifying and observing bucks.

What is the most valuable information you can receive from a trail camera photo or video?

Is it the time, how many deer, the moon phase, or the weather? While most of those are extremely important, the most valuable thing a trail camera can do is identify an individual buck. A blurry or extremely distant photo of a buck is worthless. Without knowing which buck has been captured, it’s pointless to start correlating the other information (like date, time, weather, etc.). These trail camera tips and setup guidelines will not only allow you to capture more bucks on your trail cameras, but also capture better photos and videos in order to identify and even score individual bucks!

How to Setup a Trail Camera “Correctly”

Now most hunters know how to set up a trail camera. Trail cameras have been around so long that even the most traditional hunters know the ins-and-outs of a game camera. However, with just a tad bit more knowledge, that experience can be turned into expertise. Pay attention to the trail camera tips below, and follow each step of this guideline to setup your trail camera perfectly!

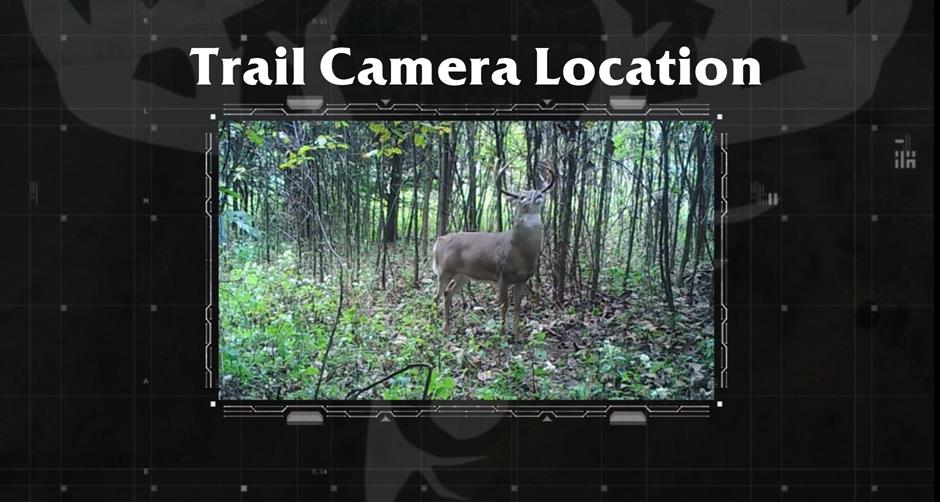
Trail Camera Locations

Don’t worry, I won’t start this trail camera tip off with the old real estate adage “location, location, location”. However, location is very important but it’s not exactly everything. Trail camera location is just the start. I believe that it usually points you in the right direction. Generally, you know the best spots to hang your camera. You may not know the exact tree, but I would presume you know the specific acre or so of ground you would put a camera. Often location is not the hard part, it’s actually the setup and hanging the trail camera that stumps most hunters. Even if you get in within the right acre, the setup direction, height, and distance can be way off from what it actually needs to be at.

For those wishing to dive into a bit more actual “tips” than explanation, my top trail camera locations would revolve around (depending on the time of year):

  • Runs
  • Funnels
  • Food Sources
  • Oak flats
  • Mock scrapes
  • Bait stations/Mineral sites for deer
  • Waterholes

Trail Camera Site Selection

We can narrow down the guideline of trail camera location further into trail camera site selection. Again the problem with the general term “location” is that within the one-acre area you have identified I might find three different sites I would put a camera. For example, the first site I could hang a camera on would be a run coming from a bedding area, the next would be the edge of a plot, and the third might be a giant community scrape just outside of the plot and the run. Generally, site selection for your camera needs to be decided by the highest probability of capturing bucks. In this example, the time of year would obviously decide where the camera would actually go. If it would happen to be October, I would lean strongly towards the mock scrape as there is a good chance any buck within that acre would scent check that scrape.

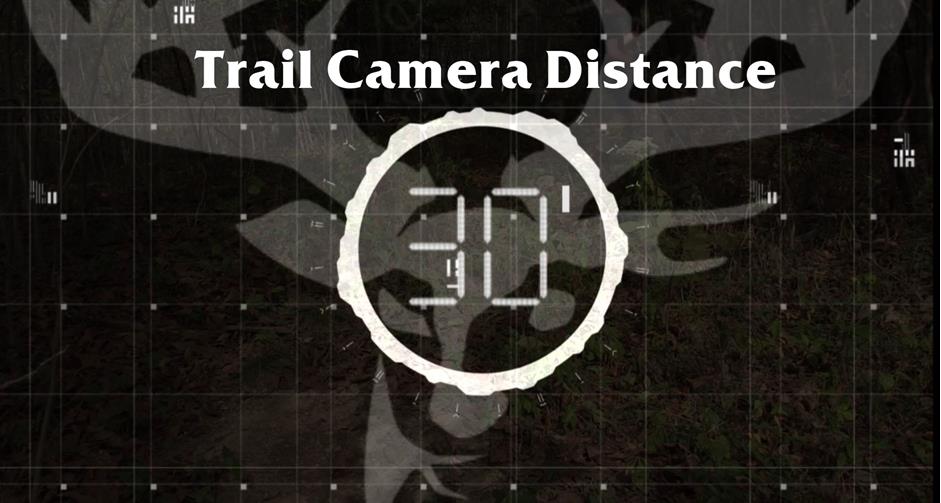
Trail Camera Distance from Target

When optimizing a trail camera for the best pictures and videos, you will want to pay special attention to the distance you are placing the camera from where you anticipate the deer being. Why is this important? Even the best trail camera photos, 14 MP or higher, have a point where the buck can become blurry. This fact, with the addition of some limited flash ranges, means that you could have several photos or videos that simply capture movement, yet fail to reveal enough detail to identify an individual buck. Following a rule of thumb, 10 yards or less is the ideal ballpark for a perfect trail camera video or picture. Most, if not all, trail cameras have a flash range containing more than 30 ft. They also have enough clarity to identify any buck within 10 yards.

Now you might be wondering, how on earth do I do that with something like an oak flat or food plot? An attraction like bait or a mock scrape can pull bucks into the correct range for a better picture. This is where clearly identifying the goals of the camera placement are important. A trail camera over a food plot on time-lapse will simply be for inventory or “plot watching”, not necessarily identifying individual bucks. If capturing individual buck movement patterns, behavior, and characteristics for identification is your goal then keep following along with these steps.

 For the purposes of this article and general trail camera tips, if you are having difficulty determining distance, go ahead and place a mock scrape. Obviously, this only pertains to hunting season, but mock scrapes have become my favorite tactic for trail cameras over the past couple of years. The two bucks in the video are two of the best reasons I can offer!

Hanging Your Trail Camera

For the best picture or video, you will want to set your trail camera up at the appropriate height. If there is a tree or fence post within the suggested 10 yards or closer to your target area then you are ready to hang your camera. If not, simply driving a T-post or trail camera stake into the ground will allow you to get your camera within the distance you anticipate the bucks to walk.

Putting a trail camera at the right height will eliminate many problems hunters come across at this point in the process. One of the main problems encountered is framing your photo or video. Obviously aiming the camera is the next step, but making sure the camera is somewhere around chest height, or 4-5 ft. is a good start. Also be sure you are not hanging the camera pointing east or west, where the sun could blind the camera.

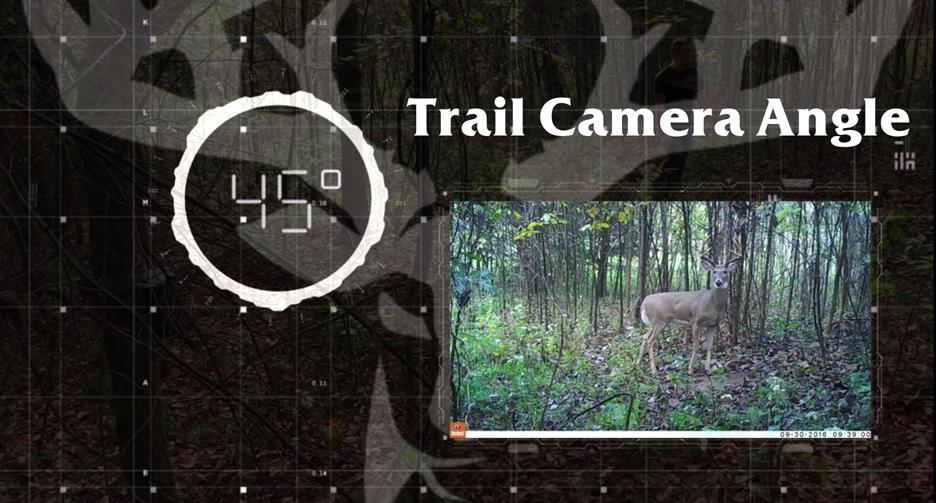
*Note: if you are placing a trail camera on a run, be sure to aim the camera at a 45-degree angle from the run. This ensures you do not have deer looking directly into the camera and won’t cause you to miss the deer as you might by placing the camera perpendicular to the run.

Next, you will need to make sure your camera angle is correct. This is where the old stick trick comes in. Don’t be ashamed, it is the oldest trick in the book! Just be sure the stick is firmly in place and won’t move with even the worst weather. Step off the distance one more time to make sure you are around the 10-yard mark. Finally, make sure the trail camera is aimed right at your chest while you are standing in the exact place you anticipate deer to stand or walk through.

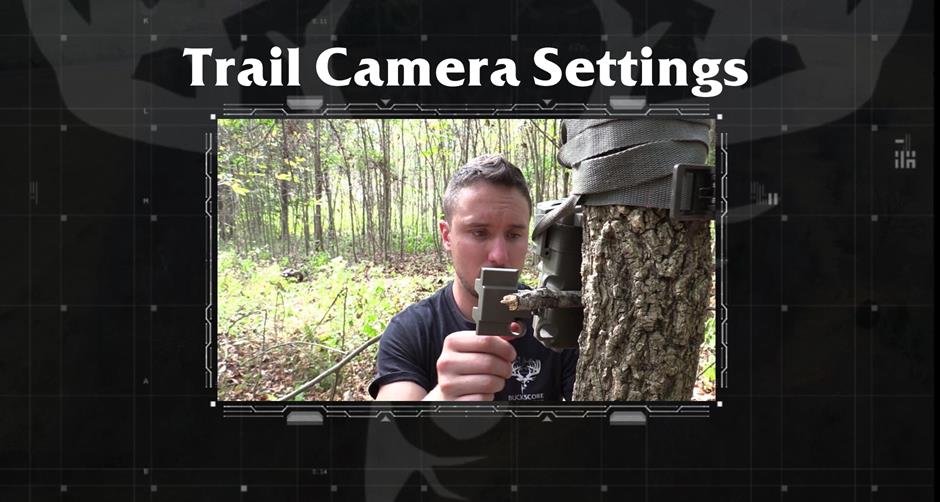
Trail Camera Settings

When it comes to the perfect trail camera setup, the trail camera’s settings can be the most difficult challenge you deal with. Deciding on the camera mode, burst number, video length, interval, or sensitivity can be overwhelming. Again, each location, site, scenario, and goal can greatly affect the trail camera settings. However, there are certain settings that allow a more optimal chance of capturing an individual buck and from there, identifying and/or scoring the buck.

The best trail camera settings will give you the best overall picture and detail in order to review characteristics, behavior, or key identification features of the buck. While some might think this would be a high-quality photo, I would argue that video is far more advantageous for not only a hunting perspective, but an inventory and scoring perspective as well.

Trail Camera Video…Not Pictures

Think about the potential of what video can reveal. In the example video, you can learn a lot about the behavior of the buck. In the video you can see that “Dub”, the buck with the split G2s, is far more curious and careful than “Leroy”, the chocolate horned buck in the video. You can also tell that “Dub” might have been shot before as he is injured and limping. This intel would go unnoticed with simple pictures. Another advantage, especially when it comes to identifying and scoring bucks, is multiple angles! “Dub” and “Leroy” both offer several angles as they work the scrape and turn their head. This makes it easy to achieve a good angle in order to score the bucks, and identify the key body and antler features like “Dub’s” split G2s.

Note* -Multiple angles also allow you to freeze-frame the video in order to score the buck using BuckScore® at the most accurate angles and reference points.

This trail camera setup should allow you to not only obtain more information on the bucks you are hunting but obtain better, higher quality information that can be used to hunt them. These images can also be used to score your deer! By uploading and running the freeze-frame photo through the BuckScore® program, you will be able to accurately estimate an individual buck’s score!

Why BuckScore®?

Holding two U.S. issued patents, BuckScore® is the only science-proven program that allows you to score pictures of bucks in minutes. The app accurately estimates antler size including spread, beam length, tine length, and circumference all to calculate a Net and Gross score within 3% of the actual score. With BuckScore®, you have one app that organizes, documents, and scores all your big bucks.

BuckScore® Features:

  • Works on any desktop, laptop, tablet, and most smartphones
  • Score trail cam or harvest photos
  • Know every measurement from spread to tine length
  • Score calculated in minutes
  • Manage buck photos across multiple years
  • Edit buck photos in program

How to Score Deer Using the BuckScore® App

How to Score Deer | 4 Steps to Scoring a Buck

Ever wondered how to score deer? Curious what the easiest way to score a deer is? BuckScore® is your answer! Holding two U.S. issued patents, BuckScore® is the only science-proven program that allows you to score pictures of bucks in minutes. The app accurately estimates antler size including spread, beam length, tine length, and circumference all to calculate a Net and Gross score within 3% of the actual score. With BuckScore®, you have one app that organizes, documents, and scores all your big bucks.

BuckScore® Features:

  • Works on any desktop, laptop, tablet, and most smartphones
  • Score trail cam or harvest photos
  • Know every measurement from spread to tine length
  • Score calculated in minutes
  • Manage buck photos across multiple years
  • Edit buck photos in program

How To Score Deer with BuckScore®

Scoring deer, whether it be a trail camera photo, hero photo of a harvested deer, or a freeze frame from recently captured footage of a buck, can easily be done with BuckScore® by following four simple steps.

Step 1. Adding a New Buck Profile and Picture

The first step to scoring a deer using BuckScore® is to add a new buck. First, click the “ADD BUCK” button in the upper left-hand corner of the home screen. In the box that appears, name your buck and click “ADD BUCK” to move into this buck’s album.
Once in the “Buck Album”, you can begin adding images of the buck you want to score. To do this, click the “ADD PHOTO” button in the upper left-hand corner of the screen, assign a name to the image, and select a photo from your device.
Once selected, crop your image to the desired size and click “SAVE” to upload it to BuckScore®. You are now ready to prep your buck photo for scoring.

Step 2. Adding Photo Details

Once your buck photo has been uploaded, enter the correct photo details next to each section. Note: Some sections may be completed automatically depending on the camera you are using. If the Time and Date are incorrect, you can manually adjust it to log the correct timing. Once the details of the buck photo are complete, select “NEXT” to continue the process. After entering the correct information, rotate the computer-generated buck image on the right-hand side of the screen using the “ROTATE” buttons so that it most accurately represents the buck photo you have uploaded. Select “Next” Choose the reference feature that can be seen most clearly in your uploaded image. This is the most critical step in ensuring the accuracy of your final score. Remember the top option is always the most accurate feature, if applicable for measuring.
Finally, use the drop-down arrows next to each section to select the approximate age of the buck – select “unknown” if you are not sure, state located, whether your buck is in velvet or not, and the number of points on each antler – including abnormal or non-typical points.
You are now ready to score your buck – select “Next” to continue.

Step 3. Measuring Reference Points

The most critical part of the BuckScore® scoring process is measuring the reference feature accurately. This will determine the accuracy of all other measurements on the buck’s antlers and should be done carefully, making sure to compare your markings to the sample image provided.
Keep in mind that the ear width measurement is the most accurate, followed by eyeball width, and then eye to eye width, and that not all photographs will allow every feature to be measured.
Ear Width is the most accurate of the feature measurements, and can be available for use at every angle BuckScore® can be used.
Eyeball width is the second most accurate feature to be used and can be available at every angle except zero-degrees. However, be careful of eye glare on night images as it can greatly skew the true size of a deer’s eyeball.
Eye to eye width is a great feature measurement at the zero-degree angle. Be sure to measure from eye duct to eye duct. Often users measure incorrectly by measuring from eyeball to eyeball which will cause all antler measurements to be smaller than actually are.
Once you are satisfied with your reference measurements, you are ready to move on to the scoring process – Select “NEXT”

Step 4. Scoring Your Buck

The fourth and final step in scoring your deer with BuckScore® is to actually start the scoring and measuring process through the program. Starting with “Inside Spread,” take each measurement according to the checklist on the right-hand side of your screen.
Select the “Pen Icon” next to the measurement to open the Measurement Activity box.
Your measurement should mirror that depicted under “Sample Measurement.” To undo mismeasurements, use the UNDO LAST and CLEAR ALL buttons at the top of the activity box. When satisfied with your measurement, select “Save”.
Repeat for each measurement, and refer to the “Measurement Progress Bar” for status to completion.
Once every measurement has been made, and “Measurement Progress Bar” is signaling completely. Click “SCORE” at the bottom right-hand corner of the checklist.
This will take you to your official BuckScore® Results page where you will be able to view the each measurement you’ve made along with gross & net scores.

You are done! You have officially scored your deer using BuckScore®. You have completed the full BuckScore® scoring process and can begin adding more bucks to your profile! You can also begin to manage bucks photos, and bucks over multiple years! Don’t forget to score any new bucks you get on camera, or any old trophies you have hanging on the wall!

BUCKSCORE IS HERE

Buckscore Deer Antler Scoring Software Application Facebook

ABOUT BUCKSCORE

Holding two U.S. issued patents, BuckScore® is the only science-proven program that allows you to score pictures of bucks in minutes. Developed by researchers at Mississippi State University’s Deer Lab, the app accurately estimates antler size including spread, beam length, tine length, and circumference all to calculate a Net and Gross score within 3% of actual score*. BuckScore® is the result of years of rigorous development and testing using white-tailed deer data from across North America. Winner of numerous whitetail science accolades and awards, the app allows deer hunters to know the score of every deer they pursue.