Tag Archive for: how to score a buck

Salvage Your Deer Season With These Late Season Camera Tips!

Late Season Trail Camera Tips

By: Weston Schrank, BuckScore Specialist and Wildlife Biologist  

The first two weeks of December can be a rough and confusing time for any deer hunter. Personally, if I have not tagged out yet I’m very unsure what to do with myself. Usually I am already focused on coyote hunting or just spending more time with family and friends… but again only if I am tagged out. The weather and deer activity are in a weird place and deer hunters are caught in the middle of it all. Before the cold temperatures of winter arrive, and after the intense rut action, a lot of deer hunters can catch themselves in this period known as the December lull. The only thing that I have come to know is that trail cameras can be a saving grace during this lull period. I aim to give you some solid trail camera strategies and tips for the late season. But I know reading this will also give you a better understanding of what is actually going on during the late season!  

Late Season Strategies

While I might completely ignore my cameras around the rut and focus more on just getting time in the stand, this ideal completely shifts during the first weeks of December. Unless you are a fan of throwing “Hail Mary” hunts together, trail cameras are the best strategy for the late season. While it might be obvious to some readers, the main reason why trail cameras are your best bet for the late season is because of deer patterns. The late season is the second time period where hunters can accurately pattern mature buck movement down to literally the minute!

Late Season Patterns

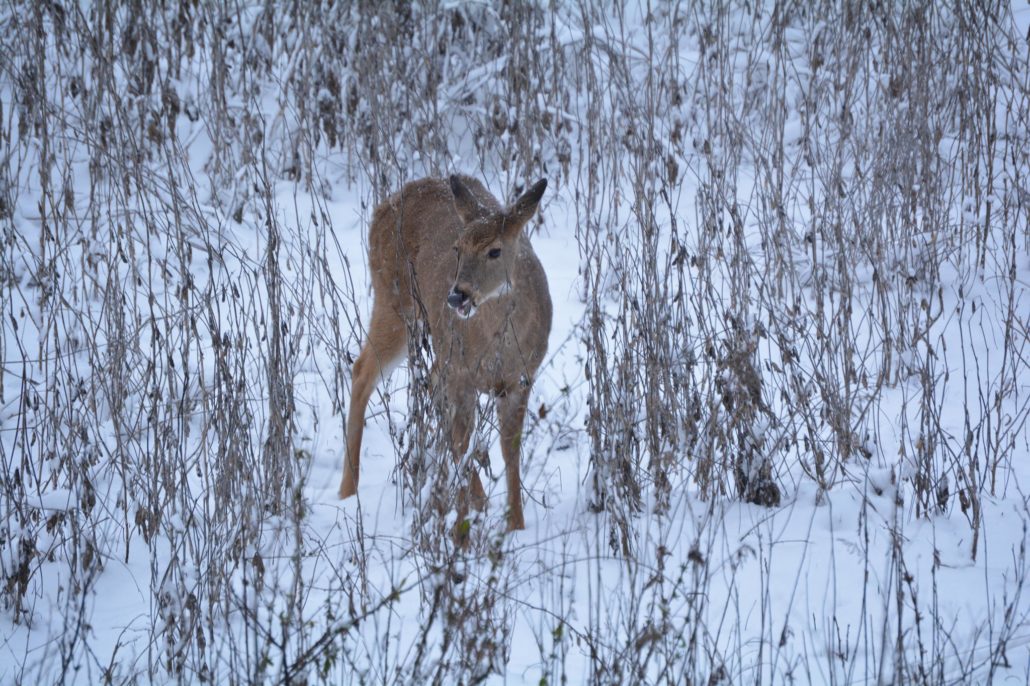
Mature bucks focus on recovery and staying warm during the late season. This is similar to their focus during late summer when they are busy feeding on protein. Naturally, their late season patterns fall prey to the same opportunities that their previous summer patterns do. This means that with some simple scouting, and some well-placed cameras a hunter has the ability to pick up on a pattern and plan a hunt based off the intel.  

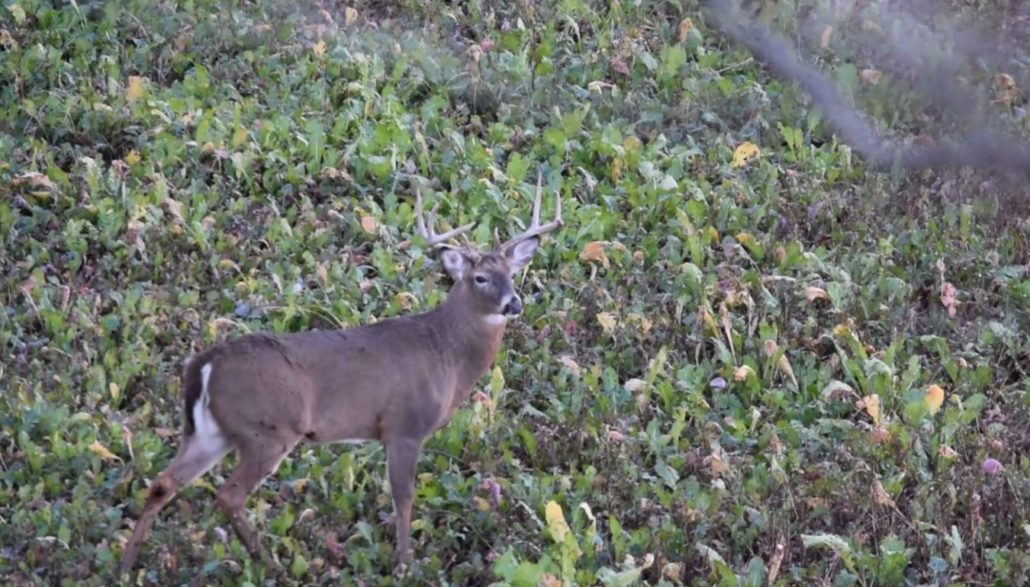
The buck will be noticeable in only one location… a food source. He will spend morning to early evening hours held up in his warm thermal bedding. This is often a southern slope, a spot where sun can reach the buck but also where the cover blocks the cold wind. Early successional spots and native grass fields that are southern oriented are perfect spots for mature bucks to bed. When the buck does get up he will be headed to a nearby food source. This food source will be most likely one of the 4 most attractive food sources a deer can feed on during this time of year.

Late Season Food Sources

There are 4 food sources that you should take notice of, or plant next year specifically for the late season. Some are quite easy to establish and hunt, and others take quite a bit of investment.  

  1. Brassicas – the fancy name for turnips, radishes, and rape. If enough acreage is planted, the green sugary tops and robust buried treasures can be a potent combo for cold winter days.   
  2. Cereal Grains – winter rye, winter wheat, and oats (winter hardy) can be a great green source of food that will stay green all winter long. They make great cover crops if you are managing soil properly.  
  3. Standing Corn – standing or freshly cut or mowed over corn can be a major attraction during the late season.  
  4. Standing Beans – standing beans, just like standing corn, can be a great late season food source, but it offers summer protein, something that corn cannot. This makes beans a better option if you have enough acreage to have standing beans throughout the season and into early spring.

The Occasional Hot Doe 

Now before I dive straight into trail camera strategies and setups based on the information below ,I do need to talk about the occasional hot doe. Some people refer to it as the second rut, but the more correct term would be the fawn rut. Now, Midwest and Northern states can see an upwards of 75% of all breeding occur during the peak rut week. Some does do come in if they are not bred in the first round, especially if sex ratios are skewed towards more does than bucks. However what I am talking about here is what I commonly see on well managed properties. When doe fawns have great habitat, great food, and as a result great nutrition, they can reach the magical weight of 60-70 lbs. What happens then? If 6-7 month fawns reach this weight they can become sexually active and come into estrous. This is why you might have seen a small doe fawn being chased by 2 or 3 bucks in a late season food source or cut corn field. The one difference here of course is that these bucks are chasing an uneducated fawn, not a smart mature doe!  

This is not something to rely on, just a word of caution that the mature buck you are hunting is not completely safe with a late season pattern on your property. There is still a chance that he could cross the property line.  

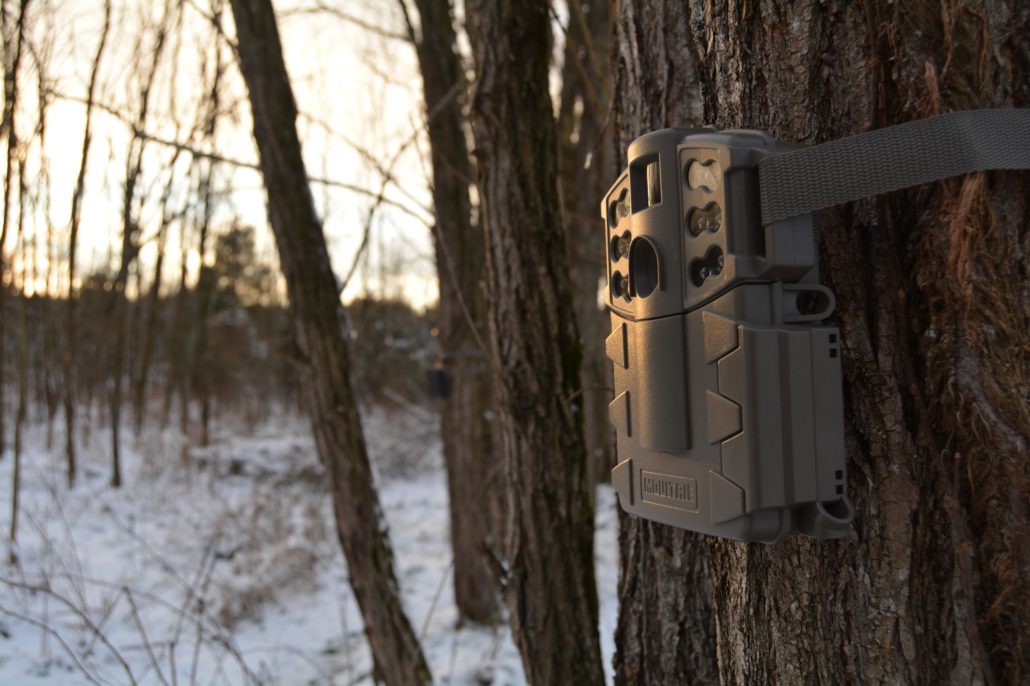
Late Season Trail Camera Setups

Obviously the most successful trail camera strategies will be based around the most important aspect of the late season… food! This means creating camera setups that will either inventory the food source location. Or will catch deer movement and behavior around or in route to the food source. Now I have tried multiple setups, on multiple properties, and over the course of the years have ended up with a few videos to help viewers setup trail cameras for the late season.

Trail Camera Tips | patterning Deer with Late Season Cameras  this video was a couple years back, but the principles of the advice are solid. It discusses some of the information I have reviewed above.

Last year I ran a series called “Trail Cameras Weekly” on Muddy TV. During each week of the rut, I published a different video on what to do with your trail cameras for that week. Of course, I covered this time period in that series, and last year I gave some extremely helpful tips for late season trail camera setups.

The “Trail Cameras Weekly video reveals two very useful trail camera setups. One is a trail camera over a food source on time-lapse mode, and the other is on a late season funnel.  

Late Season Trail Camera Time-lapse

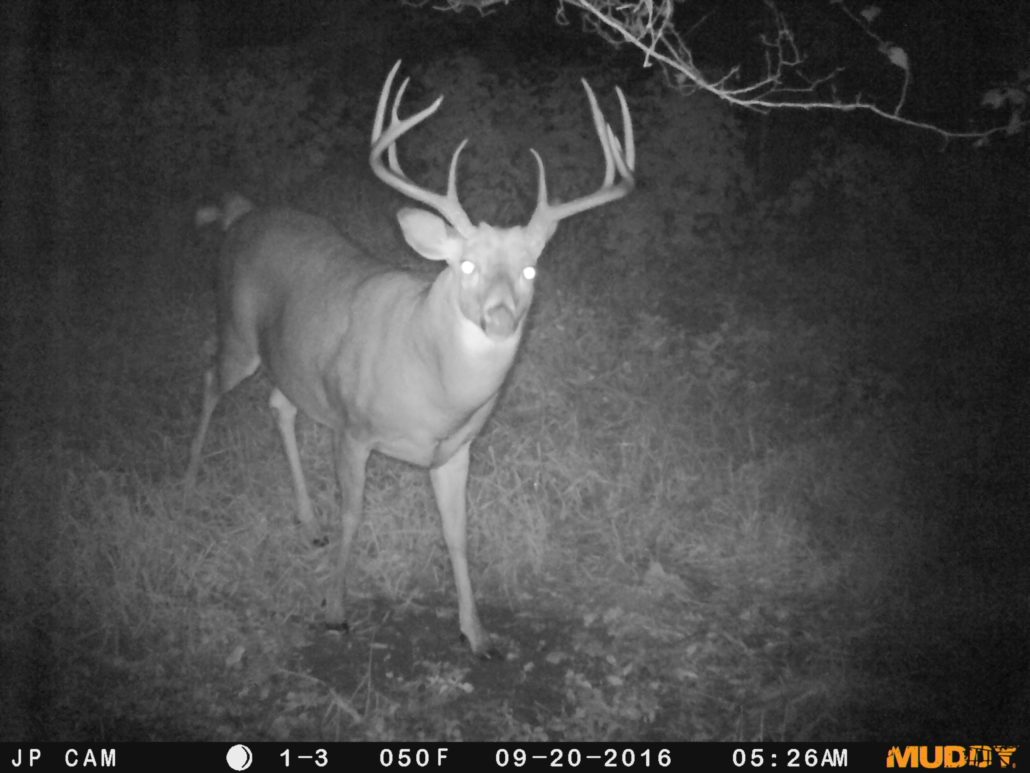
By setting up a trail camera over a late season food source over time-lapse mode, you can inventory what deer are utilizing the food source. You can also see where they frequent and even where they are filtering out of. You will want a camera with very high resolution photos (>10-12 MP). Set the camera to take pictures during the last 1-2 hours of daylight, with a photo every minute. Also make sure you have a big memory card (>16gb). 

Late Season Funnels

If you can identify the main areas of a late season bedding area, essentially anywhere with thick cover and sunshine, you can gather intel by hanging a trail camera over a late season funnel. For this setup, identify a heavily used run and set the trail camera up at a 45 degree angle from that run. You will want a camera with a quick trigger speed that can capture 3+ photos in a photo burst mode.

When to Make a Move

Stay out of these food sources except to check trail cameras. Keep the pressure off your food sources until one of the following happens: 

  1. Cold temperatures – when a cold front moves through or snow hits, deer will be forced to get up and feed earlier in the afternoon just to ensure they can keep up with the energy demands of staying warm.  
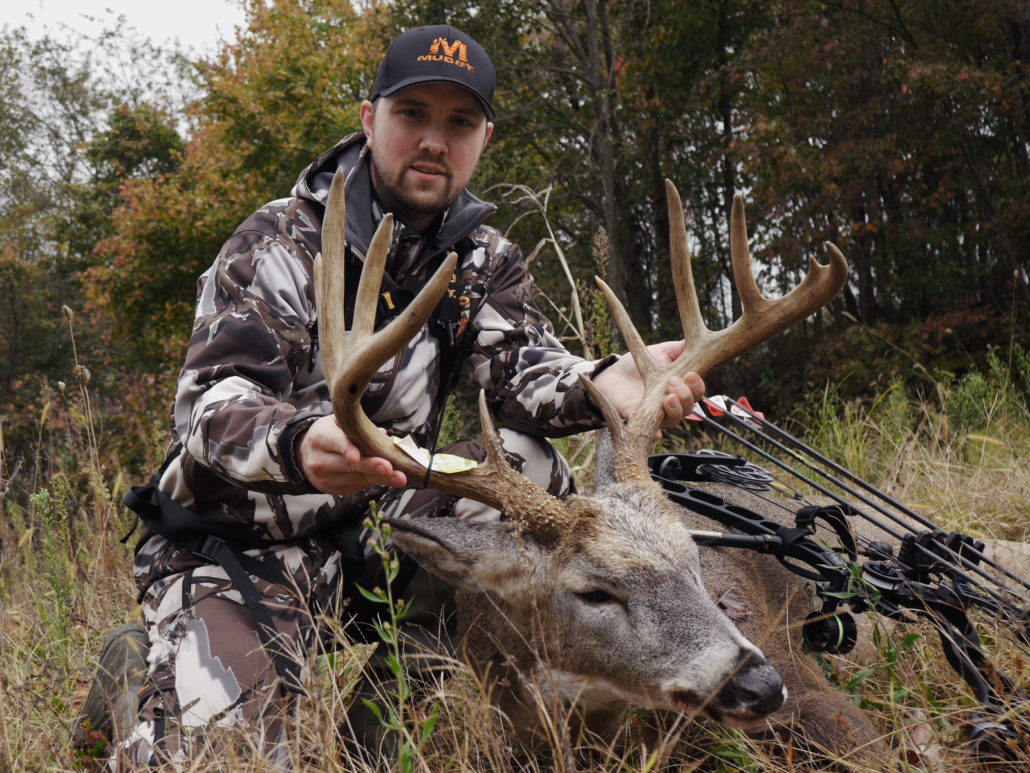
  2. Daylight movement – if you capture a buck utilizing the food source on a regular basis during legal shooting light don’t hesitate! Go in after him immediately. 

These trail camera tips should help you target late season movement patterns of bucks to target. It can be your saving grace that arrives just when it seems like all other opportunities have faded away.   

Have a nice buck on camera? Score him in minutes using the BuckScore® Software!

Images That Don’t Work When Scoring Deer with BuckScore®

Images That Don’t Work When Scoring Deer

Getting the perfect trail camera photo is hard enough. Add to it the pressure of trying to acquire a picture that would work to score with the BuckScore® program can feel next to impossible. This article’s aim is to clarify what pictures can be scored and what pictures cannot.

BuckScore® software scores deer based on the information you manually put in. The scoring starts with a reference feature. This measures the scale, angle, and other photo characteristics based on your manual measurement of the ear width, eye, or eye-to-eye measurement. After the reference feature, you will draw the other measurements on the antlers. This is why clear, crisp angles at correct angles must be used when using the BuckScore app.

Images That Cannot Be Scored Using BuckScore®

There are several images that won’t work when using the BuckScore® program, however they revolve around 4 main attributes.

  • Low quality 
  • Movement 
  • Angles  
  • Anatomically incorrect reference features (mounted deer) 

Low Quality

Why? – Lowquality images are simply too blurry or not detailed enough to accurately score with BuckScore®. Some cell phone pictures or any lowquality camera pictures, often from trail cameras, can lead to an inaccurate score. Inexpensive trail cameras with low megapixel images quickly become blurry when the deer gets further than 30 ft away from the camera. This is especially true if the image is captured at night. The “fuzzy” factor creates a lot of variation to exactly where a tinecircumference, or main beam measurement starts and ends. It can also throw the reference measurement off.

Photo: This image is low quality, but it also is at night. This renders the eye reference measurements useless as the glare exaggerates the eye location and width. This buck also has his ears laid back which does not allow the ear reference measurement to be taken.  

Solution – The obvious solution here is to get a better camera. Most medium price range cameras offer 8-12 MP images. However, that is not going to fly with most hunters on a budget! The best option, in this case, is to bring the deer in closer. You can do this by setting up the trail camera differently on the run or food plot or simply create a point of attraction. Bait, licks, or mock scrapes are all great ways to stop a deer for a close detailed picture.

Movement

Why? – This one is pretty self-explanatory…movement causes blurry images. Blurry Images cause inaccuracy in the BuckScore® program. Even a slightly blurry picture due to movement can throw off circumference measurements and reference point measurements by an inch or moreA camera with a higher trigger speed and the ability to freeze images with a quick shutter speed is needed to capture moving deer. Higher price range cameras do a fantastic job of freezing images.


Photo: The buck in this image is not only moving, but his head is also at an angle that could significantly alter the accuracy of the score.

Solution – Try a camera with a faster motion freeze/trigger speed. If your camera is on a run, try stopping them with a point of interest, bait, scrape, or deer scent. Essentially something to stop them in their tracks!

Angles

Why? – BuckScore® can accurately score images of deer at the 0°, 22° , 45°, 66°, and 90° angles. Essentially if the buck’s head is level and facing towards the camera the picture can be scored. Angles refer to not only deer facing away from the camera, but also the head being tilted forward, backward, or another variation that could cause variation in measurements. This means that bucks in the back of truck beds, lying flat on the ground, or pictures of bucks eating from bait piles cannot be scored.

Photo: In this picture, the buck is turned away from the camera. This can drastically overestimate the size of the rack and as a result, the BuckScore® results.

Solution  Making sure the trail camera is level is one easy way to make sure the deer’s head and the image is level. Of course, you can’t always get a buck to hold his head level, especially during the rut and images over bait. Having a higher burst photo mode or a video mode can allow you to make sure you drastically improve your odds of getting a shot of the buck’s head level and at the correct angles.  

Mounted Deer

Why?  Mounted deer give you the ability to take the perfect picture for scoring deer with BuckScore®. However, the mounting process might throw off the reference measurements. While the score of the antlers remain the same, the reference features (ear, eye, and eye-to-eye) could all be anatomically incorrect. This will throw off the BuckScore® results.


Solution Take a picture of the harvest according to the BuckScore® harvest photo guidelines. This will allow you to score a picture of a harvested deer.

5 Examples of Pictures That can be Scored

Of course, most photos can be scored by BuckScore®. These include pictures of harvested bucks or hero pictures. Take a look at some of the example pictures below. If you still have questions about scoring deer with BuckScore® contact us here.  

Photo: With good camera quality, even deer far away from the camera can be scored.


Photo: BuckScore® can adjust for velvet pictures. Just simply check the box that asks if the buck is in velvet.


Photo: If you film your hunts or have a great camera in the stand with you, you can take photos or screenshots of bucks encountered in the field. Video is the best option, so you can go back and screenshot when the buck turns his head to an appropriate angle for scoring.


Photo: A higher grade camera allows you to get a great night time photo. With high trigger speed, shutter, and great quality you are able to capture the buck without movement and an overestimated eye glare.


Photo: Taking a picture of a harvested deer can allow you to score the buck within minutes, without breaking out the tape!

Curious about how to take a picture of a harvested deer to score on BuckScore®? Check it out below!


How to Score Deer Using the BuckScore® App

How to Score Deer | 4 Steps to Scoring a Buck

Ever wondered how to score deer? Curious what the easiest way to score a deer is? BuckScore® is your answer! Holding two U.S. issued patents, BuckScore® is the only science-proven program that allows you to score pictures of bucks in minutes. The app accurately estimates antler size including spread, beam length, tine length, and circumference all to calculate a Net and Gross score within 3% of the actual score. With BuckScore®, you have one app that organizes, documents, and scores all your big bucks.

BuckScore® Features:

  • Works on any desktop, laptop, tablet, and most smartphones
  • Score trail cam or harvest photos
  • Know every measurement from spread to tine length
  • Score calculated in minutes
  • Manage buck photos across multiple years
  • Edit buck photos in program

How To Score Deer with BuckScore®

Scoring deer, whether it be a trail camera photo, hero photo of a harvested deer, or a freeze frame from recently captured footage of a buck, can easily be done with BuckScore® by following four simple steps.

Step 1. Adding a New Buck Profile and Picture

The first step to scoring a deer using BuckScore® is to add a new buck. First, click the “ADD BUCK” button in the upper left-hand corner of the home screen. In the box that appears, name your buck and click “ADD BUCK” to move into this buck’s album.
Once in the “Buck Album”, you can begin adding images of the buck you want to score. To do this, click the “ADD PHOTO” button in the upper left-hand corner of the screen, assign a name to the image, and select a photo from your device.
Once selected, crop your image to the desired size and click “SAVE” to upload it to BuckScore®. You are now ready to prep your buck photo for scoring.

Step 2. Adding Photo Details

Once your buck photo has been uploaded, enter the correct photo details next to each section. Note: Some sections may be completed automatically depending on the camera you are using. If the Time and Date are incorrect, you can manually adjust it to log the correct timing. Once the details of the buck photo are complete, select “NEXT” to continue the process. After entering the correct information, rotate the computer-generated buck image on the right-hand side of the screen using the “ROTATE” buttons so that it most accurately represents the buck photo you have uploaded. Select “Next” Choose the reference feature that can be seen most clearly in your uploaded image. This is the most critical step in ensuring the accuracy of your final score. Remember the top option is always the most accurate feature, if applicable for measuring.
Finally, use the drop-down arrows next to each section to select the approximate age of the buck – select “unknown” if you are not sure, state located, whether your buck is in velvet or not, and the number of points on each antler – including abnormal or non-typical points.
You are now ready to score your buck – select “Next” to continue.

Step 3. Measuring Reference Points

The most critical part of the BuckScore® scoring process is measuring the reference feature accurately. This will determine the accuracy of all other measurements on the buck’s antlers and should be done carefully, making sure to compare your markings to the sample image provided.
Keep in mind that the ear width measurement is the most accurate, followed by eyeball width, and then eye to eye width, and that not all photographs will allow every feature to be measured.
Ear Width is the most accurate of the feature measurements, and can be available for use at every angle BuckScore® can be used.
Eyeball width is the second most accurate feature to be used and can be available at every angle except zero-degrees. However, be careful of eye glare on night images as it can greatly skew the true size of a deer’s eyeball.
Eye to eye width is a great feature measurement at the zero-degree angle. Be sure to measure from eye duct to eye duct. Often users measure incorrectly by measuring from eyeball to eyeball which will cause all antler measurements to be smaller than actually are.
Once you are satisfied with your reference measurements, you are ready to move on to the scoring process – Select “NEXT”

Step 4. Scoring Your Buck

The fourth and final step in scoring your deer with BuckScore® is to actually start the scoring and measuring process through the program. Starting with “Inside Spread,” take each measurement according to the checklist on the right-hand side of your screen.
Select the “Pen Icon” next to the measurement to open the Measurement Activity box.
Your measurement should mirror that depicted under “Sample Measurement.” To undo mismeasurements, use the UNDO LAST and CLEAR ALL buttons at the top of the activity box. When satisfied with your measurement, select “Save”.
Repeat for each measurement, and refer to the “Measurement Progress Bar” for status to completion.
Once every measurement has been made, and “Measurement Progress Bar” is signaling completely. Click “SCORE” at the bottom right-hand corner of the checklist.
This will take you to your official BuckScore® Results page where you will be able to view the each measurement you’ve made along with gross & net scores.

You are done! You have officially scored your deer using BuckScore®. You have completed the full BuckScore® scoring process and can begin adding more bucks to your profile! You can also begin to manage bucks photos, and bucks over multiple years! Don’t forget to score any new bucks you get on camera, or any old trophies you have hanging on the wall!