How to Age White-tailed Deer | Three Methods You Can Use This Deer Season
Aging Deer on the Hoof, Jawbone Aging, and Cementum Annuli
By: Eric Michel
If you’ve been around deer hunting for any amount of time you probably understand that many hunters get caught up in trying to age deer, and for good reason. Aging deer, whether dead or alive, can give you valuable information about what you can do to better manage your herd and reach your goals. Many hunters would like to consistently harvest bucks of a certain antler size, but often times fall short. Allowing those bucks to live for a year or two more would likely help those hunters accomplish their goals, but they won’t know that if they aren’t aging their deer.
There are several ways to age deer, but it’s important to understand that none of them are 100% accurate and accuracy usually decreases as deer get older. Each method also has a certain level of subjectivity associated with it. The only way to know for certain how old a deer is, is to give it some type of unique identifier at birth. Outside of that, you can rarely say with 100% accuracy that a deer is a certain age, but you can say that a deer is displaying characteristics associated with a certain age. Even though people will use the number of antler points and antler configuration to keep track of a deer throughout the years, they are still making assumptions about how old the deer is the first time they see it. Even if you think the deer is most likely a yearling when you first see it, there’s only about a 30% chance that buck will be on your property the next year. This is because about 70% of yearlings will disperse up to five miles away from where they are born. Additionally, the number of points and a bucks antler configuration can change from year-to-year depending on disease, quality of nutrition, and antler injuries. This article discusses the three most common methods to age deer.
Cementum Annuli
Most people have probably heard about how you can use growth rings to age a tree. Well the same concept can be applied to white-tailed deer. A calcified layer of cementum is laid down each year a deer is alive which allows you to take a cross-section of the tooth and count the number of rings associated with it. This method is done by removing one of the front incisors from a dead deer and sending it off to a lab so the age can be estimated. Generally speaking, the lab will charge you a minimum cost (usually around 75$) so it’s best to wait to send in all of the incisors you’ve collected until after the hunting season.
Counting cementum annuli is considered to be the most accurate method of estimating age, though it’s not perfect and there is little, if any, research that has compared ages derived from counting cementum annuli to those of known-aged deer. This method can also be cost prohibitive for individuals who harvest a large number of deer from their property or even state agencies who collect samples from sometimes hundreds of deer.
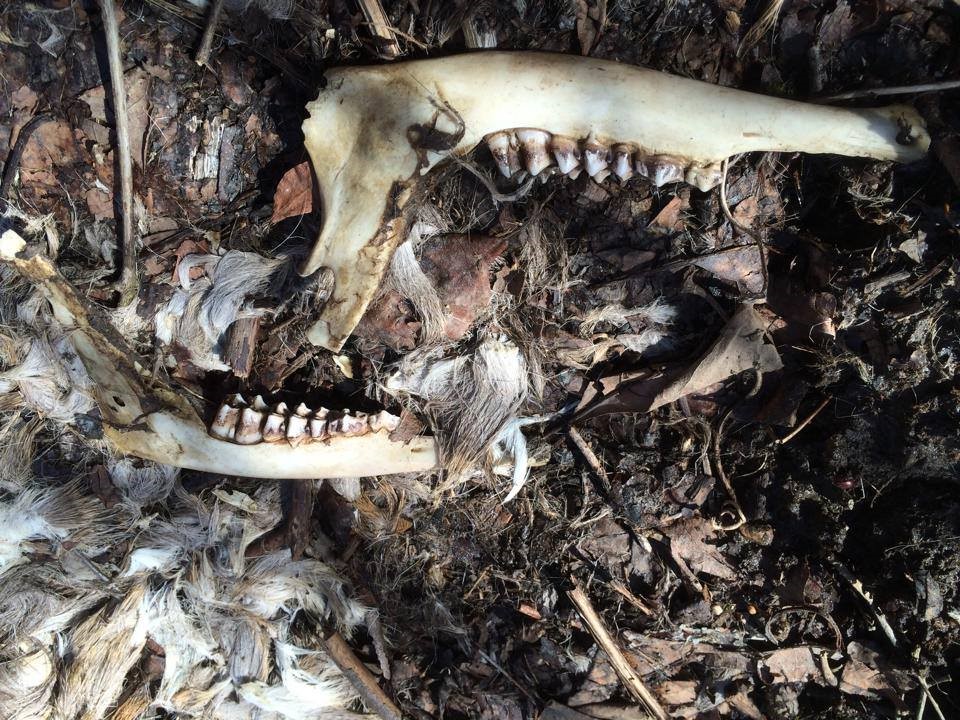
Tooth Replacement and Wear
Tooth replacement and wear is the oldest method used to age deer. This method is great for several reasons. First, it’s cheap. You can do this method by yourself without having to send the jawbone off for analysis. It is also fast after you know what you’re looking for. The biggest downfall of this method is its inaccuracy and subjectivity. There are several factors that can impact the wear rates for a deer’s tooth (individual variation associated with the deer, diet, sand content in the soil, etc.). This can cause an individual deer or even a population of deer to have different wear patterns compared to other individuals or populations. Additionally, when assessing the wear, the difference between a 2.5- and 3.5-year-old deer can be minimal and two people may have differences in opinion when looking at the same jawbone. On a positive note, this method is great for placing deer into one of three age classes: fawns, 1.5-year-olds (yearlings), or 2.5+. The downside is this may not be detailed enough to help you achieve your management goals.
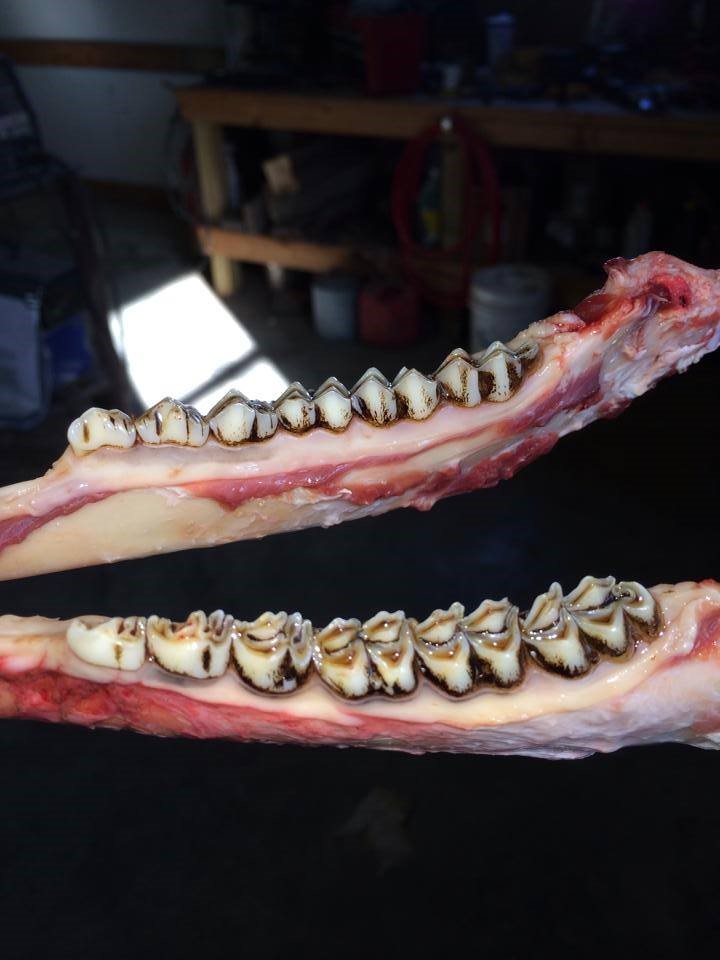
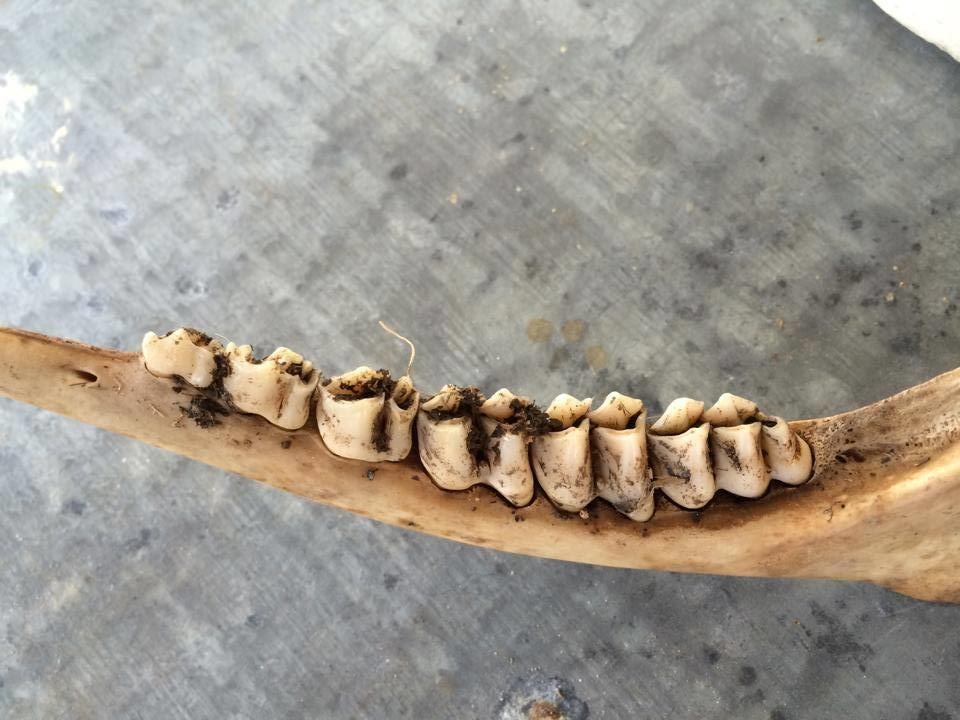
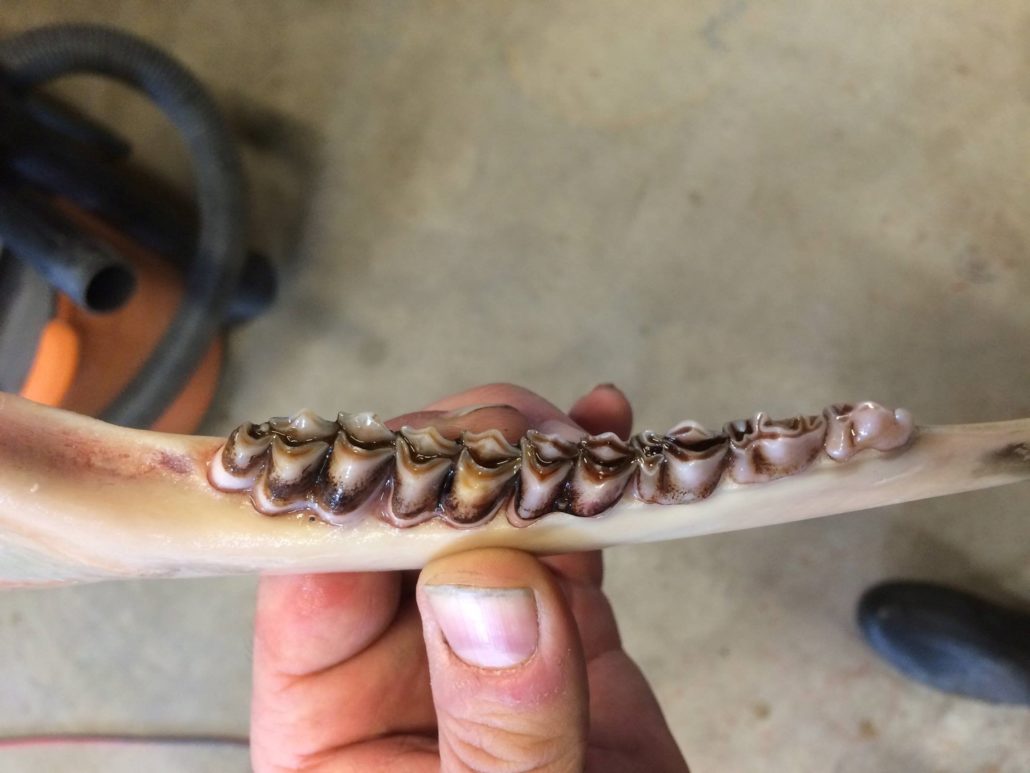
So how do you use this method to age deer? This method revolves around identifying which teeth have been replaced and then understanding the subsequent wear patterns. The replacement portion of the method is almost 100% accurate while the wear portion of the method has decreasing accuracy as a deer ages because you are comparing the ratio of dentine (dark part of the tooth) to the enamel (white part of the tooth) on the lingual crest which is the crest adjacent to the deer’s tongue.
Fawns
Aging fawns is easy because they don’t have all of their teeth yet. An adult white-tailed deer will have six teeth on their lower jaw. If you harvest a deer and it has less than six fully erupted teeth and the third premolar is a tricuspid (three cusps), then it is considered to be a fawn.
Yearlings
You can age yearlings with almost 100% accuracy because you are still using tooth replacement as your guide. Remember, the first thing you do when aging a jawbone is count the number of teeth on the lower jawbone. If there are six teeth, the next thing you do is look at the number of cusps on the premolar or third tooth in from the front. If this is tooth is a tricuspid, then it is a yearling or 1.5-year-old deer. This is easy to identify, but it gets more complicated depending on the exact age of the deer. If your state allows for an elongated hunting season, deer may have already replaced their tricuspid tooth. If so, the new bicuspid that has replaced it will be much whiter than the surrounding teeth with very little wear.
2.5-year-olds
You can still use the replacement portion of this method to classify deer as at least 2.5-years-old. This is pretty easy to do. First, you make sure there are at least six teeth. Next you check the third premolar to see whether it is a tricuspid or a bicuspid. If it’s a bicuspid, and the first three teeth display some staining and wearing, then you can classify the animal as at least 2.5-years-old. However, if the third tooth is a bicuspid and the first three teeth are completely white with no wear or staining, then the deer is still likely a 1.5-year-old.
3.5+ year-olds
Aging deer as 3.5-year-olds or older means you now have to use the tooth wear portion of the method. For this, you start on the first molar (the fourth tooth in from the front) because this is the oldest tooth in the jaw. The concept of tooth wear is pretty simple. Looking at the tall portion of the crests, you simply compare the width of the dentine to the width of the enamel. If the dentine is at least twice as wide as the enamel, then the deer can be labeled as a 3.5-year-old. If the dentine is not twice as wide, then the deer is likely a 2.5-year-old. You use this same comparison of dentine to enamel to age a deer to 5.5+. So for example, if the dentine on the fourth tooth is twice as wide as the enamel, then the deer is at least 3.5-years-old so you move to the next molar. If the dentine on that tooth is not twice as wide as the enamel, then you stick with the age of 3.5, but if the dentine is twice as wide on the enamel of the fifth molar, then the deer is likely 4.5-years-old. You then apply this same concept to determine if the animal is 4.5- or 5.5-years of age. If the dentine is at least twice as wide as the enamel on the 6th molar, then the deer is at least 5.5-years-old, but if it isn’t then the deer is probably only 4.5-years-old. Accuracy dramatically declines with the increasing age of an animal and aging to 5.5-years is adequate for most management schemes so it’s best to stop and aging at 5.5-years.
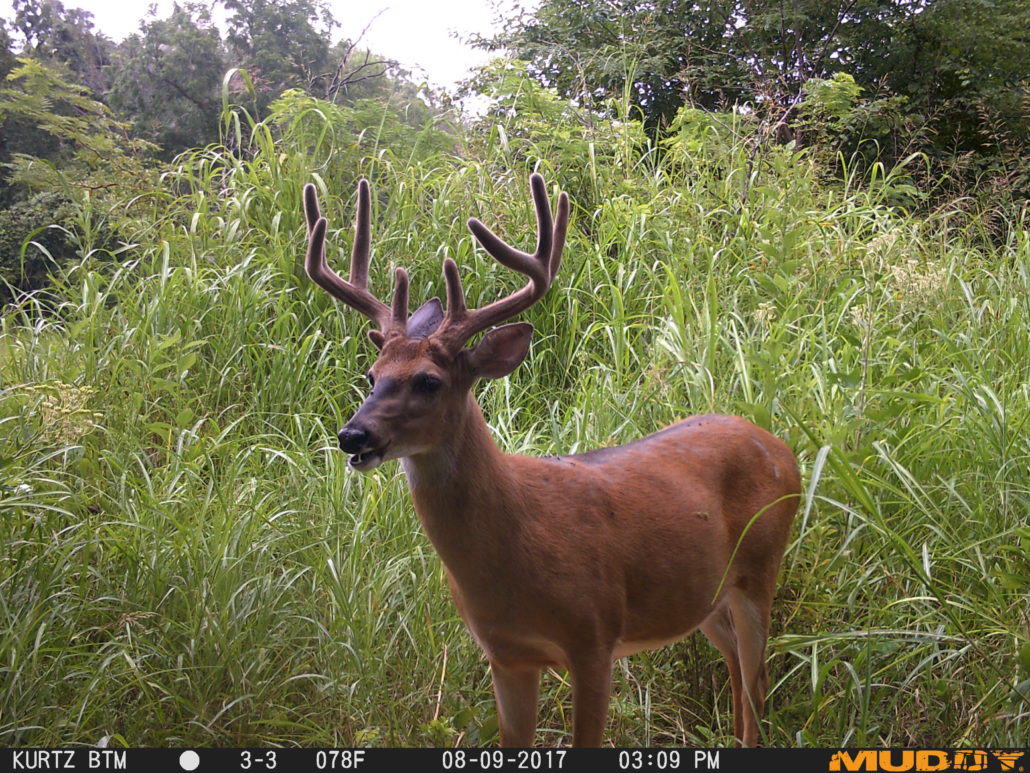
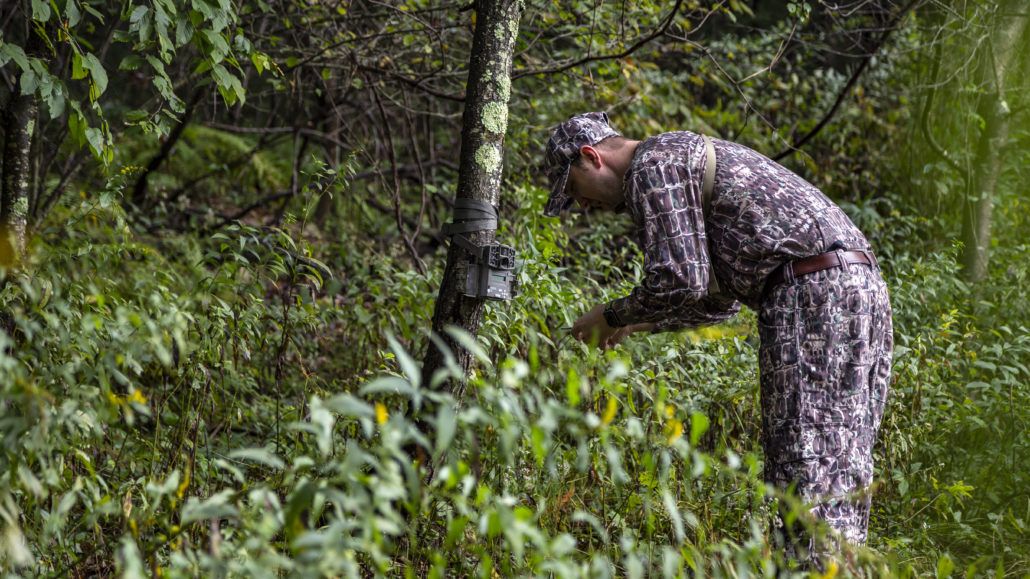
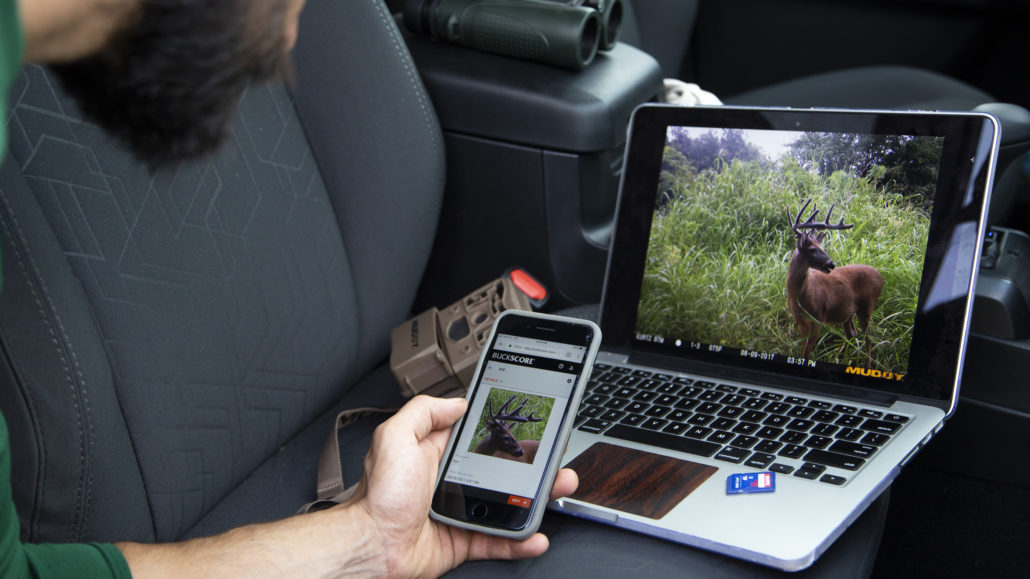
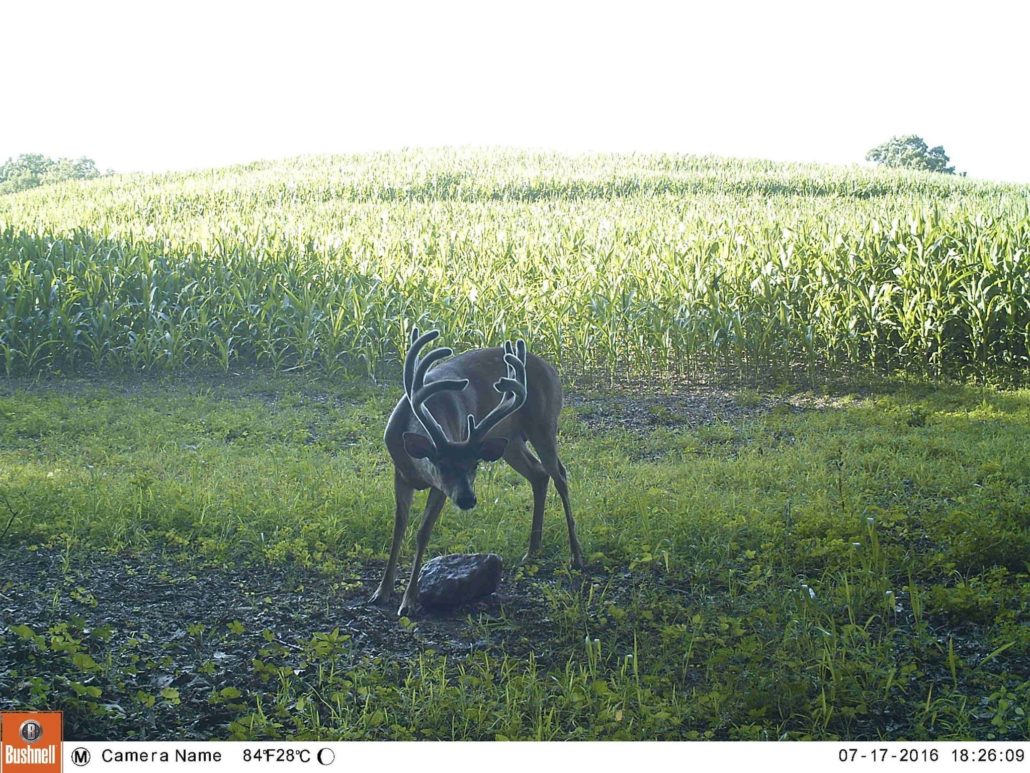
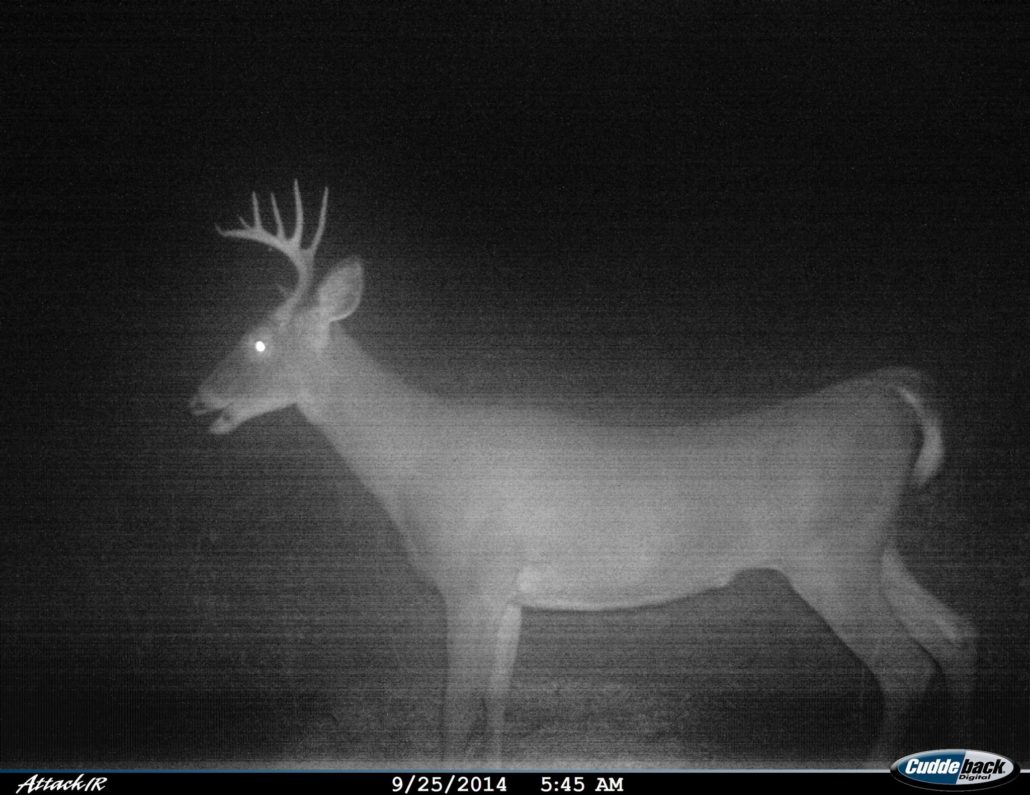
Aging Deer on the Hoof
Aging deer on the hoof is one of the most used methods by both hunters and biologists. You don’t have to watch any hunting show long and you will inevitably hear somebody say something along the lines of “look at this 2.5-year old, he sure is an up and comer”. Everybody likes to think that they can accurately age on the hoof and there are several benefits to being able to accurately age a buck on the hoof. Mainly, because it is the only way you can assess the age of a buck while it’s still alive which should ultimately help you reach your management goals. Aging a buck on the hoof takes a lot of experience of looking at pictures and even with that, it is the least accurate method. A study that polled state deer biologists and university researchers showed that when given a series of pictures of bucks, only 62% of them accurately aged yearlings, only 43% accurately aged 2.5-year-olds, 25% for 3.5-year-olds, and less than 30% accurately aged 4.5-, 5.5-, 6.5-, and 7.5+ year-old bucks. But despite being an inaccurate method of aging, it is still widely used. Here are some characteristics you can use to help you decide how old that buck is before you pull the trigger.
Fawns
Aging fawns on the hoof is pretty easy but also very important. For example, if you are trying to fill your doe tag during a late season hunt, you don’t want to mistake a buck fawn for a yearling doe. It’s much easier to identify fawns when they are in a group with adults because they will generally be the smallest of the bunch. You can also look at the shape of their head. Fawns obviously have smaller heads and will tend to look like a soda bottle, short and stubby.
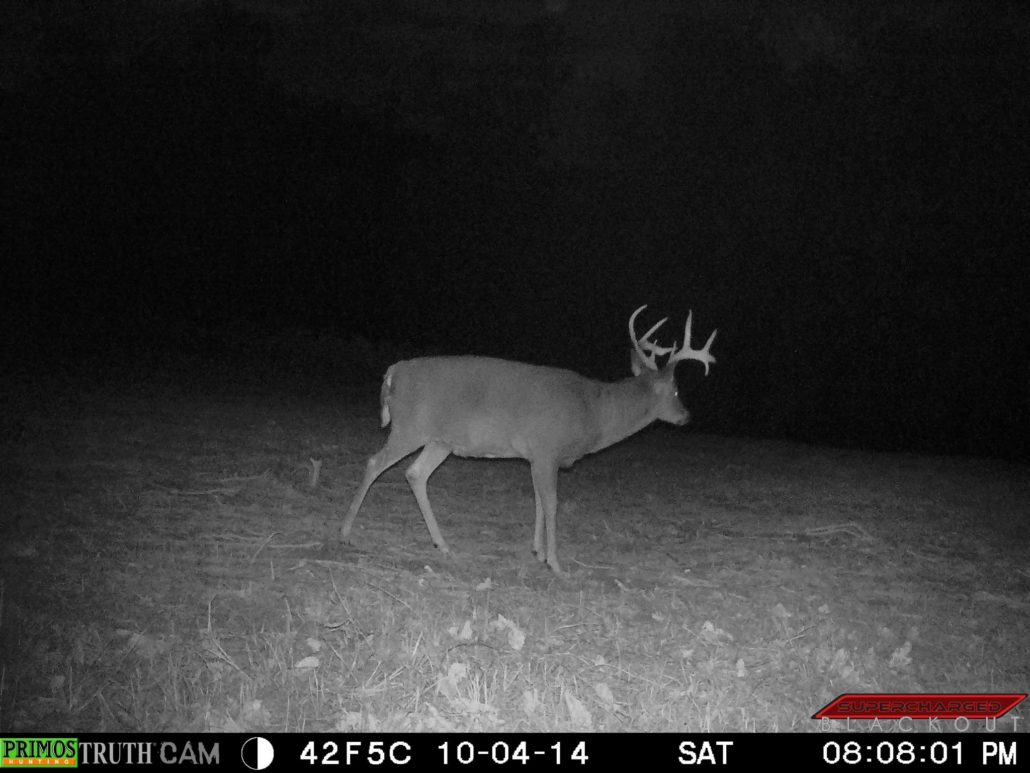
Yearlings
Yearling bucks should be one of the easiest deer to estimate age for, but again, only 62% of professionals were able to accurately place bucks into this age class. There are several things to look for that will help you when aging yearling deer. Primarily, you should be looking for underdeveloped muscles in the buck’s front and hindquarters. They will also have pencil thin necks and their stomachs will run at an upward slant from their front quarters to hindquarters. Another characteristic to look for is how long their legs look. Younger deer tend to have legs that look disproportionately long because they haven’t filled out yet in their quarters and stomach regions. Probably the most tell-tale sign that a buck is only 1.5-years-old is if it looks like a doe after covering up it’s antlers. If this is the case, then you most likely are dealing with a yearling buck.
2.5-year-olds
Bucks that are 2.5-years-old can be difficult to tell from 1.5-year-old bucks. Generally speaking, their legs still look long for their body, though they will have front and hind quarters that will be more filled out than a yearlings. A 2.5-year-olds neck will also begin to be more filled out than a yearlings during the rut.
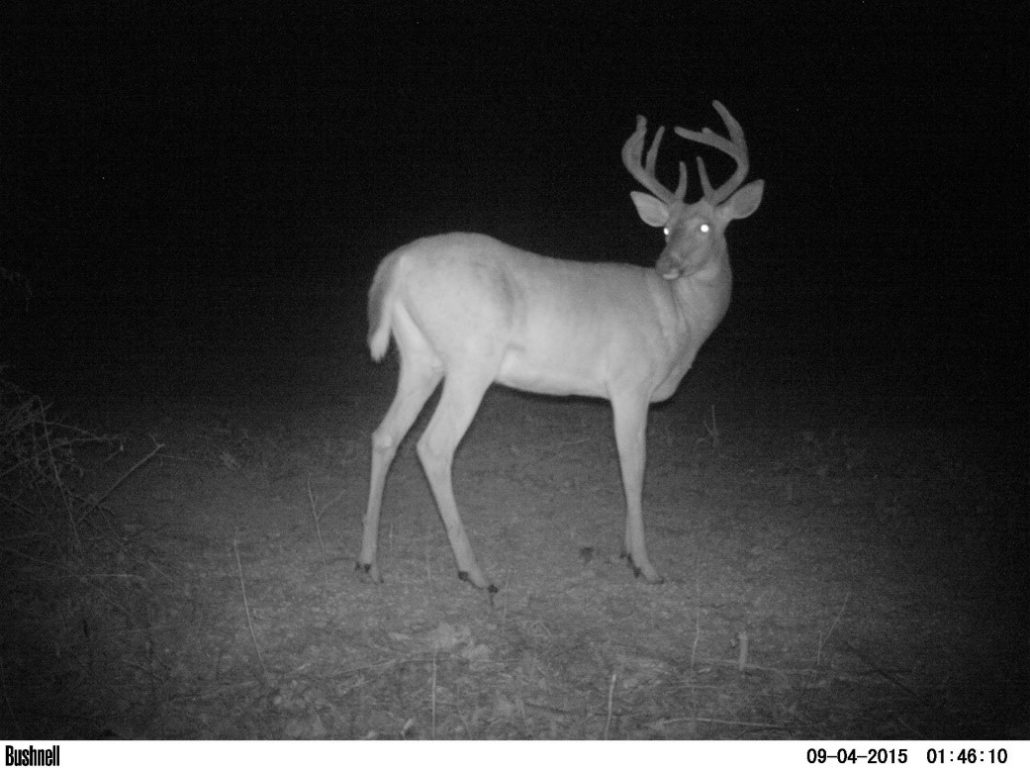
3.5-year-olds
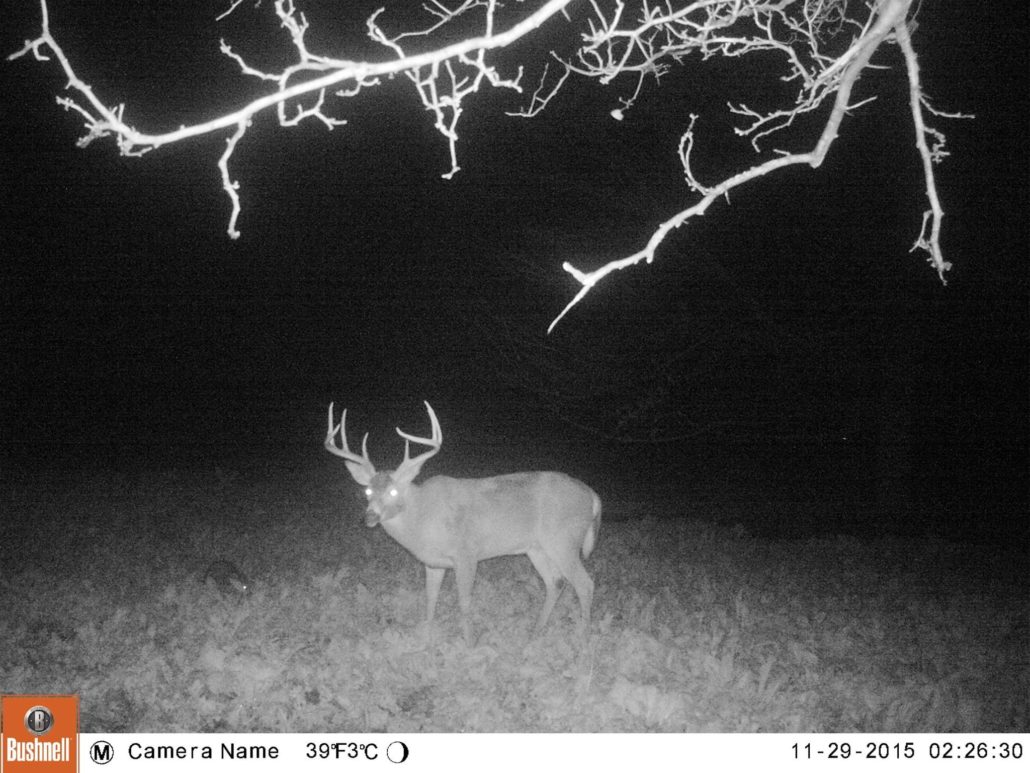
Being able to identify a buck as 3.5-years-old can be one of the most important things you can do for your management plan. This is because 3.5-year-olds have only reached about 75% of their maximum antler size. That remaining 25% can be the difference between a 130-inch buck at 3.5 and a 160-inch buck at 5.5. Unfortunately, the 3.5-year age class is one of the most difficult to accurately age.
By 3.5-years, bucks will start to have more swelling in their necks during the rut with their neck flowing more into their brisket. Their legs will start to look more proportional to their body and they will have a sleek, muscular look to them though their front and hindquarters won’t be fully developed. They will also start to develop moderate tarsal staining.

4.5-year-olds
By 4.5-years, a buck will start to develop the sleek racehorse look. They will have fully developed front and hindquarters but will look more muscular than anything. Their necks will begin to look very swollen during the rut and their stomach will be flat from front to hindquarters. They will also display an increased amount of staining on the tarsal gland.
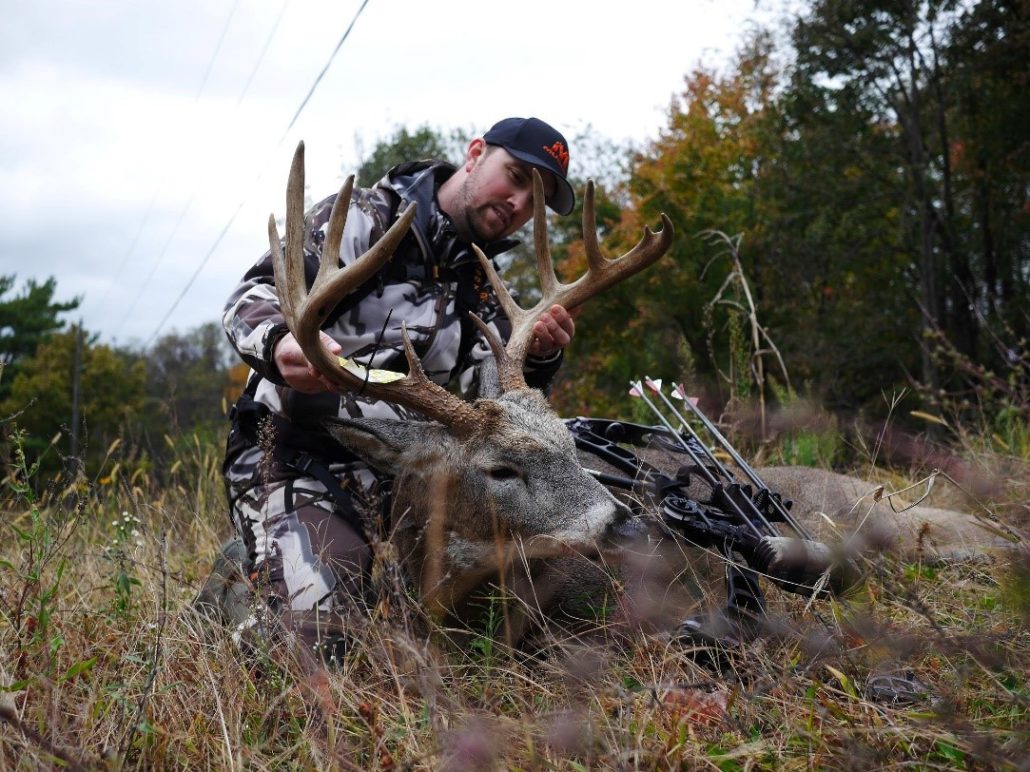
5.5+
Once a deer has reached the age of 5.5-years they are generally considered to be fully mature. These deer will have fully developed front and hindquarters but they will no longer look as muscular as they did at 4.5. Bucks that are 5.5+ tend to have a sagging belly and a swale in their back. Their necks will flow right into their brisket and will look quite large after swelling during the rut. A fully mature bucks legs will also tend to look short relative to their body because their body is now fully developed.
Regardless of whether you are looking to age deer on the hoof to help determine which bucks you will harvest this fall, or are trying to collect harvest data to monitor your management program, age data can be invaluable. Keep these methods in mind this fall when trying to age your deer.