Trail Camera Tips for the Hunting Season and Beyond
Scouting Your Hunting Property with Trail Cameras
Trail cameras are arguably one of the best tools you have as a deer hunter to help increase your chances of harvesting a buck in the fall. Hunters are able to develop things like their hit list of bucks they would like to harvest if given the opportunity during the hunting season and can glean the most recent information about deer movement to help guide which stand to hunt. Although using trail cameras can be useful, how do you know how many to use or where to put them on your hunting property? This article will give you some tips on where to set up your cameras and how many cameras you may need to be effective in your scouting.

Identifying Buck Movements
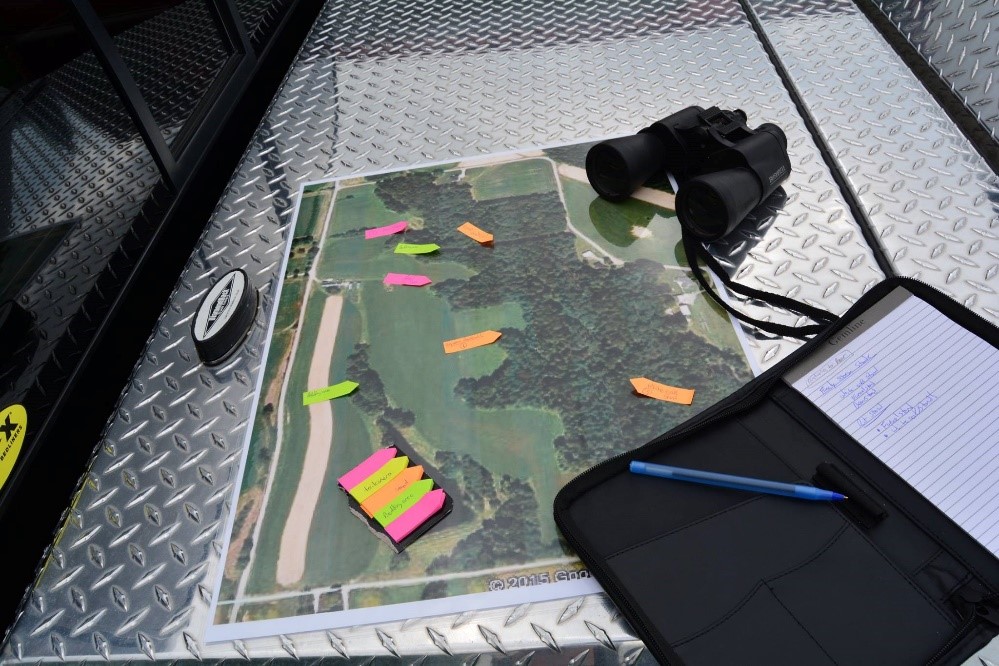
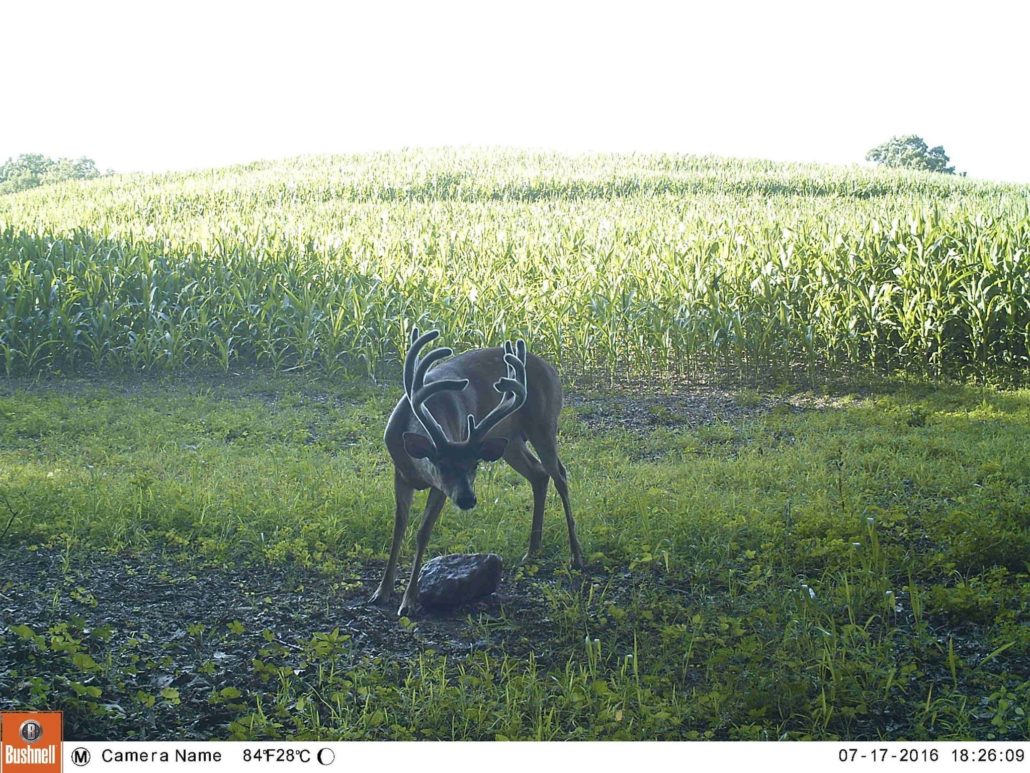
Every hunting property is a little bit different. Some properties may have plenty of bedding areas but lack food sources and others may have just the opposite. Using cameras is one of the more effective ways to identify how individual bucks are using your property. This generally begins sometime in mid to late summer when you can start to identify bucks based off their antler development. Place your cameras in known feeding areas to inventory which bucks are hitting which food sources. Once you have a buck identified and know which food source they are consistently visiting, you can then begin to identify travel corridors and potential bedding areas. Hopefully you have already had a chance to scout the property to identify travel corridors and bedding areas, but if you haven’t you can begin with an aerial map to help you narrow down these locations. Once you have identified those areas on the map, you can more precisely go in to scout. Using multiple cameras on multiple food sources will also help paint a picture for you regarding deer movement on your hunting property. For example, if you get a picture of a buck in your food plot planted with soybeans at 7:30 p.m. and then another photo of the same buck in your white clover plot 6 hours later, you likely can start to put together that buck is taking it’s time moving between plots. That may mean there is a bedding area in between them or there are certain features in the landscape that the buck may be more likely to use when traveling. This type of scouting if done well before hunting season or even year-round can dramatically improve your chances of harvesting a buck by simply knowing how deer in general, or a buck in particular, is moving across your hunting property.
Inventorying Bucks on Your Hunting Property
One of the more entertaining things hunters generally look forward to each year is creating a hit list of bucks they may be interested in harvesting in the upcoming hunting season. Trail cameras can obviously aid in this process, but how many cameras do you need and where should you place them to accurately inventory the bucks using your property? Research has shown that when conducting a trail camera survey to estimate things like deer density, recruitment, and adult sex ratios, you will need one camera per 100-acres of land with larger properties generally yielding more accurate estimates. This is a good rule of thumb to follow, but what if you only hunt 200-acres and are most concerned with simply inventorying the bucks using your property? If this is your situation, then placing a camera on each major food source, whether that be a summer food plot, an agricultural field, or even a supplemental mineral site, will allow you the best chance of identifying a majority of the bucks using your property. If you are limited on the number of cameras you have, make best use of them by placing them on high-traffic food sources. In other words, use some on the ground scouting to identify heavily used trails coming into or leaving a food source. This will help maximize your efficiency. If you check your cameras and find that you don’t have many pictures, then don’t be afraid to move the camera. Placing cameras in major food sources means you can check them without causing a major disturbance. Drive right up to the camera if you can. This will help decrease the impact you have on the area and will allow you to move the camera if you think you may have a better area.
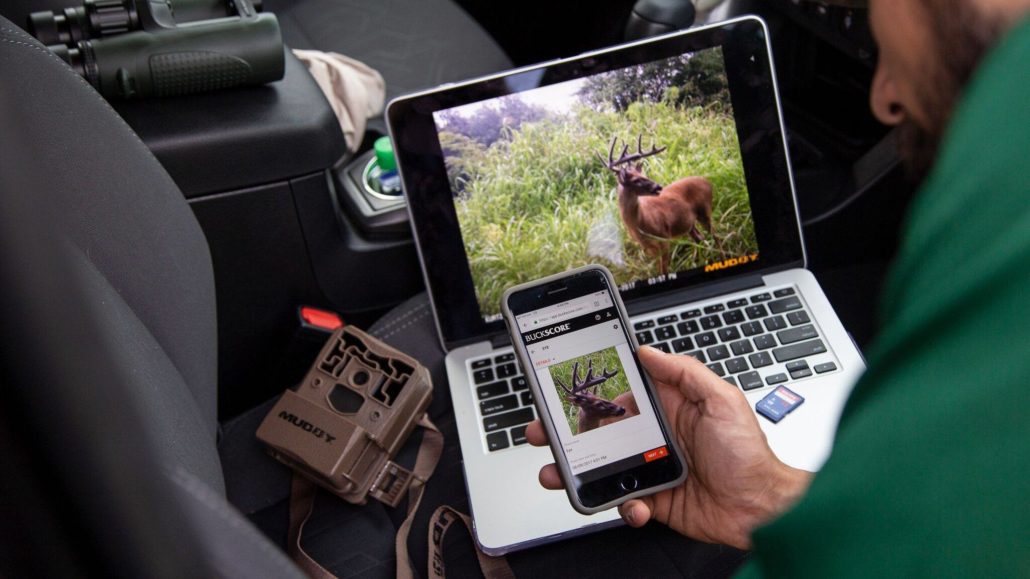
Gaining the Most Recent Information (MRI)
Being mobile during the hunting season can be one of the best ways to increase your chances of harvesting a buck. But how do you know when it’s time to move to another stand or move your set-up all together? Having the most recent information, or MRI, on hand will help you in making this decision. There are several ways to gain information during the hunting season. You may simply see deer consistently using a trail just out of range and need to move your set-up to capitalize on that movement. But what about the movement around other stands you aren’t using? You guessed it! Trail cameras can help in this arena as well. Using cameras at stand sites can be tricky given you will want to minimize disturbance when checking them. Waiting for the perfect stand conditions to hunt that particular stand and then switching out SD cards when you are walking into or leaving the area will help minimize the disturbance you are causing. You can also try using cameras that use cell phone connection to remotely send you pictures of what’s going on. This will completely eliminate any disturbance from an area while still allowing you to obtain the MRI. Deciding on how many cameras you need to have out during the hunting season is also a bit trickier than when you’re inventorying what bucks are using your property. Try to identify which stands will be your best stands during the season. This may change throughout the fall as bucks transition from using food sources more during early and late seasons to checking bedding areas during the rut; though, bucks will also still scent check food plots during the rut so it’s always a good idea to have a stand on a food source that does will use throughout the fall. Again, you want to be careful and minimize your disturbance when checking cameras during the hunting season, so wait on ideal conditions to hunt a stand and check your cameras then to see what’s going on and don’t be afraid to move if the cameras are showing heavy action in a different area.
The old adage, “a picture is worth a thousand words” couldn’t be more accurate when using trail cameras for scouting. Using them year-round will help you identify everything from how deer are using your hunting property to which hit list bucks are around in the fall. Try using some of these tips the next time you’re scouting your hunting property and they just might help you close the deal during hunting season.

")

")


