Best Trail Camera Tips for Deer Season
Trail Camera Tips and Tactics for Deer Hunting
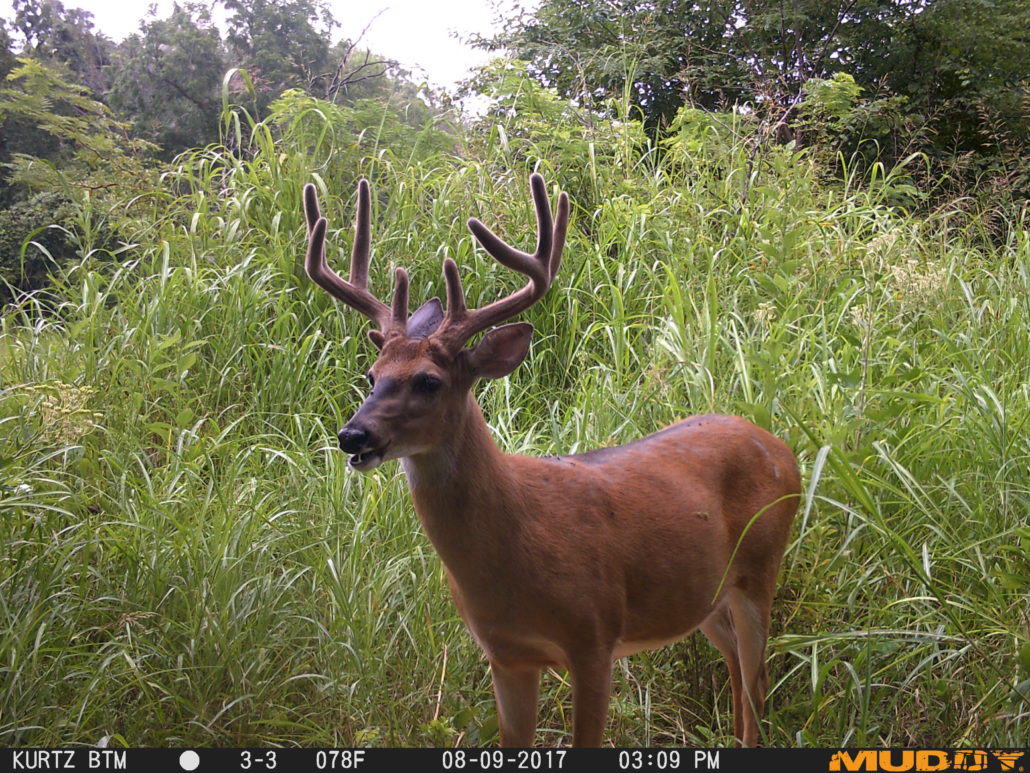
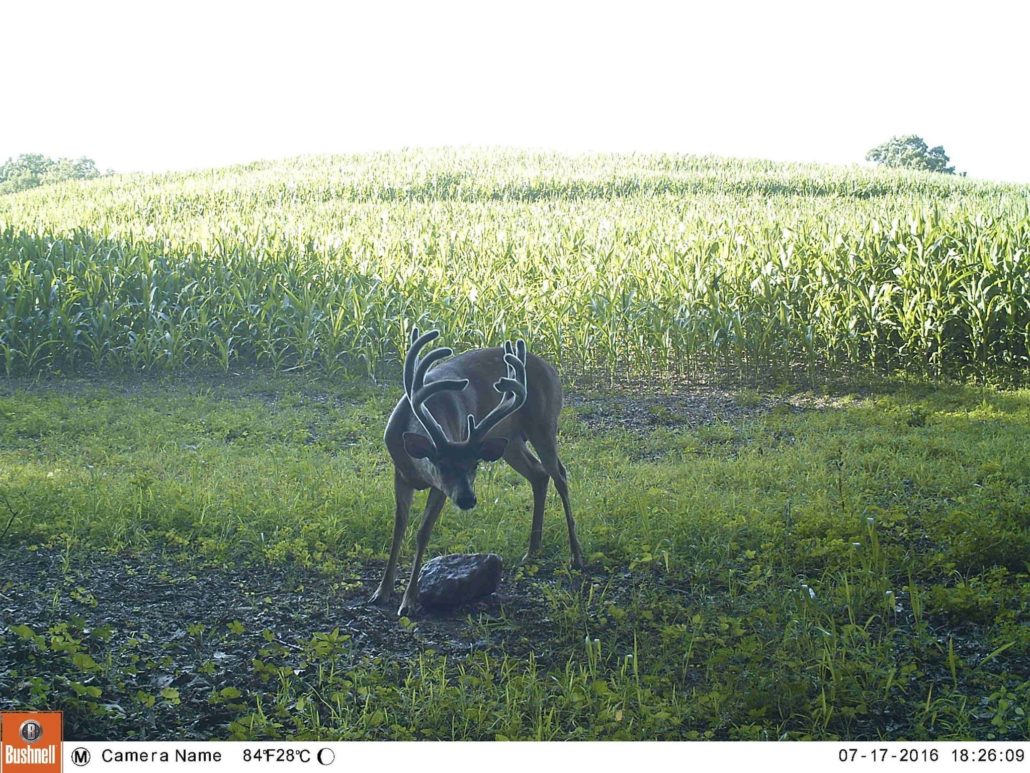
Trail cameras have been the sportsman’s favorite scouting tool for decades. What was once only a blurry snapshot of a deer running off, has turned into a highly detailed image that is packed full of valuable scouting data. Everything a hunter could need is right at their fingertips.
Cameras have also become incredibly convenient. Before, having a trail camera meant running to grab the camera and then proceeding to run to the print shop to have the film developed. For some individuals, this was a process that took hours, if not days, depending on the convenience of the location. However nowadays, images are viewable on the spot. Not only are they clear and detailed, but they are packed full of data. In fact, cameras can go as far as telling you exactly how big the deer you are going to shoot is, before you even hunt it.
As with all technology, trail cameras are now better than ever. They are more compact, have higher quality photos, are more discrete, and give out such a significant amount of information that most people don’t even know what to do with it all.
However, getting the most out of a trail camera requires more than just buying the latest and greatest. Instead, it takes careful planning, knowledge, and a management strategy. That’s why we have put together a list of tips that will help improve your trail camera game.
Pick a Quality Camera (not just the fanciest one)
This one is pretty obvious. There can’t be quality trail camera photos without a quality camera. Using an outdated or poorly designed unit means not only disturbing deer, but also getting disproportioned and low quality images. Not being able to see the image makes it difficult to analyze the image and its data.
Therefore, one of the most important aspects of a productive scouting plan is having a camera that can take high enough quality images. Unfortunately, this is much more complicated than most people think. For starters, a high number of megapixels does not indicate a high quality camera. In fact, manufactures even inflate megapixels to help inflate sales. Therefore, it’s wise to look at more than just the megapixel count. Instead, look at its capabilities and if those capabilities will fit your individual situation.
For example, find out and compare the following features between cameras before making a purchase:
- Motion detection range
- Flash capabilities
- Type of flash
- Recovery time
- Number of “true” megapixels
- Number of lenses
- Age of camera
- Mode options (time lapse, video, etc..)
If your camera doesn’t have a fast recovery time; you’ll likely miss seeing critical angles, or even multiple deer in a photo. If your camera doesn’t have high quality flash, you risk spooking the deer or missing valuable night images. All of these have big impacts on your scouting plan.
Some people get lost comparing and understanding technical features; however, something everyone can do is read reviews, watch reviews, and even try a little trial and error of their own before committing to a purchase.
Ways to do this include:
- Looking at real life example photos on social media,
- Watching YouTube reviews
- Reading reviews across the internet
- Trying a friend’s camera out
- Test running a camera in store before making that purchase
Remember not all trail cameras are created equal. Therefore, even when hunters aren’t familiar with a camera’s specifications, they can still look at real work examples to help them make a better purchase.
Find the Right Location and Don’t Be Afraid to Move
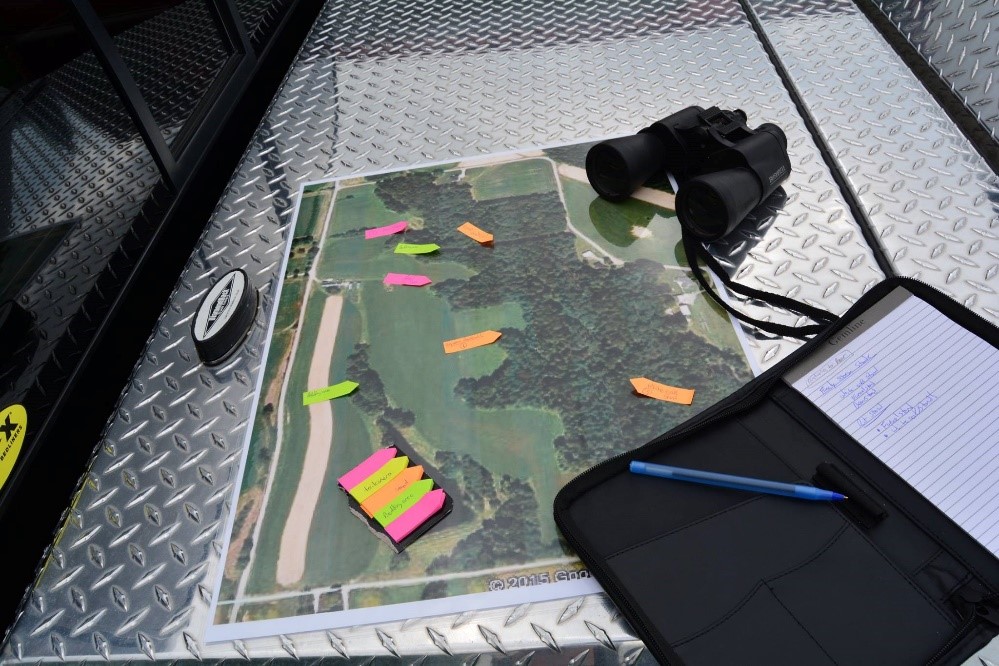
Location is everything. From macro-environment to the micro-environment, having the right location tends to be the one of the most critical factors in success. Whether you are talking about which parcel of land you want to focus your attention to the food plot you will decide to hunt over, success is highly dependent on each location and its ability at the time to support quality deer. When that field no longer has corn? It’s time to move locations.
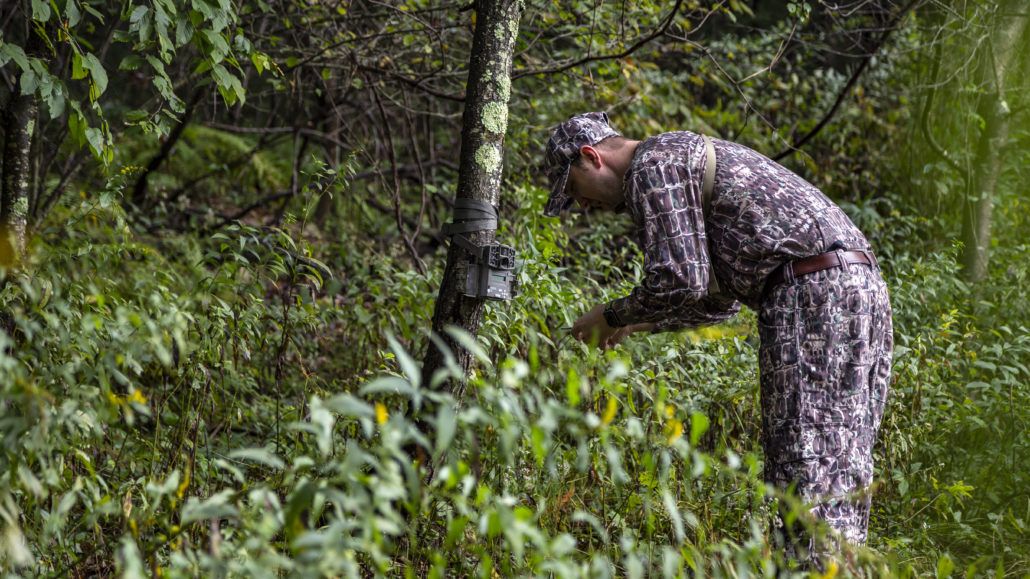
Therefore, whether you hunt land in different locations, or during different times of the year, it’s important that you keep an open mind and move your camera when necessary. If you aren’t seeing deer that you think should be there, then move. You wouldn’t hunt the same spot without seeing deer; therefore, don’t scout the same spot – no matter how convincing the environment might look.
Perhaps you pushed too much scent through the area causing deer to re-route your area. Maybe the food source was harvested, water dried up, or hunting pressure changed the deer’s pattern. Then it’s time to move.
How to Find the Right Locations
When deciding on the right location before and after a trail camera move, there are some critical aspects to consider. These can include:
The Conditions of the Land
- Is it woodland, prairie, or cropland? Understanding the landscape is important in understanding which areas you should monitor.
The Time of Year
- As mentioned, deer patterns and actions change throughout the course of a year. In fact, the food plot you were monitoring in September might not be the best place to set up your camera during the rut. Instead, you might choose to setup over a scrape, or a funnel. As the season’s change, so should your scouting plan.
Number of Trail Cameras You Have at Your Disposal
- If you could only afford one camera in your budget, make it count. Use it to help you find proper stand placement based on deer size, time of day, and routine.
- If you use multiple cameras you can monitor the entire area, multiple deer patterns, and even find your buck’s core areas.
Ability to Move
- If possible, move throughout the season. This helps reduce scent in a particular area and reduce pressure on the deer.
We have an in depth article discussing the best trail camera locations that you can read in full here.
Know Your Settings and What They Do For You
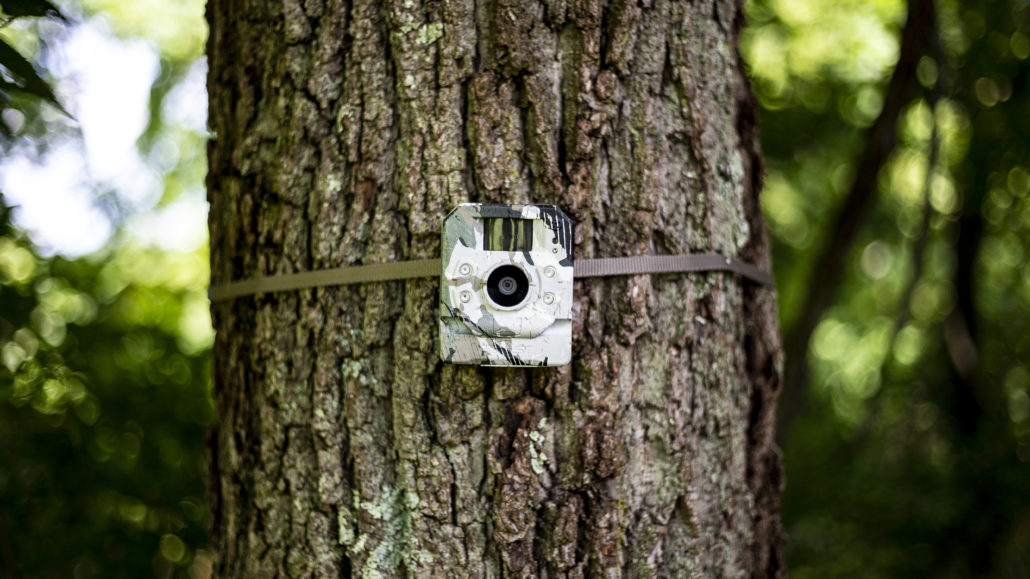
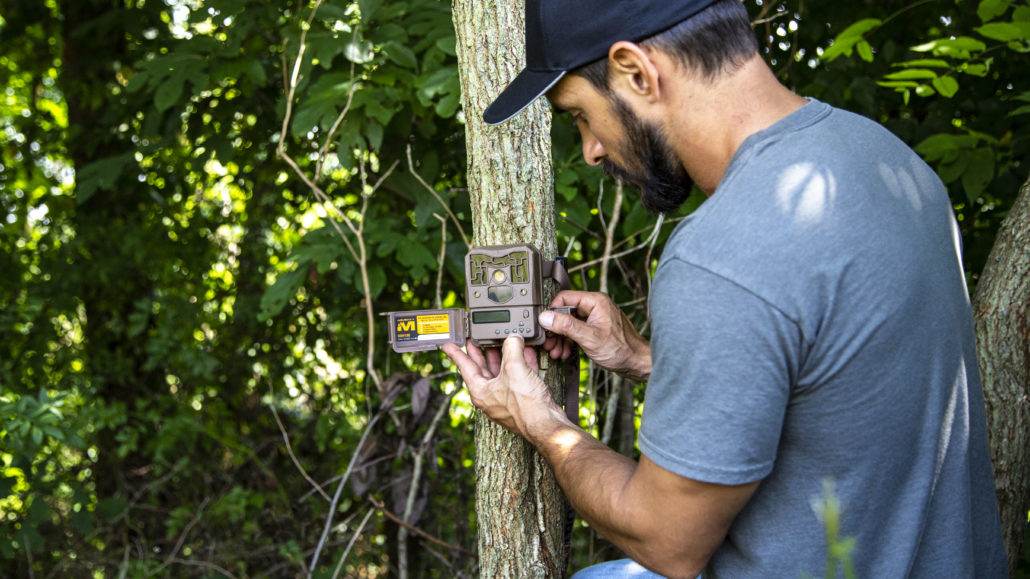
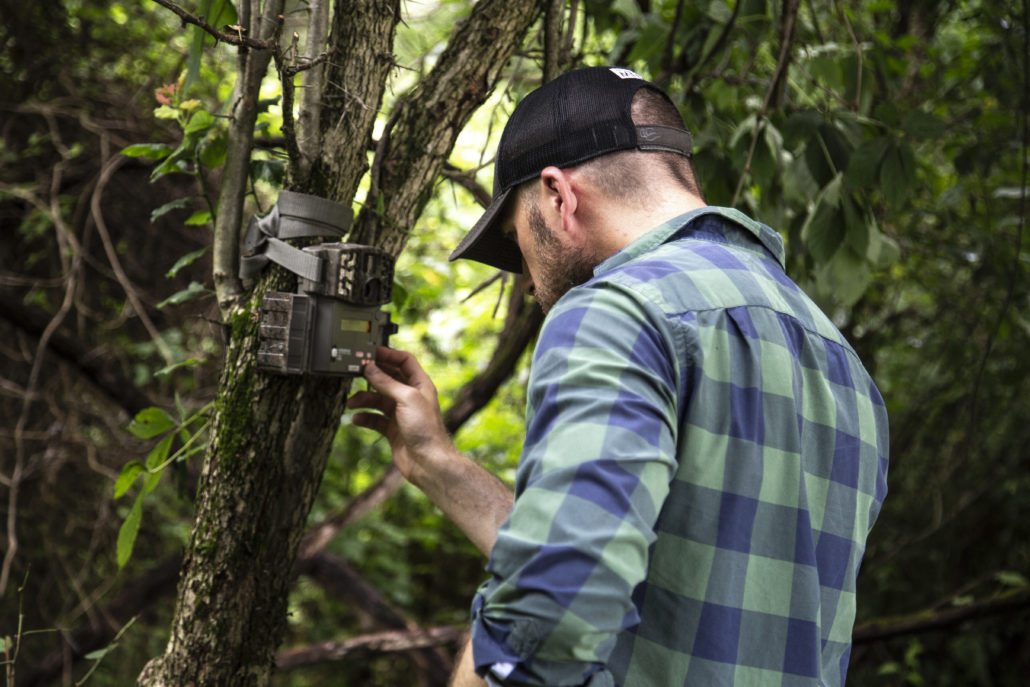
Setting up your trail camera means adjusting its settings to fit you and your situation. Just like with our cell phones and computers, sometimes it is easier to set it and forget it then to actually learn why these settings are there or what they can do for you.
Our tip is to have a list of tasks you should do before implementing any camera.
- When you get your camera, first make sure you insert the right size SD card and the proper batteries. If you are checking your camera, be sure to check the batteries and camera storage. If you don’t plan on returning to this area for a significant amount of time, the bigger the card, the better.
- Next, check for software updates. This is crucial to assure your camera is operating smoothly and at its highest capability.
- Then you need to adjust the settings for your particular goal. Trail cameras come with many different modes and settings. For example, you can pick time lapse mode to catch the changing environment from afar. You can also adjust motion detection and response time to capture a select amount of images when movement appears. Perhaps video mode will be better for deer analysis and scoring.
In general, be sure to adjust the following settings:
- Mode (video, timelapse, etc…)
- Trigger speed
- Flash settings
- Frequency
- Test these features. After finding the proper location and placement, be sure to test these settings before leaving the area. Nothing is worse than leaving the camera for a few weeks only to return and find that your photos aren’t angled appropriately, or you happen to have no photos at all.
Reconsider Your Placement
Knowing where to place your camera, means knowing your goals. Sometimes hunters seem to think it’s a “one size fits all approach”. However, that couldn’t be farther from the truth. There are many different angles and scenarios you can use your camera in.
For example, are you looking over a field and want to monitor the number of deer, environment, or other factors? Or do you hope to place it over a salt lick to catch that close up photo?
Knowing which one is right for you depends on a number of factors:
- Do you want an aerial view of your food plot or a close up shot of that buck?
- Do you have multiple cameras to catch multiple angles (close vs aerial)?
- Do you want to score that deer? You will need a clear and close image, or video.
- Is motion detection important or will you be using time lapse mode?
- Is the camera the perfect distance from the target?
Go through each one of these before choosing, and especially leaving, a spot. Keep an open mind. Perhaps monitoring the environment while you monitor your deer size can help you put together a better scouting plan. Maybe video will suit your needs better. Don’t be afraid to learn the settings, find the right locations, and then change up your placement.
You can find a more detailed guide on properly setting up your trail camera here.
Photo Management
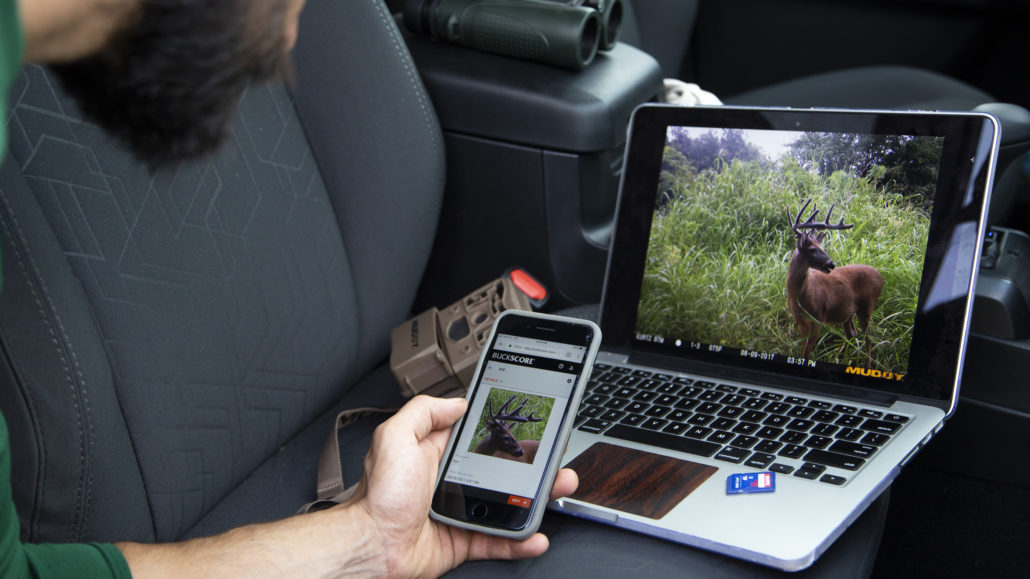
One of the most overlooked features of any trail camera strategy is organization. In fact, photo management can revolutionize a scouting routine. For example, being able to pattern deer means having a traceable record of deer size, timing, and camera placement. You cannot rely on your own memory for this. You need an organized database where you can literally map trends, track conditions, and even analyze deer size.
Photo management software is a must for properly organizing and analyzing this data. However, not all photo management software is the same. Despite there being plenty of options available, there is only one that is developed by researchers to accurately estimate your deer’s size: BuckScore.
BuckScore
One of the best tools for organizing and analyzing trail camera photos is BuckScore. Instead of traditional tools that simply organize photos based on environmental conditions and/or time, BuckScore can help you organize buck based on its size. This is incredibly important when determining which bucks to target and which ones to let walk. It also helps alleviate wasteful data and photos that clutter your computer and don’t let you reach your end goal: shooting that trophy deer. It’s also incredible exciting to know if that buck you’ve been tracking can join the Pope and Young club.
Take Your Trail Camera More Seriously This Year
Many people simply set it and forget it when it comes to trail cameras. They add the batteries, insert the SD card and set it out for use. However they are missing out on the cameras most advanced and beneficial features. A few adjustments can go a long way in trail camera value.
For example, if you don’t plan on leaving your camera out for a significant amount of time; you might benefit more from video mode then from capturing stills. Additionally, if you plan on leaving your camera unattended for a few months, it’s in your advantage to not use video or time lapse to save space.
By better managing your data, taking time to find the best spots, and doing your research before you invest; you cannot only improve the quality of your trail camera information, but also improve the success rate of your hunt this fall.

